Creating a storyboard for video production can transform your ideas into a clear, structured visual guide. A storyboard is a pre-production map essential for filmmakers and content creators. In this guide from helio advertising, you’ll learn each step of storyboarding, from defining goals to adding final details. Whether you aim to streamline communication, save time, or ensure narrative consistency, a well-crafted storyboard lays the foundation for a successful video project that resonates with your audience.
How to Storyboard a Video
To effectively storyboard a video, begin by clearly defining the goals of your project. This step is crucial as it informs every subsequent decision, ensuring the storyboard aligns with your intended message and audience. Once objectives are set, script your narrative, breaking it down into sequences that convey the core story elements. Focus on the main actions, visual elements, and key dialogue that will drive your story forward.
Next, create rough sketches or use digital tools to outline the scenes. These visuals should represent each key camera angle and action within the script. Use this opportunity to experiment with different perspectives and transitions, considering how each choice supports the narrative flow.
Incorporate notes on technical aspects, such as camera movements, lighting, and sound cues, to provide a comprehensive guide for the production team. Organizing these details efficiently will enhance the clarity of your storyboard, offering a strategic overview that fosters collaboration across departments.
Finally, review and refine your storyboard to ensure it effectively encapsulates the project’s vision. Engage with stakeholders, securing feedback that can lead to further improvements. A meticulously crafted storyboard streamlines the production process and strategically aligns your team’s efforts toward a cohesive and compelling final video.
Understanding Storyboarding and its Benefits
A storyboard is your visual blueprint for the entire video production process. But why is it so crucial? At its core, a storyboard is a pre-production tool that provides a step-by-step representation of how each scene will unfold. It allows you to visualize the sequencing of shots, align the team’s vision, and streamline the production flow.
The benefits of storyboarding are numerous. First, it simplifies communication among team members. By having a visual reference, directors, cinematographers, and editors can understand the creative direction more clearly. Second, it helps save time and resources by preemptively identifying potential issues and refining concepts before filming begins. Lastly, storyboarding aids in maintaining narrative consistency, ensuring every scene aligns with the script and vision.
Incorporating a storyboard into your video planning strengthens storytelling and enhances production efficiency. The time invested in storyboards pays off in smoother shoots and a finished project that resonates with audiences.

Preparing to Create a Video Storyboard
Before you start sketching boxes and frames, there are vital preparations to consider. Start by developing a strong script or scene breakdown. This step is critical as it outlines the narrative structure and highlights key moments that need visualization. Knowing how to write a storyboard for a video begins with understanding the story itself.
Next, decide on the storyboard format—digital or hand-drawn. Digital formats offer flexibility and ease of sharing, while hand-drawn storyboards provide a personal touch. Think about your audience and what will resonate with them. Who is your target audience? What are their expectations and preferences? Answering these questions will guide your storyboard’s visual style and content.
Finally, assemble your team. Storyboarding should be collaborative, incorporating feedback from directors, writers, and even the crew. Collaboration ensures diverse perspectives are considered, ultimately strengthening the final product. Effective preparation sets a strong foundation for the subsequent steps in creating a storyboard.
Read More: Everything you should know Video Marketing
Step-by-Step Guide to Making a Storyboard for a Video
Creating a storyboard might seem daunting, but breaking it into manageable steps can simplify the process. Here’s how to make a storyboard for a video, step by step:
Step 1: Define Your Goal and Audience
Start by clarifying the video’s purpose. Is it a promotional clip, a narrative short, or an educational piece? Understanding the goal helps shape the storyboard’s tone and pacing. Then, identify your target audience and tailor your storyboard to engage and resonate with them. Knowing how to do a storyboard for a video involves aligning every scene with the intended viewer’s interests and expectations.

Step 2: Write a Script or Outline
With your goals in mind, draft a script or outline. This script is the backbone of your storyboard, detailing dialogue, action, and scene transitions. Focus on key narrative elements that need visualization. The script guides the flow of frames and ensures the storyboard effectively supports the story.
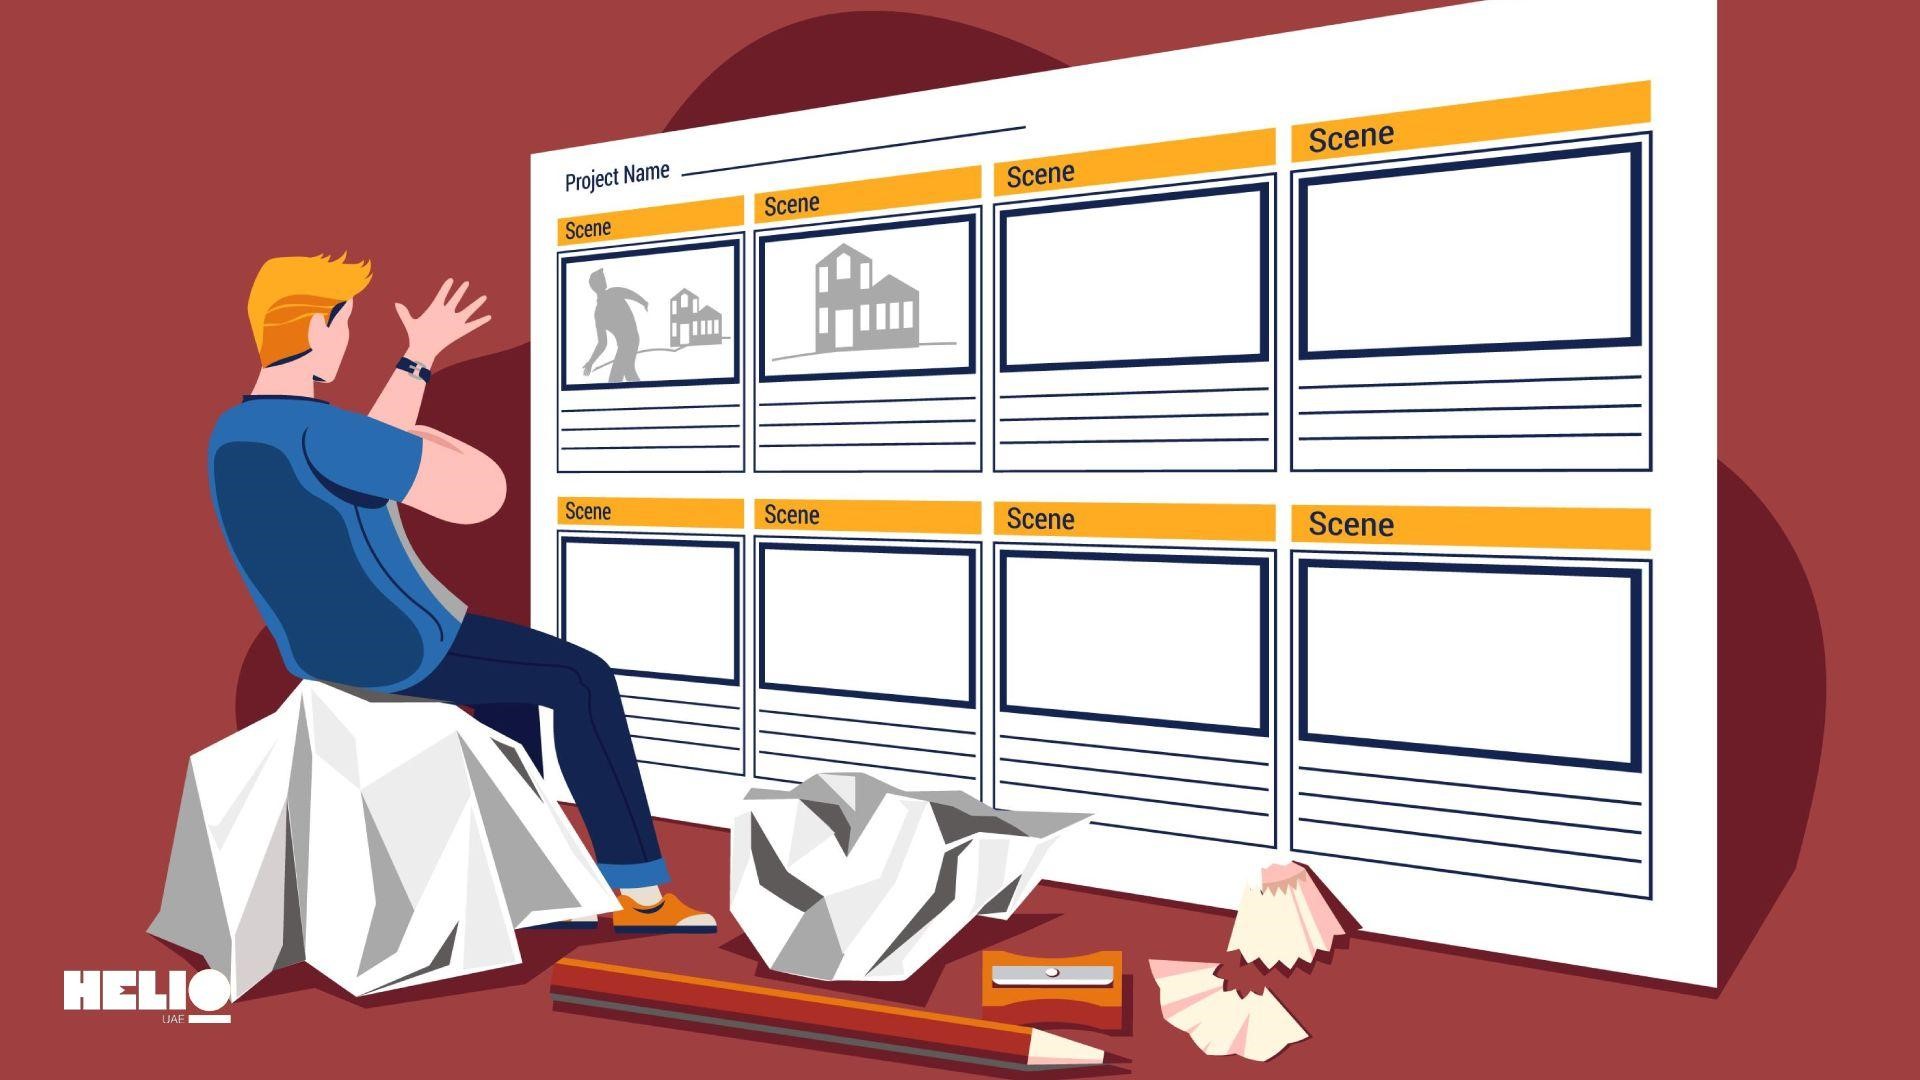
Step 3: Create Thumbnails for Each Scene
Now, start sketching thumbnails—these are small, quick sketches of each scene. Don’t worry about artistic perfection; the goal is to capture the essence of each shot. Include basic elements like character placement, camera angles, and movement. This rough draft will evolve into your storyboard layout.
Step 4: Finalize the Layout and Details
Once thumbnails are complete, refine them into a more detailed storyboard. Add dialogue, notes, and any specific instructions for each frame. Consider elements like camera movements, lighting, and sound cues. This step in how to build a storyboard for a video solidifies your vision, preparing it for production.
Step 5: Add Annotations and Notes
Enhance your storyboard with annotations. These notes provide additional context, such as emotional tone, background details, or technical specifications. Annotations ensure everyone involved in production understands each scene’s creative and technical aspects.
Example of a Simple Video Storyboard
To illustrate the process, let’s walk through an example storyboard for a product demo video. Imagine launching a new coffee maker, with the storyboard illustrating its features and usage.
Start with an opening shot of the product in a kitchen setting. Use a close-up to highlight the sleek design and branding. Follow with a series of frames showcasing its key features—easy-to-use buttons, the brewing process, and the rich aroma of freshly brewed coffee.
Each frame includes brief shot descriptions, dialogue (if necessary), and transitions. This example demonstrates how to translate a script into a visual guide and showcases how to make storyboard video content accessible and engaging.
Key Elements to Include in Your Storyboard
An effective storyboard includes several critical elements that contribute to cohesive storytelling. First, consider the frame count and sequence. Determine how many frames are needed to communicate each scene. This helps maintain pacing and ensures no critical moment is overlooked.
Next, incorporate camera directions, timing, and background details. These elements define the visual style and atmosphere of each scene. Camera angles and movements guide the viewer’s eye, while timing dictates the rhythm of the video.
Lastly, include on-screen text and sound cues. Text can clarify complex visuals or add emphasis, while sound cues enhance the auditory experience. These components work together to create a well-rounded, engaging storyboard.

Tools and Software for Storyboarding
Choosing the right tools can streamline the storyboarding process. Numerous storyboard software options are available, each catering to different needs and budgets. StudioBinder offers a comprehensive platform with collaboration features and pre-built templates. Boards provide a user-friendly interface with drag-and-drop functionality, while Canva offers customizable templates and a wide range of design elements.
Consider each tool’s specific features, such as frame customization and integration with other production software. The right tool simplifies the process of creating storyboards for video projects, making it accessible to creators of all skill levels.
Final Tips for Making an Effective Video Storyboard
Before finalizing your storyboard, take a moment to review it with your team. Collaboration is key—seek feedback and make necessary revisions to ensure clarity and alignment with the script. Adjust based on feedback to enhance the narrative flow and impact.
Additionally, use a “rough cut” approach, refining your storyboard in stages. Start with broad strokes and gradually add detail. This iterative process allows flexibility and adaptation, resulting in a polished, effective storyboard.
Conclusion
Storyboarding is an indispensable tool that enhances every stage of video production. By following these structured steps provided by Helio Video Production Agency, you’ll create a storyboard that visualizes your vision and guides the team with clarity and purpose. Remember, effective storyboarding improves storytelling, optimizes production flow, and helps maintain narrative cohesion. Embrace these principles, and watch your creative ideas evolve into a compelling video experience.