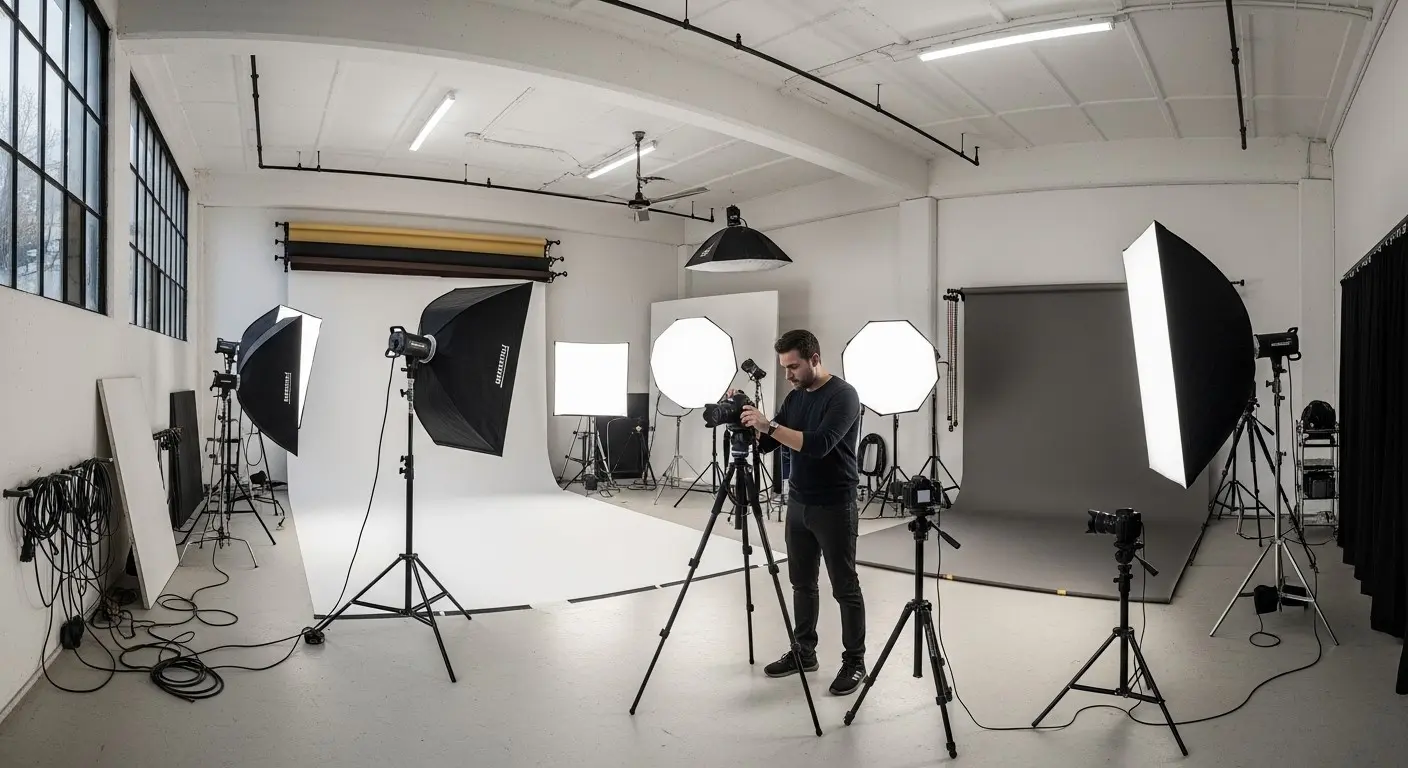
To share professional visual content, shooting is everything. To have professional visual content, you need a professional studio to take these shots in! If you’re considering establishing or renting a photography studio, one of the first questions that generally comes up is deceptively simple: how big should a photography studio be?
It’s a dilemma that every photographer faces, whether they’re converting a spare room into a creative area or intending to start a full-service professional studio. However, the answer is not one-size-fits-all. The appropriate studio size is totally dependent on the type of photography you specialize in and how you want to use the space.
A compact, well-organized setup can be ideal for shooting LinkedIn headshots, portraits, or tabletop product photographs. These sessions necessitate limited space but extensive control over lighting and backdrop. However, you’ll soon discover that additional square meters (and higher ceilings) are necessary for creative flexibility, whether your work entails fashion campaigns, lifestyle scenarios, commercial productions, or even photography of bigger items like vehicles or furniture.
What Factors Determine the Ideal Photography Studio Size
Finding the tremendous photography studio size is more than simply square meters; it’s really about how the space matches with the shooting style. Whether you want a permanent studio or plan to rent one for a specific project, you need to understand how your creative and technical requirements translate into practical, usable space.
Consider these factors before doing anything else.
1. Photography type and lens selection
The type of photography you perform and the lenses you select determine your studio space needs. Close-up portraits and product photography can be easily managed in smaller spaces because the subject and camera are close together, whereas full-body, group, or fashion shots require more distance between the camera, subject, and background to avoid distortion and allow for a wider range of creative angles.
Wide-angle lenses may make small studios appear more spacious, but they may distort perspective, whereas longer focal lengths like 85 mm or 135 mm for portraits need greater distance, typically 5 to 7 meters from the person to the backdrop, to produce favorable image compression.
2. Camera Distance
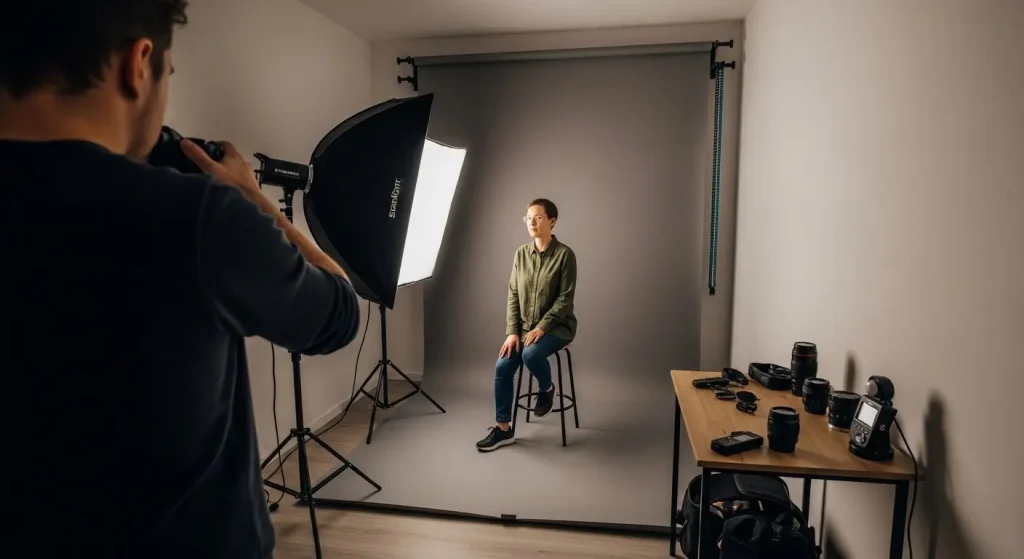
The distance between the camera and the subject is one of the most critical factors in determining your studio layout and overall shooting efficiency. Proper spacing ensures accurate framing, flattering perspective, and full control over lighting.
As a rule of thumb: headshots typically require 2–3 meters (6–10 feet) from camera to subject, half-body portraits need 4–5 meters (13–16 feet), and full-body or group shots work best with 6–8 meters (20–26 feet) or more.
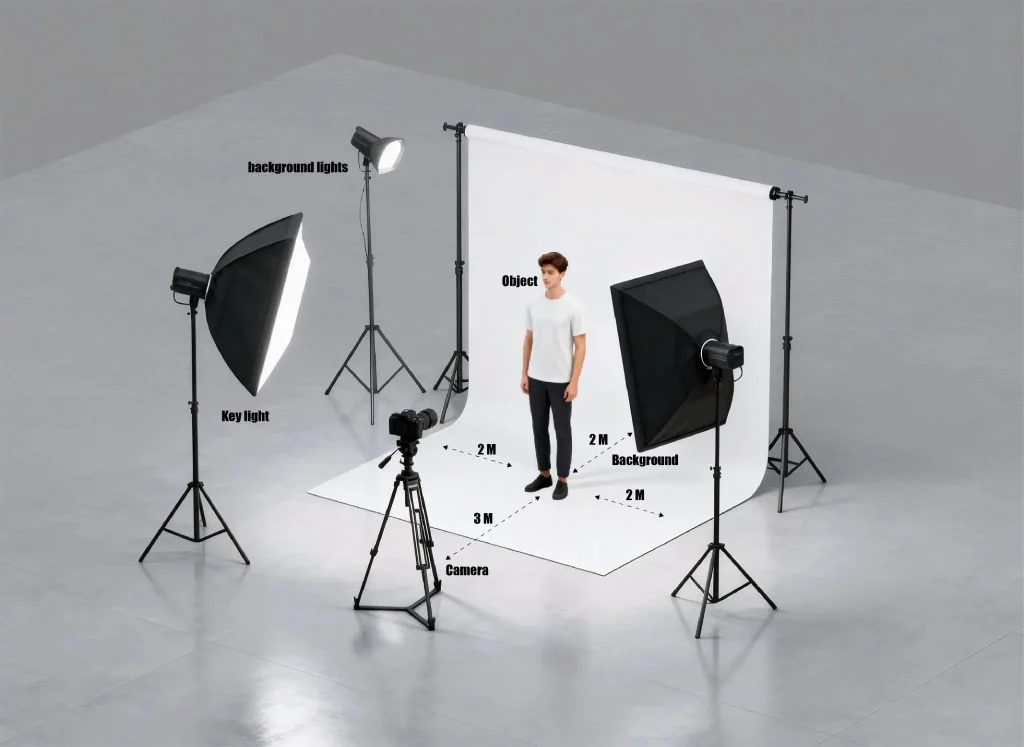
If you’re using multiple lighting layers—key, fill, and background lights—allow an extra 1–2 meters (3–6 feet) behind the subject and on the sides for light stands, booms, and reflectors. For example, a full-body fashion shoot might require roughly 3 meters (10 feet) from backdrop to subject, 3 meters (10 feet) from subject to camera, and 2 meters (6 feet) for lighting and movement space.
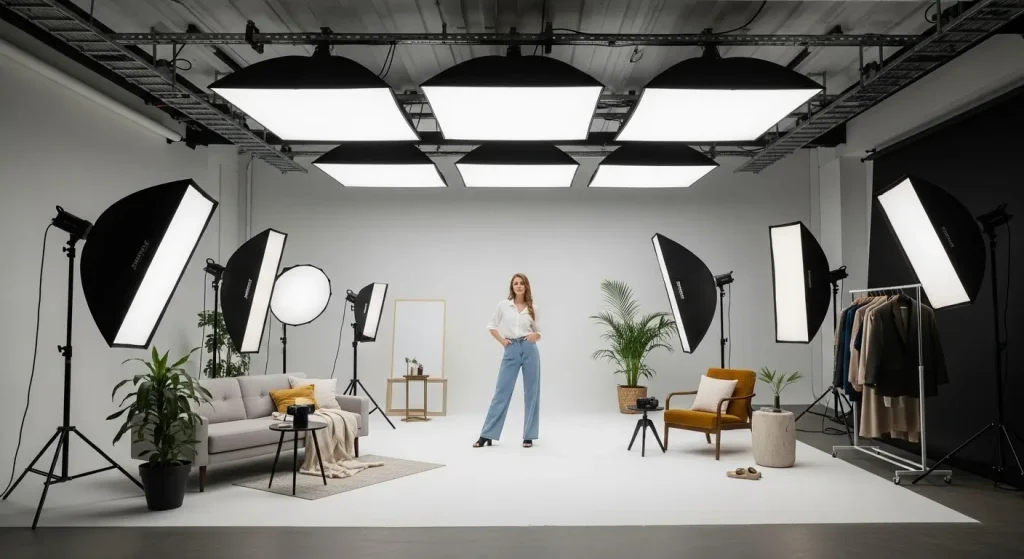
Visualizing this setup can help: imagine a model standing in the middle of the studio, a backdrop behind them, and sufficient room around to move lights, modifiers, and camera equipment. This spacing not only prevents clutter but also allows precise lighting control, consistent shadows, and safe mobility for everyone on set. Proper camera distance is fundamental to achieving professional, high-quality results in any portrait or commercial shoot.
3. On-Set Personnel
Every person on set increases your studio’s space requirements, physically and visually. A solo photographer may only need enough space for themselves and a model, but when you include a makeup artist or stylist, assistants or lighting crew, and clients, art directors, or brand representatives, walkways, prep areas, and viewing zones become just as important as the shooting area.
As a general guideline, provide an extra 4-6 square meters per person beyond the photographer and model to accommodate comfort, organization, and safe mobility around the lighting and equipment.
A functioning studio is more than simply fitting your gear; it’s about allowing everything enough space to breathe. Always provide enough room on all sides of your shooting area to move light stands, modifiers, C-stands, boom arms, backdrop supports, reflectors, and tripods. Adequate clearance not only allows you to fine-tune your lighting system, but it also reduces clutter and eliminates accidents. To guarantee safe and efficient mobility, allow at least one meter of space surrounding your primary firing zone.
4. Allow adequate space for everything!
A functioning studio is more than simply fitting your gear; it’s about allowing everything enough space to breathe. Always provide enough room on all sides of your shooting area to move light stands, modifiers, C-stands, boom arms, backdrop supports, reflectors, and tripods. Adequate clearance not only allows you to fine-tune your lighting system, but it also reduces clutter and eliminates accidents. To guarantee safe and efficient mobility, allow at least one meter of space surrounding your primary firing zone.
5. Just visit the Studio before anything else!
Before renting or committing to a studio, you should see the space in person or thoroughly analyze a floor plan. Photos may be deceiving—a studio that seems vast online may have low ceilings, odd corners, or structural columns that limit mobility and lighting options.
When reviewing a floor plan, pay attention to practical details such as overall dimensions (width, depth, and ceiling height), the placement of backdrops or seamless walls, electrical outlets, available natural light sources such as windows or skylights, and entry points for moving large props or equipment. If feasible, bring a tripod or light stand to evaluate the true working distances between the camera, subject, and backdrop, ensuring that the location meets your technical requirements.
Minimum Size for a Small Photography Studio
A tiny photography studio should be compact but efficient, with just enough space for necessary equipment and easy mobility. A minimum required size of 3 by 4 meters (10 . 13 ft) accommodates a background, one subject, and a minimal lighting setup.
Ceilings should be at least 2.7 meters (ca. 9 ft) tall in order to position lighting without casting harsh shadows. This position is perfect for headshots, product photography, or content production in which the subject stays close to the camera. Smart organization, such as wall-mounted lighting, retractable backdrops, and movable storage, allows you to obtain professional results even in a small location.
Ideal photography studio size
The perfect ideal photo studio size strikes a mix between size, functionality, and creative flexibility. A studio size 6 × 8 meters (20 × 26 feet) is ideal for most professional purposes, with a ceiling height of at least 3-3.5 meters (10-12 feet). This size is ideal for full-body portraits, group photographs, and sophisticated lighting setups, with adequate area for assistants, clients, and equipment. It also enables various zones—such as a shooting area, a cosmetics, or styling section, and a viewing area—without interfering with the main workflow.
A spacious studio like this allows you to experiment with composition, quickly modify lighting angles, and generate clean, professional photographs in a range of photographic styles.
Ideal Studio Size for Fashion or Full-Body Shoots
The optimal studio size for fashion or full-body photography should allow for mobility, dynamic posing, and versatile lighting setups. A size of around 8 by 10 meters (26 x 33 feet) with a ceiling height of 3.5-4.5 meters (12–15 feet) is typically suggested. This allows you to place the camera far enough away from the subject to achieve attractive proportions and natural compression, while still leaving room for different light sources, backgrounds, and reflectors. A bigger area allows you to record whole costumes, model movements, and creative compositions without distortion or clutter. With this arrangement, you can comfortably manage anything from magazine shoots to campaign productions in a relaxed, professional setting.
Ideal Studio Size for Lifestyle Shoots
The minimum size for a photography studio for lifestyle photography should seem spacious and adaptable, allowing you to create realistic scenarios and capture natural movement. An area of around 7 × 9 meters (23 × 30 feet) with a ceiling height of 3.5-4 meters (12–13 feet) is perfect for this sort of work. This size allows us adequate space to put up furniture, props, and several lighting layers while retaining a comfortable camera distance and creative freedom.
It also allows you to film at wider angles or from different viewpoints without having to continuously rearrange the scene. A properly sized lifestyle studio should have the feel of a genuine environment—large, versatile, and ready for both stills and short video footage.
Ideal Studio Size for Commercial Shoots
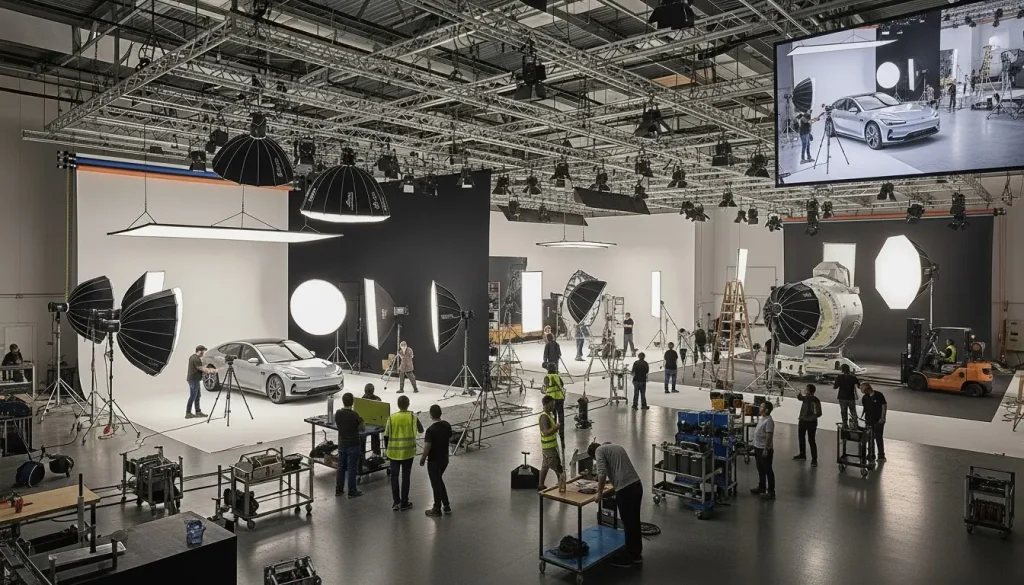
The optimal studio size for commercial photography should allow for maximum flexibility for large-scale projects, sophisticated lighting setups, and many creative zones. An area measuring 10 x 15 meters (33 x 50 feet) with a ceiling height of 4.5-6 meters (15-20 feet) is ideal for this purpose. This enables extensive setups, product staging, and team mobility, whether you’re photographing models, furniture, food, or cars.
The vast ceiling height allows for overhead lighting grids, huge soft boxes, and rigging equipment, while the floor area accommodates props, cameras, clients, and staff without crowding. A well-designed commercial studio of this size promotes productivity, safety, and creative flexibility in high-end advertising, editorial, and video production projects.
Large-Scale or Commercial Studio Requirements
You may ask yourself, how big does a photography studio need to be for commercial shootings?
A commercial photography studio is created to accommodate high-volume, high-production shoots while ensuring maximum versatility and control.
In most cases, the room must be at least 10 × 15 meters (33 × 50 feet), but studios that need more tools, dealing with vehicles, furniture, or set constructions, frequently stretch to 15 × 20 meters (50 × 66 feet) or larger.
Something else that should be considered is the ceiling of the studio. A ceiling height of 5–6 meters (16–20 feet) is pivotal for the attachment of lighting grids, booms, or overhead equipment.
The initialization should incorporate various shooting zones, a unique client lounge, areas for makeup and wardrobe, along with storage for props and equipment.
This setup lets a large-scale studio accommodate everything from fashion shoots to complete commercial productions, providing professional teams with the space, comfort, and creative liberty required to operate effectively at top performance.
Important factors in lighting
You may wonder if lighting is prominent in a studio space or not. And the answer is going to shock you! As lighting is one of the pivotal factors both in photography and in increasing space. Here we are going to speak about 5 classic studio lighting patterns, which are Flat, Butterfly, Loop, Rembrandt, and Split. Let’s dive into it.
1. Butterfly Lighting Setup
Butterfly lighting is a portrait photography pattern in which the Main light is situated above the subject’s face and points downward. This produces a dramatic shadow beneath the nose and chin that resembles a butterfly. It is also known as ‘Paramount lighting’.
2. Loop lighting
Loop lighting is one of the most popular and versatile portrait lighting setups used by photographers in studio environments. It’s a simple yet effective technique that adds dimension and depth to the subject’s face without being overly dramatic.
In fact, if you’ve ever experimented with portrait photography, there’s a good chance you’ve already created a loop lighting pattern, perhaps without realizing that this classic setup has a name and a long-standing place in professional portrait work.
3. Flat Lighting
The primary advantage of this kind of lighting is that it gives a whole set a consistent, cohesive appearance. This removes the need to change the lighting between each configuration, as would be done in a movie.
4. Rembrandt Lighting
Every portrait photographer aims to create beautiful lighting that not only flatters their subject but also tells a story. Among the many lighting techniques available, Rembrandt lighting stands out as one of the most timeless and essential setups.
Named after the famous Dutch painter Rembrandt, this technique is achieved by placing the main light about 45 degrees to the side of the subject and slightly above eye level.
The result is a small triangle of light beneath the eye on the shadowed side of the face. This pattern adds depth, form, and a natural sense of drama that works well with different facial shapes. Even today, it remains one of the most popular and fundamental lighting techniques that every portrait photographer should master.
5. Split lighting
One high contrast approach that creates a somber mood is split lighting. Actors, artists, and musicians who enjoy that tormented, misinterpreted expression are ideal for melancholy images.
Because split lighting makes the face appear divided, it is sometimes referred to as “hatchet lighting.” One side is illuminated by a powerful light source, while the other half is shaded. When the background is dark, the hatchet lighting effect is quite noticeable. The reason behind this is that the person appears to be split in two. Because it mimics the cinematic aesthetic of classic black-and-white movies and the film noir genre, where people hide in the shadows, it is also referred to as “Hollywood lighting.”
Elevate Your Visuals with Helio Marketing and Advertising Agency
Building a professional photography studio is only the first step toward creating impactful visual content. To make your images truly shine, you need expert guidance in branding, storytelling, and digital strategy.
That’s where Helio Marketing and Advertising Agency comes in. Our creative team helps photographers and brands elevate their visuals into powerful marketing assets through smart design, SEO optimization, and tailored advertising solutions that get results.

