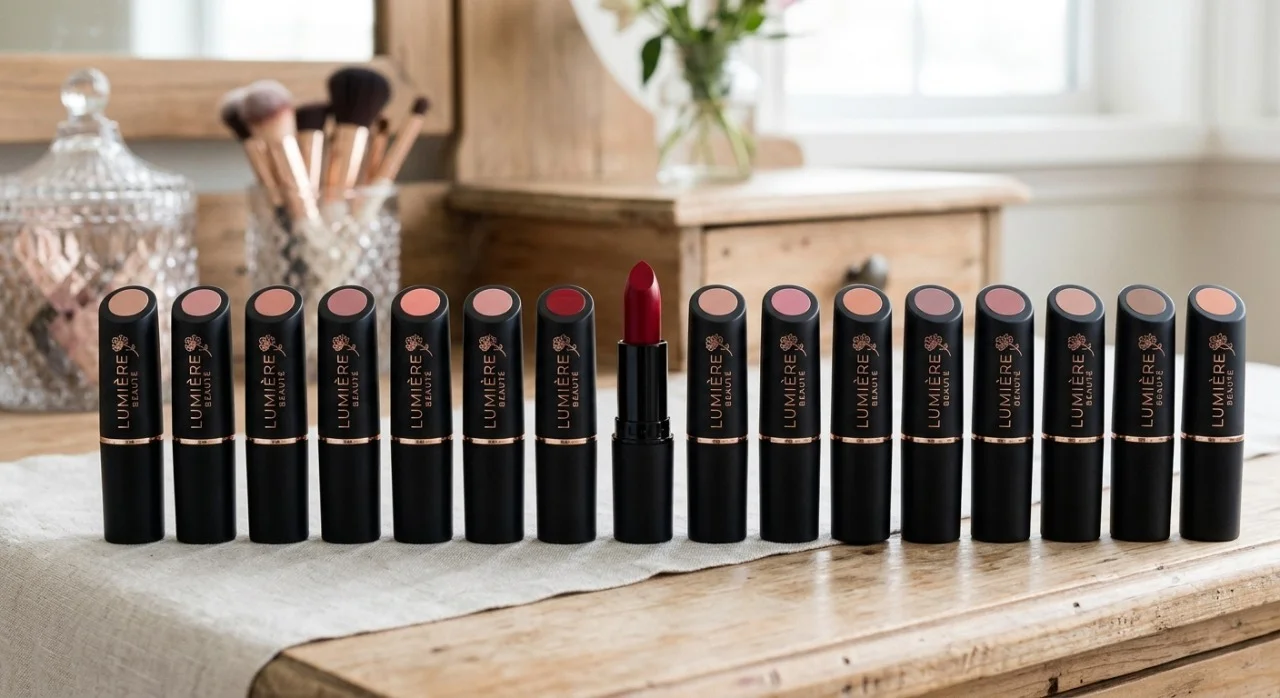
Photographing food successfully lives or dies by light. You can style the most beautiful dish, choose premium props, and shoot with a high-end camera, yet without a thoughtful food photography lighting setup, the result will feel flat, dull, or unappetizing. Light is what gives food its texture, volume, and emotional impact.
Many photographers assume lighting means buying expensive gear. In reality, lighting is a decision-making process. It is about understanding direction, softness, contrast, and shadow. Once you understand those principles, you can work confidently with a window, a single lamp, or a professional studio fixture.
This guide is designed to help you create the best lighting setup for capturing food in real-life scenarios. Whether you shoot at home, in a rented studio, or in a controlled commercial environment, you will learn how to create repeatable, professional results using simple systems that actually work.
What Is the Best Food Photography Lighting Setup?
The phrase best lighting setup for food often creates confusion because photographers search for a single correct answer. In practice, the “best” setup changes depending on the subject, style, and environment. Lighting is not about equipment alone; it is about how light is positioned, shaped, softened, and controlled around food.
A lighting setup includes:
- The light source (window or artificial)
- Direction of illumination
- Size and softness of the light
- Shadow control
- Reflection and absorption
When people talk about the best lighting setup for food photography, they are usually referring to a system that:
- Makes food look fresh and dimensional
- Preserves texture and detail
- Creates intentional mood
- Works consistently
Different foods demand different approaches. Soups and stews benefit from backlight that highlights steam and surface shine. Pastries and cakes often look better with side light that reveals layers and crumbs. Dark sauces and grilled proteins usually require controlled highlights to avoid glare.
Instead of chasing perfection, think of your food photography lighting setup as a flexible framework. You start with one main light and then adjust direction, diffusion, distance, and shadow until the food looks natural and appealing.

Essential Lighting Tools in a Food Lighting Setup
A good lighting setup for food images does not require an overwhelming amount of gear. The most important tools are those that allow you to control light, not simply produce it. Whether you shoot with daylight or artificial sources, these tools form the foundation of any reliable food lighting setup.
Diffusers: From Sheer Curtains to Softboxes
Diffusion is what transforms harsh illumination into something flattering. Undiffused light creates sharp edges and strong contrast that often makes food appear dry or uninviting. Diffusers spread light over a larger area, softening transitions between highlights and shadows.
Common diffusion tools include:
- Sheer curtains placed over windows
- Frosted shower curtains clipped to stands
- Tracing paper or baking paper
- Large softboxes and domes
The size of the diffuser relative to the food matters more than the material. Larger diffusers create softer light, which is ideal for most food images. This principle applies equally to window light and artificial setups.
Reflectors: White vs Silver (and When to Skip Them)
Reflectors bounce light back into shadow areas. White reflectors produce subtle fill and maintain a natural look, while silver reflectors increase brightness and contrast.
Use white reflectors when:
- Shadows feel too heavy
- Details disappear on the dark side of the dish
- You want a clean, editorial aesthetic
Silver reflectors can be useful for:
- Beverages
- Glossy sauces
- High-contrast scenes
However, reflectors are not always necessary. In moody setups, removing reflected light often improves depth and drama. Learning when not to use reflectors is just as important.

Flags & Black Cards: Adding Depth with Shadow
Flags absorb light instead of reflecting it. Black foam boards, cardboard, or fabric panels are essential tools for shaping contrast. They prevent light from bouncing into areas where you want darkness.
Flags are especially useful for:
- Dark and moody food images
- Controlling spill from artificial lights
- Increasing separation between subject and background
In many professional food photography lighting setups, flags do more work than additional lights.
Minimal Setup for Natural Light (What You Actually Need)
A food photography lighting setup at home can be incredibly effective when built around window light. Natural light offers beautiful softness and direction when handled correctly.
A minimal window-light kit includes:
- A large window (north-facing if possible)
- Sheer curtain or diffuser
- White foam board
- Black foam board
- Stable table or surface
Position the food so the light comes from the side or slightly from behind. Avoid placing the dish directly in front of the window, as this creates flat lighting. Instead, rotate the setup until shadows add depth and texture.
Control contrast using boards rather than changing camera settings. This approach creates consistent results and teaches you how light behaves naturally.
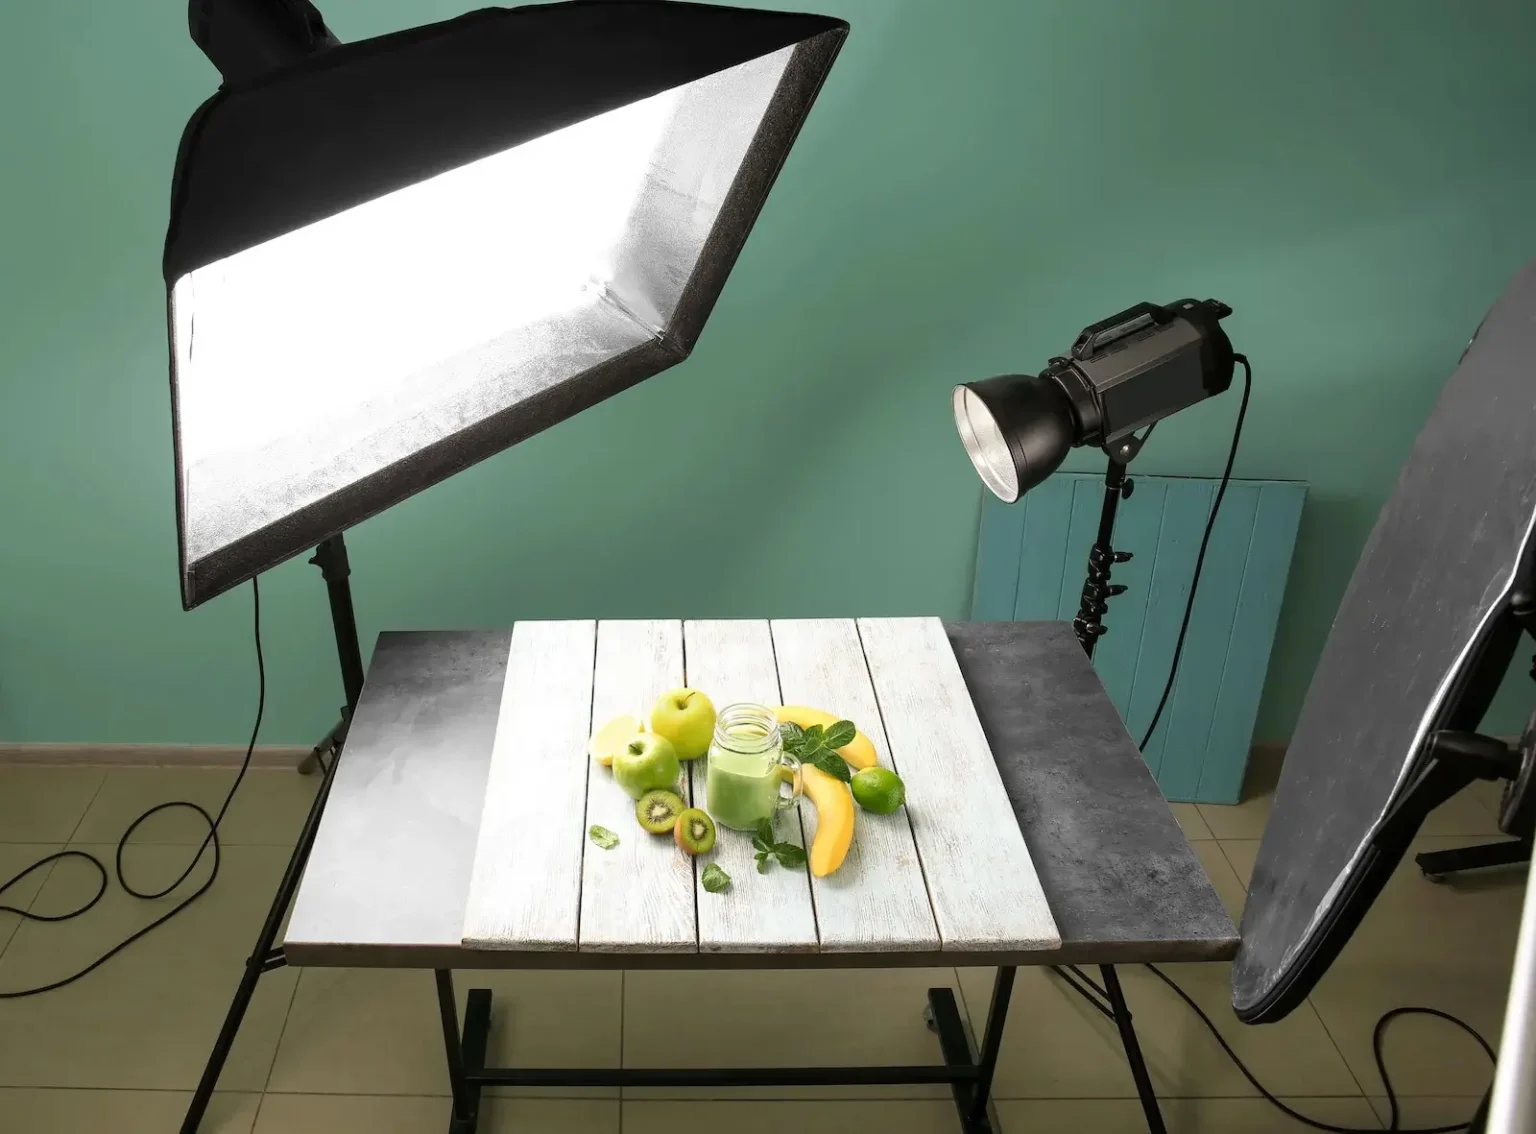
Minimal Setup for Artificial Light (Starter One-Light Kit)
A simple lighting setup for food photography using artificial sources should imitate window light. The goal is not power, but softness and direction.
A basic one-light kit includes:
- Continuous COB light
- Large softbox acting as a window
- Light stand
- Diffusion layer
- Flags and reflectors
Any light paired with a large modifier can work. For example, a continuous COB light like the Aputure LS 600x with a large softbox such as the Aputure Light Dome III provides excellent color accuracy and controllable output. This combination behaves very similarly to daylight while offering consistency regardless of weather or time.
Keep the modifier close to the subject to maintain softness. Distance affects light quality more than brightness.

Core One-Light Setups for Food Photography (Step-by-Step)
A studio lighting setup for food images does not need multiple lights to look professional. One well-placed source, combined with simple tools, can produce a wide range of styles. The following lighting recipes work with both window light and artificial sources.
Everyday Soft Side Food Photography Lighting Setup
This is one of the most versatile setups and works for nearly any dish.
How to build it:
- Place the main light at a 60–90° angle to the food
- Diffuse heavily
- Add a white reflector on the opposite side if needed
- Adjust distance to control contrast
This one light setup for food photography creates natural shadows and highlights that feel realistic and appetizing. It is ideal for beginners and professionals alike.
Bright Window-Style Side Light Setup for Food Photography
This setup creates the popular “bright and airy” look seen in lifestyle blogs and editorial content.
Key elements:
- Light source slightly higher than the table
- Large softbox positioned like a window
- Minimal fill on the shadow side
- Light-colored surfaces and props
An Aputure LS 600x with a Light Dome III is particularly effective for this style, as it produces broad, even illumination with smooth falloff.
Backlight Food Photography Lighting Setup for Shine and Texture
Backlighting is excellent for foods with moisture, oil, or steam. It highlights texture and creates beautiful edge highlights.
Setup steps:
- Place the light behind the dish
- Raise it slightly above the food
- Angle it downward
- Use flags to control flare
This setup works especially well for soups, noodles, sauces, and beverages.
Dark & Moody Food Photography Lighting Setup with Flags
This style emphasizes contrast and atmosphere. It relies on controlled shadows rather than brightness.
How to build it:
- Place light from the side or slightly behind
- Use minimal diffusion
- Add black flags on the shadow side
- Choose dark backgrounds and surfaces
A Godox P70 paired with black flags allows precise control and creates dramatic, cinematic results.

Simple Top-Down Food Photography Lighting Setup
Flat-lay photography requires careful control to avoid flatness.
Steps:
- Raise the light high above the table
- Angle it across the scene instead of straight down
- Use a reflector only if necessary
- Block unwanted spill with flags
This setup works well for recipe spreads, baking scenes, and editorial layouts.
Best Lighting Setup for Food Photography: From Home Kitchens to Professional Studios
There’s no single “perfect” lighting setup that works everywhere, and that’s actually good news. The same principles apply whether you’re shooting next to a kitchen window or in a professional studio: where the light comes from, how soft it is, and what it does to shadows. Once you understand those basics, lighting stops feeling intimidating and starts feeling manageable.
This guide is about building setups that make sense in real spaces, using light in a way that feels intentional, flexible, and repeatable, wherever you happen to be shooting.
How to Light Food Like a Pro: Simple, Repeatable Lighting Setups That Actually Work
Most professional food photos don’t come from complicated setups or endless gear. They come from knowing how to place a light and when to stop adjusting it.
The goal isn’t to chase perfection, it’s to create something you can rely on again and again. In this article, you’ll learn straightforward lighting setups that professionals use because they work, not because they look impressive behind the scenes. These are practical approaches that help food look natural, textured, and inviting without overthinking every shot.
Food Photography Lighting Made Simple: One-Light Setups for Natural, Appetizing Results
Lighting food doesn’t need to feel technical or overwhelming. In many cases, one light is more than enough to create images that feel real and appetizing. When you focus on how that single light wraps around the food and shapes the shadows, everything starts to click.
This guide keeps things simple on purpose, showing how one-light setups can bring out texture, freshness, and depth, so the food feels like something you actually want to reach out and eat.

How to Build Your Best Lighting Setup for Food Photography
A reliable food lighting setup is one you can repeat and adapt. Instead of copying setups blindly, use them as starting points.
- Step 1: Choose Your Main Light Source
Decide between window light or artificial lighting based on consistency needs and shooting conditions.
- Step 2: Decide on the Mood
Bright and airy feels clean and fresh. Dark and moody feels rich and intimate. Backlit setups feel dynamic and textural.
- Step 3: Pick One Core Setup
Start with side light, backlight, or moody light depending on the dish.
- Step 4: Adjust Softness and Direction
Move the light closer or farther. Add or remove diffusion. Use reflectors and flags intentionally.
- Step 5: Experiment and Document
Photograph the same dish with different lighting directions. Take behind-the-scenes photos or notes for future reference.

Elevate Your Food Photography with Helio Studio Dubai
Capturing stunning shots of food isn’t just about understanding light; it’s also about having the right tools at hand. That’s where Helio Studio Dubai comes in. Whether you’re shooting at home, in a rented studio, or on a professional set, Helio provides the latest professional lighting, cameras, and studio setups. All equipment is fully maintained and designed to make your creative process smooth and stress-free.
With Helio, you don’t have to worry about investing in expensive gear that may sit idle or become outdated. Every piece of equipment is updated and ready to perform at its best, from continuous lights and softboxes to reflectors, flags, and one-light kits perfect for capturing food.
You can experiment freely, try different setups, and achieve professional results without the cost and hassle of ownership.
By partnering with Helio Studio Dubai, you gain more than just access to equipment. You gain a reliable creative partner who supports your vision, lets you focus on your art, and ensures that your photos reflect the texture, freshness, and mood you aim to capture. Turn every food shoot into a professional-grade project, and let Helio put the tools you need right in your hands.
The ideal lighting setup for shooting food is ultimately the one you can control and understand, not the most expensive or complicated. Even a basic window or a single lamp can become an effective creative tool once you see how light falls, wraps around the dish, and shapes shadows.
Start small, observe how various dishes react to light, and have more faith in your eyes than in any formula or preset. With practice, your lighting will no longer feel like a technical challenge but rather like a silent partner that makes your meal appear as tasty, welcoming, and purposeful as it actually is.