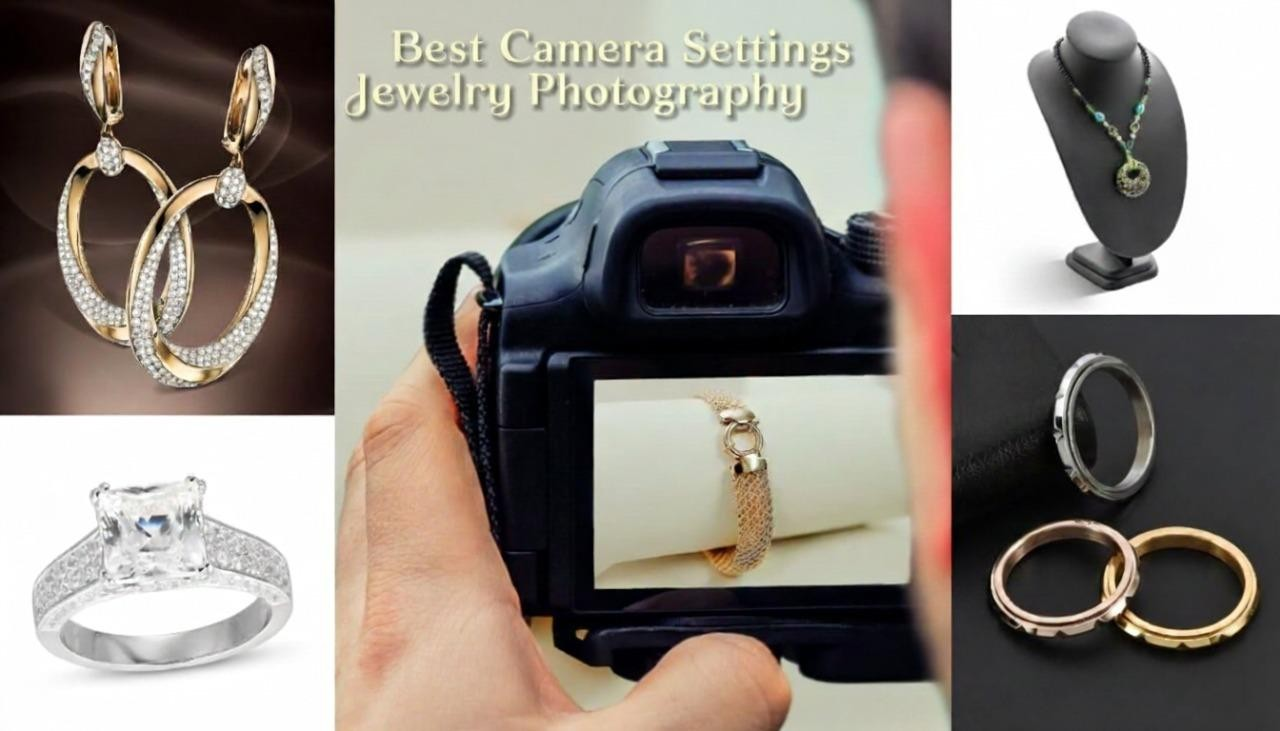
Jewelry photography is a precision-driven genre where camera settings directly affect sharpness, color accuracy, and perceived value. Capturing the brilliance of gemstones and the true tone of precious metals requires more than good lighting; it demands carefully chosen technical settings.
This guide highlights the key camera settings for capturing jewelry, showing not just which settings to choose but also why each decision influences the final result. With the right approach, you can consistently produce clean, accurate, and professional images suited for e-commerce, catalogs, and advertising.
Camera Settings for Jewelry Photography (by Jewelry Type)
Camera settings can vary depending on the material, surface, and level of detail in each piece. Diamonds and gemstones require settings that enhance sparkle without blowing highlights, while gold and silver demand precise control over reflections and color accuracy.
Dark or white jewelry presents exposure challenges that need smaller apertures and careful white balance, whereas pearls and matte pieces benefit from softer settings to preserve their natural texture. Adjusting camera settings based on jewelry type ensures consistent sharpness, true-to-life color, and a premium, professional finish across all product images.
| Scenario | Aperture | Shutter Speed | ISO | White Balance (WB) | Focus |
| Diamonds & Gemstones (Sparkle Settings) | f/13 | 1/160 | ISO100 | Daylight/Custom | Manual Focus |
| Gold, Silver, and Metal Jewelry (Reflection Control) | f/11 | 1/125 | ISO100 | Custom(gray card) | Manual Focus |
| Black or White Jewelry (Exposure challenge) | f/16 | 1/120 | ISO100 | Daylight | Manual Focus |
| Macro detail (prongs) | f/8 | 1/60 | ISO100 | Custom | Manual Focus (single point) |
| Pearls & Matte Pieces (Soft Light) | f/8-f/11 | 1/125 | ISO100 | Daylight | Manual Focus |
Why Jewelry Needs Special Camera Settings
Jewelry photography is far more demanding than standard product photography because of the materials involved and the level of precision required. Metals, gemstones, and polished surfaces react intensely to light, color, and focus, which means even small setting errors can significantly impact the image.
To achieve professional results, photographers must rely on carefully controlled camera settings that preserve detail, manage reflections, and maintain accurate color. Using specialized camera settings ensures that each piece looks refined, realistic, and worthy of its value.
Key challenges that require specific camera settings include:
- Very shallow depth of field: Small apertures like f/11–f/16 keep the entire piece sharp
- Strong reflections from metal surfaces: Controlled shutter speed and precise exposure prevent blown highlights
- High sensitivity to color accuracy: Correct white balance and shooting in RAW maintains true metal and gemstone tones
- Extremely fine micro-details: Low ISO settings reduce noise and preserve texture and engraving
- High contrast between stones and metal: Balanced exposure avoids losing detail in highlights or shadows

Core Camera Settings for Jewelry Photography
The most effective camera settings for capturing jewelry aim to maximize sharpness, manage reflections, and maintain true colors. Because jewelry pieces are small and intricately detailed, even slight adjustments can have a big impact on the final image. Typically, a narrow aperture ensures full depth of field, paired with a low ISO to keep details clean and noise-free.
Shutter speed is mainly used to balance exposure, especially when shooting with continuous lights or light tents. Accurate white balance, preferably set manually or corrected in RAW, is crucial for natural-looking metals and gemstones. Applied correctly, these principles form the foundation for professional, consistent images in studio, e-commerce, or editorial work.
Aperture Settings for Jewelry Photography
Choosing the best aperture for jewelry photography is one of the most critical decisions in achieving professional, high-end results. Jewelry pieces are small, highly detailed, and often three-dimensional, which makes depth of field a constant challenge. Unlike portraits or lifestyle shots, which often benefit from a shallow focus for artistic effect, shooting jewelry requires sharpness, precision, and consistent clarity across the entire piece.
In most cases, the best aperture for jewelry photography falls between f/11 and f/16. This range provides enough depth of field to keep the full piece sharp, stones, prongs, edges, and engravings, while still maintaining excellent image quality. Wider apertures such as f/2.8 or f/4 can be attractive in other types of photography, but when shooting jewelry, they often create blurred edges or soft details, lowering the perceived quality of the piece.
Recommended Aperture Ranges (with Practical Use Cases)
| Jewelry Type | Recommended aperture | Why it works |
| Rings, earrings, pendants (3d pieces) | f/11-f/16 | Maximizes sharpness across depth |
| Flat jewelry (chains, bracelets laid flat) | f/8 | Enough depth without over-stopping |
| Macro close-ups (stones & prongs) | f/11-f/16 | Balances detail and clarity |
| Focus stacking workflows | f/16-f/22 | Increases overlap between focus layers |
| Lifestyle-style product shots | f/8-f/11 | Slight softness with controlled depth |
For flat jewelry pieces, such as chains, bangles, or earrings photographed straight-on, f/8 is often sufficient. Since there is minimal depth variation, using a slightly wider aperture helps preserve sharpness while avoiding unnecessary light loss. In these cases, f/8 can still deliver professional results without compromising detail.
When working with macro photography, aperture selection becomes even more important. Macro lenses exaggerate shallow depth of field, meaning only a thin slice of the jewelry may appear sharp at wider apertures. This is why experienced photographers rely on f/11–f/16 as the safest range. It keeps more of the subject in focus while maintaining high image quality.

When to Use f/16–f/22 (and When Not To)
Very small apertures like f/16–f/22 should be used only when focus stacking is involved. Focus stacking is a technique where multiple images are captured at different focus points and merged in post-production to create full-depth sharpness. In this workflow, slightly smaller apertures help ensure smoother transitions between focus layers. However, using f/22 without focus stacking can actually reduce image quality. This is where diffraction comes into play.
Why Diffraction Matters (Simple Explanation)
Diffraction happens when light passes through a very small aperture and begins to scatter. Instead of producing sharper images, extremely small apertures can make photos look slightly soft or hazy. In jewelry photography, where clarity and precision are essential, this softness can reduce the crisp edges of gemstones and metal surfaces.
Think of diffraction like squeezing water through a very small opening: rather than flowing smoothly, it scatters. This scattering softens fine details, which is why the optimal aperture for shooting jewelry avoids extreme values and generally falls between f/8 and f/16, depending on the shot.
ISO Settings for Jewelry Photography
ISO plays a crucial role in achieving perfect camera settings for stunning jewelry photos, as image cleanliness directly impacts perceived quality and craftsmanship. Because these images are often examined up close on product pages or zoomed-in screens, even minimal noise becomes noticeable. For this reason, ISO 100 is the recommended standard.
At ISO 100, the sensor captures maximum detail, smooth tonal transitions, and accurate color. Polished metals stay pristine, gemstone edges remain sharp, and fine textures like engravings or prongs are preserved. In controlled studio environments with a tripod and professional lighting, there is rarely a need to increase ISO, slower shutter speeds offer a better solution than introducing noise.
ISO 200 should be reserved for rare cases, such as low light or when a slightly faster shutter speed is necessary for exposure balance. Even then, higher ISO can soften micro-details and complicate post-processing. For high-end shots, adjusting lighting or stability is always preferable to raising ISO.
For long exposures, such as focus stacking or extreme macro work, long-exposure noise reduction can be used selectively to maintain image cleanliness. When applied carefully, it helps produce ultra-clean files without affecting fine detail.
In short, ISO settings for jewelry photography should always prioritize detail and clarity over convenience. ISO 100 is the rule, ISO 200 the exception.

Shutter Speed Settings for Jewelry Photography
Shutter speed in jewelry photography is used to control exposure and reflections, not motion. Because jewelry is a static subject, the goal is to maintain maximum sharpness and balanced highlights rather than freezing movement. A reliable starting point for most studio setups is 1/125 second, which provides consistent exposure and stability when combined with low ISO and controlled lighting.
Slower shutter speeds can be used safely when a tripod is in place, especially with continuous lighting. Speeds such as 1/60, 1/30, or longer allow precise exposure control without compromising detail, as long as camera vibration is eliminated. Adjusting shutter speed is often the most effective way to fine-tune brightness and reduce harsh highlights on polished metals and gemstones without changing aperture or ISO.
Shutter speed behaves differently depending on the lighting system. With continuous lighting, it directly affects exposure. With flash, shutter speed primarily controls ambient light and should remain within the camera’s sync speed, typically around 1/125 second. When used properly, shutter speed ensures clean highlights, balanced exposure, and consistent professional results in jewelry shots.
White Balance Settings for Jewelry
White balance is one of the most critical settings in jewelry photography because metals and gemstones are extremely sensitive to color shifts. Even slight inaccuracies can make gold appear green, silver look blue, or gemstones lose their true saturation, which directly impacts perceived quality and buyer trust.
For professional results, a color temperature between 5000–6500K is ideal, as it matches daylight-balanced studio lighting and preserves natural tones across different materials. Auto white balance should be avoided, since reflective surfaces can easily confuse the camera and cause inconsistent color results between shots.
Using a gray card is the most reliable way to achieve accurate and repeatable white balance. It provides a neutral reference point, ensuring consistency across an entire shoot. Additionally, shooting in RAW is essential for jewelry photography, as it preserves full color data and allows precise white balance adjustments in post-production without degrading image quality. Accurate white balance ensures jewelry looks realistic, premium, and trustworthy in e-commerce, catalogs, and advertising.
Focus Settings for Small Shiny Objects
Focus accuracy is critical in jewelry photography, especially when working with small, reflective surfaces. Polished metals and faceted gemstones often confuse autofocus systems, causing focus to lock onto reflections instead of actual details. For this reason, manual focus is the most reliable choice for professional jewelry work.
Using live view with magnification allows precise control over focus placement on critical areas such as stone edges, prongs, and engravings. This method provides far greater accuracy than relying on the viewfinder alone. For added confidence, focus peaking can be used to visually confirm sharp areas in real time, which is particularly helpful in macro photography where depth of field is extremely shallow.
Autofocus may work in limited situations, but it is inconsistent with shiny surfaces. Manual focus, combined with live-view tools, ensures consistent sharpness and professional-level detail across jewelry images.

Advanced Camera Settings for Pro-Level Jewelry Shots
Professional jewelry photography often requires techniques beyond standard camera settings to achieve full sharpness, controlled reflections, and consistent exposure. These advanced workflows are especially important for high-end e-commerce, advertising, and detailed macro photography, where precision directly affects perceived value.
- Focus Stacking (When and Why to Use It): Focus stacking is used when a single exposure cannot deliver full sharpness across the entire jewelry piece, especially in macro photography. Multiple images are captured at different focus points and merged in post-production, producing complete depth of field without relying on extremely small apertures that cause diffraction. This technique is ideal for rings, prongs, and multi-layered designs.
- Cross-Polarization for Reflection Control: Cross-polarization uses a polarizing filter on the lens combined with polarizing film on the light sources. This setup dramatically reduces glare and unwanted reflections on polished metals and gemstones, revealing true surface texture and accurate color while maintaining clean highlights.
- Tethered Shooting for Precision and Consistency: Tethered shooting connects the camera directly to a computer, allowing real-time image review on a larger screen. This makes it easier to evaluate focus, exposure, and histogram accuracy, ensuring consistency across shots and reducing reshoots in professional jewelry workflows.
Troubleshooting Your Camera Settings for Jewelry Photos
- If your jewelry looks soft or not fully sharp, increase your aperture to a higher f-stop (f/11–f/16) to improve depth of field and keep the entire piece in focus.
- If only one part of the jewelry is sharp, switch to manual focus and use live-view zoom to place focus precisely on key details like gemstones or prongs.
- If fine details appear grainy or muddy, lower your ISO to 100, as higher ISO introduces noise that destroys micro-detail and surface texture.
- If highlights on metal surfaces look blown out, increase your shutter speed slightly to reduce brightness while maintaining overall exposure balance.
- If gold looks green, silver looks blue, or gemstones appear dull, adjust your white balance into the 5000–6500K range or recalibrate using a gray card.
- If reflections overpower the jewelry, keep your exposure stable and use a polarizing filter, then fine-tune shutter speed rather than aperture or ISO.
- If images look flat or inconsistent between shots, monitor your histogram while shooting to confirm correct exposure and tonal balance.
- If sharpness drops at very small apertures, avoid extreme f-stops and use focus stacking instead of stopping down further.
This quick troubleshooting guide helps you identify problems and fix them by adjusting the correct camera setting.
Where Strategy Meets Creative Impact
Creating high-quality jewelry images is not just about having the right equipment; precise camera settings and careful handling make all the difference. In our fully equipped studios in Helio agency, we provide a wide range of modern photography tools, from various lenses to professional lighting, so you don’t need to purchase your own gear. You can easily use our facilities and focus on settings and details to capture sharp, accurate, and professional images.
This approach makes the photography process more efficient and ensures that each piece of jewelry is presented with full detail and true-to-life color.