Great indoor photos aren’t about expensive gear or perfect rooms, they’re about understanding light. When you know how to control direction, softness, and color, any indoor space can deliver clean skin tones and repeatable results.
This guide breaks down how to get the best lighting for indoor photography using clear principles you can apply at home, at night, or in fully controlled setups.
Best lighting for indoor photography (Quick Answer)
If your goal is repeatable results, natural-looking colors, and clean skin tones, the best lighting for indoor photography comes down to choosing the right light source for your space and time of day. Here’s a clear, no-guesswork breakdown:
- If you have a window, place your subject beside a large window and turn off mixed indoor lights. Soft daylight from one direction gives flattering contrast, realistic skin tones, and minimal editing, making it ideal for indoor photography lighting for beginners.
- If you have a window and want control, Use sheer curtains or a white reflector to soften shadows. This approach delivers professional results with minimal indoor photography lighting equipment and keeps tones consistent across multiple shots.
- If you need consistency, A single softbox or LED panel positioned at a 45-degree angle provides stable exposure and predictable color. This is the most reliable option for content creators who need repeatable results indoors.
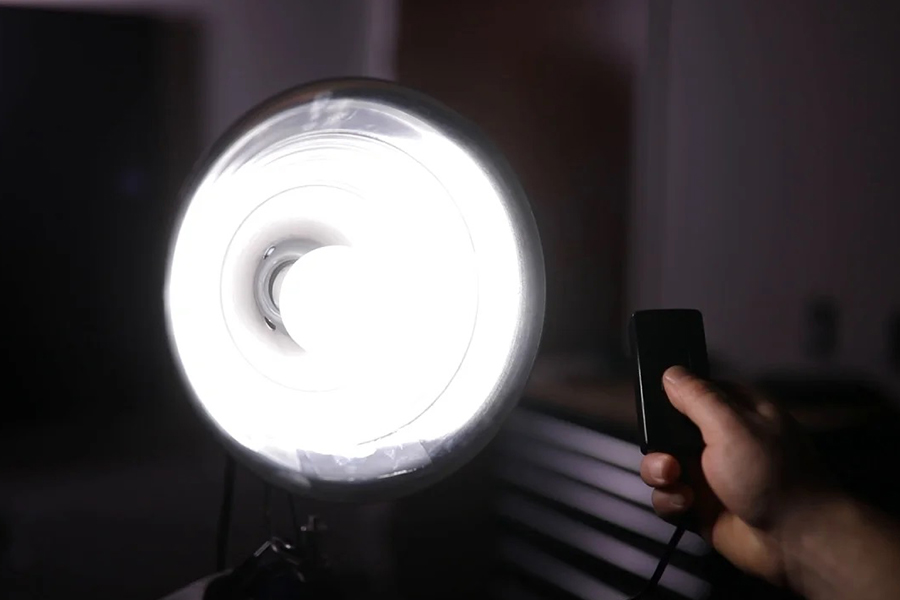
- If you shoot at night, use a daylight-balanced LED light and turn off ambient lamps. This setup answers the core question of how to get good lighting for indoor photos at night without color casts or harsh shadows.
- If you shoot at home often, Simple setups designed for lighting for photography at home can outperform complex rigs, focus on softness, direction, and consistency rather than brightness alone.
In short, great indoor photos come from controlled softness, stable color, and lighting you can repeat every time.
What Best Indoor Lighting Looks Like for Photography?
The best indoor lighting for photography isn’t defined by how bright a room is, it’s defined by how controlled the light feels. When indoor photos look clean, natural, and professional, four core lighting controls are almost always handled well.
1. Direction
Good indoor light comes from one clear direction, not everywhere at once. Side lighting (from a window or a single light source placed at an angle) creates gentle shadows that add depth to faces and objects. Front-on light flattens features, while light from above or below often looks unnatural. Decide where your “main” light is coming from, and remove competing sources.
2. Softness (diffusion and size)
Soft light wraps around your subject and smooths textures, especially skin. This happens when the light source is large relative to the subject or diffused before it hits them. Harsh, small light sources create sharp shadows and highlight imperfections. Curtains, white walls, or diffusion panels all help create that soft, flattering look indoors.
3. Color consistency (temperature and white balance)
Mixed light temperatures are one of the fastest ways to ruin indoor photos. Warm ceiling lights combined with cool daylight cause strange skin tones that are hard to fix later. The best setups rely on one color temperature and match the camera’s white balance to it, keeping colors neutral and realistic.
4. Exposure stability (avoiding extreme ISO)
Quality indoor light allows you to shoot at a moderate ISO without pushing the camera to its limits. When light is stable and sufficient, images stay sharp, clean, and free of heavy noise, especially important for portraits and product shots.
When these four controls work together, indoor photos stop looking accidental and start looking intentional.
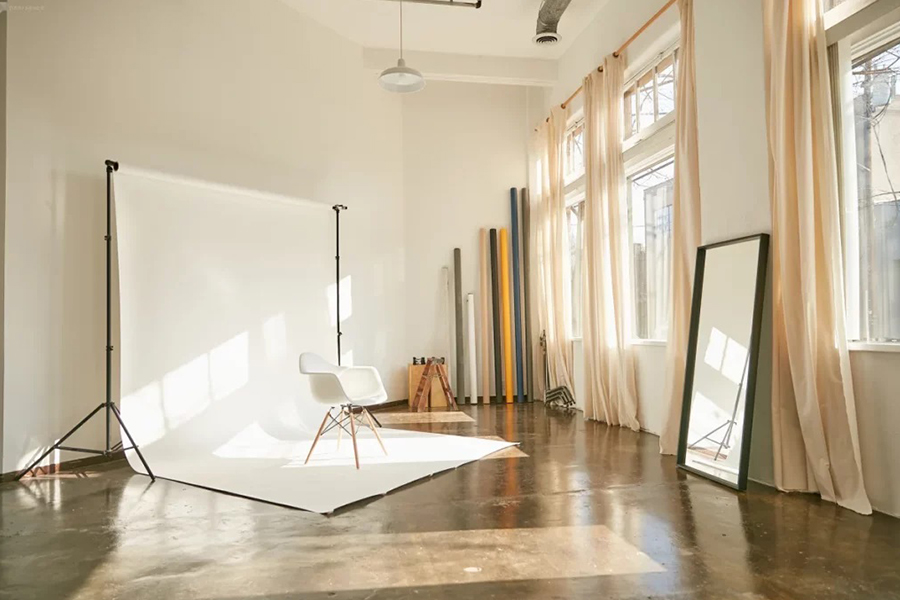
Best Lighting for Indoor Photography with Natural Window Light
When it comes to achieving natural skin tones, soft contrast, and a professional look, window light remains the most reliable and accessible form of indoor illumination. The best lighting for indoor photography often starts with understanding how to use daylight intentionally, rather than just standing near a window and hoping for the best.
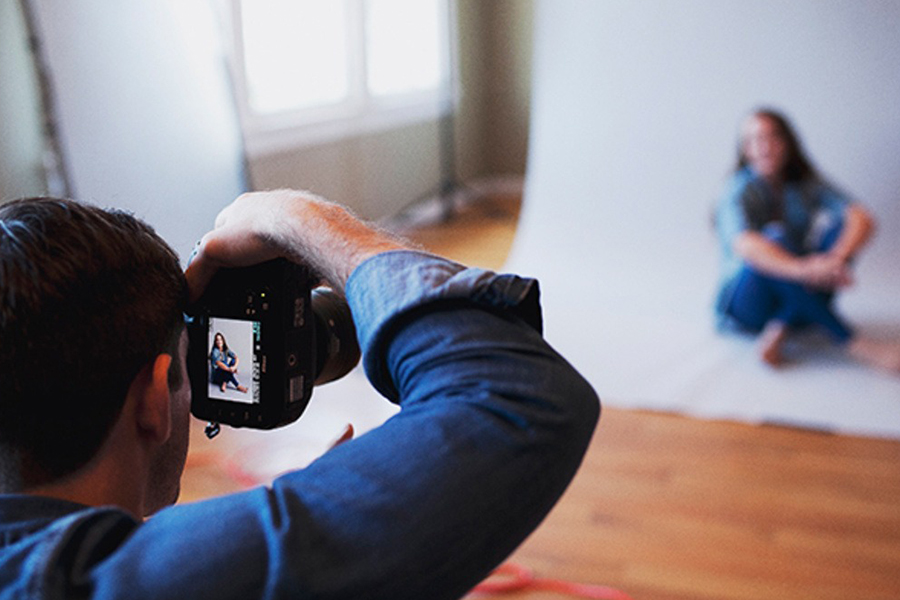
1. Subject placement: where you stand matters more than the window itself
The strongest results usually come from placing your subject perpendicular to the window. This means the window is to the left or right of the subject, not directly in front. This angle creates gentle shadows that define facial features while keeping skin smooth and dimensional.
An angled position, where the subject turns slightly toward the window, adds even more depth and is ideal for portraits. It helps light fall naturally across the face, reducing flatness without creating harsh contrast.
Backlit setups, where the window is behind the subject, can also work beautifully, but only if you manage exposure carefully. Backlighting creates a soft glow and separation from the background, yet it requires either a reflector or careful camera settings to prevent the subject from becoming too dark.
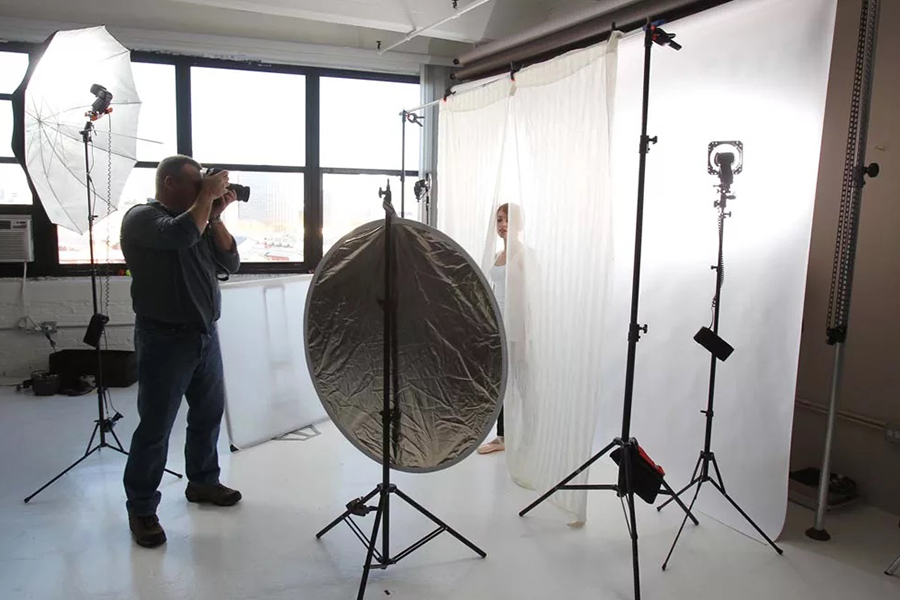
2. Control harsh light and hotspots before touching your camera
Direct sunlight hitting the subject or floor creates hotspots, blown highlights, and deep shadows that are difficult to fix in editing. The goal of the best indoor light setup is softness, not intensity.
Use sheer curtains, thin drapes, or even a white bedsheet to diffuse incoming light. This spreads the light source, making it larger relative to your subject, which instantly improves skin texture and tonal transitions.
Watch for bright patches on foreheads, noses, or hands. If you see shiny areas, the light is too direct. Move the subject slightly away from the window, adjust the angle, or increase diffusion until the light wraps instead of strikes.
3. Time of day changes everything
Not all daylight is created equal, and timing plays a huge role in indoor results.
- Morning light is typically cooler and softer, especially from north- or east-facing windows. It’s ideal for clean, fresh-looking photos with neutral tones.
- Midday light is brighter and harsher, particularly from south-facing windows. Diffusion becomes essential at this time.
- Late afternoon light is warmer and directional, adding mood and depth, but it can introduce strong color shifts if not controlled.
Understanding your window orientation helps you predict how light will behave. If you want consistency, shoot at the same time of day whenever possible. This habit alone dramatically improves repeatable results indoors.
4. Distance from the window, contrast control
The closer your subject is to the window, the higher the contrast between highlights and shadows. Stepping the subject back even half a meter softens the fall-off and creates a more balanced exposure.
If shadows feel too deep on the side away from the window, use a white wall, foam board, or reflector to bounce light back gently. Avoid mirrors or metallic surfaces, they add uncontrolled reflections that ruin natural balance.
5. The golden rule: turn off room lights
One of the most important, and most ignored, rules of natural indoor shooting is turn off all artificial room lights. Ceiling lamps, wall lights, and warm bulbs mix color temperatures with daylight, causing orange or green skin tones that are difficult to correct.
Even if room lights look subtle to the eye, the camera will see them. Mixed color sources destroy the clean look that makes daylight so effective. Commit to one light source only, the window! If the room feels dark without artificial lights, adjust camera exposure instead of adding mixed illumination. Natural light plus correct exposure always beats bright but inconsistent color.
6. Background awareness completes the image
Natural window setups often fail not because of the subject, but because of the background. Bright windows behind the subject, reflective walls, or colorful objects can pull attention away from the main focus. Choose backgrounds with neutral tones and minimal reflections. If the background is darker than the subject, the image feels cleaner and more intentional. This contrast also helps skin tones stand out naturally without extra editing.
7. Why window light delivers the most natural results
Window light works so well indoors because it closely matches how we naturally see light. When used alone, it is directional, soft, and color-accurate. With simple control over subject placement and diffusion, daylight becomes predictable and easy to manage. Once mixed light is removed, window light proves that natural-looking indoor photos depend more on control and timing than on complex setups.
Indoor Color Control: When Room Lights Clash
One of the quickest ways to ruin indoor visuals is mixing multiple light sources. Ceiling lights, decorative lamps, and wall fixtures usually have different color temperatures than daylight or LED panels. When these overlap, the result is often yellow or green skin tones and uneven color that feels wrong, even if viewers can’t pinpoint why.
The issue is not just color, but direction. Overhead lights create harsh shadows under the eyes and shiny hotspots on the face, while accent lights introduce random bright areas that break visual balance. Technically, the camera can only apply one white balance, so mixed lighting always forces a compromise.
In interior lighting, the goal is simple: even illumination, soft transitions, no hotspots, and one dominant color source. Thinking in terms of diffusion and bounce rather than raw brightness keeps results clean and controllable.
There are two situations where mixed lighting can work. If warmth or contrast is part of the intended mood, such as a cozy café or cinematic night scene, color shifts become a creative choice. In no-control locations where lights cannot be turned off, prioritize your main light and reduce the impact of others through distance, angle, or framing.
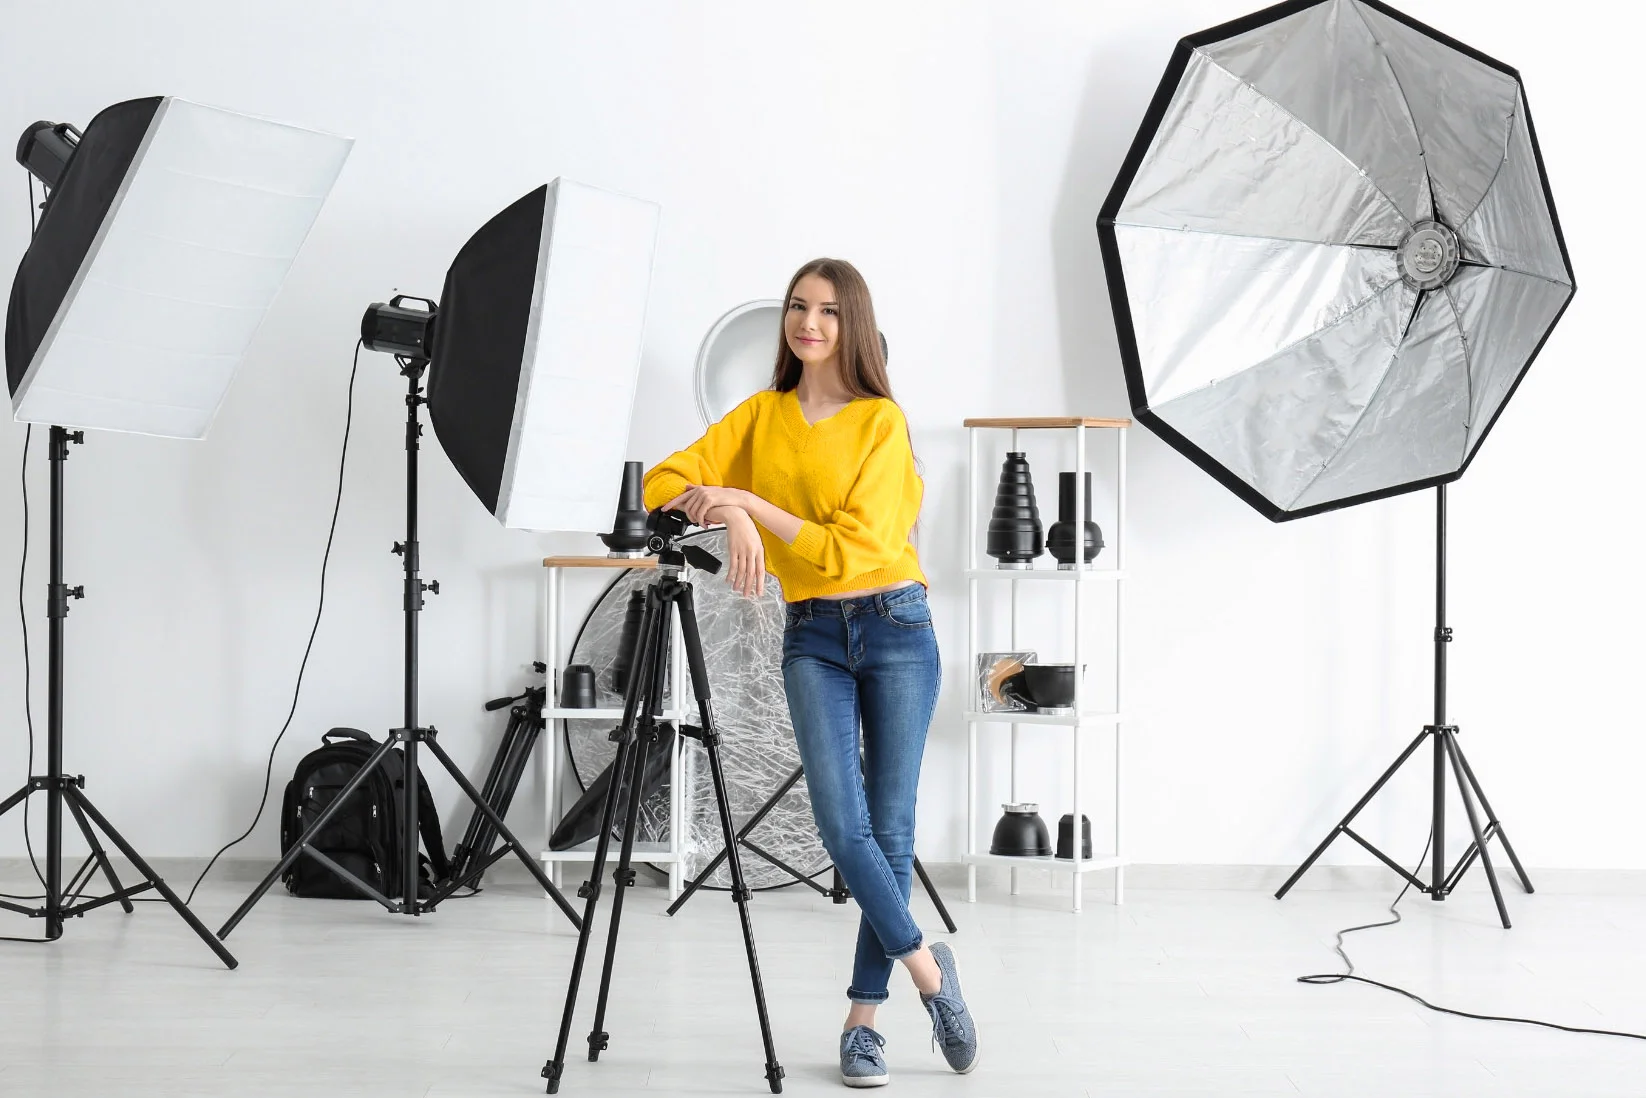
Controlled Light for Consistency: When Windows Fail
Natural light looks great but isn’t reliable. Changes in weather, time of day, or room orientation can quickly disrupt a setup. Controlled lighting solves this by delivering consistency, the foundation of professional indoor photography. Once light placement and exposure are set, shadows stay predictable and color remains stable across every frame.
This reliability is crucial for portraits, product photography, and multi-session shoots where continuity matters. Controlled light also removes location limits, allowing you to shoot at night, in windowless rooms, or tight spaces without relying on sunlight. Because output is predictable, you can keep ISO lower, preserve detail, and avoid unnecessary noise.
In practice, controlled lighting comes in two forms: flash, which provides short, powerful bursts and freezes motion, and continuous light, which stays on for real-time adjustment. Despite different workflows, both offer the same benefit: repeatable, intentional results.
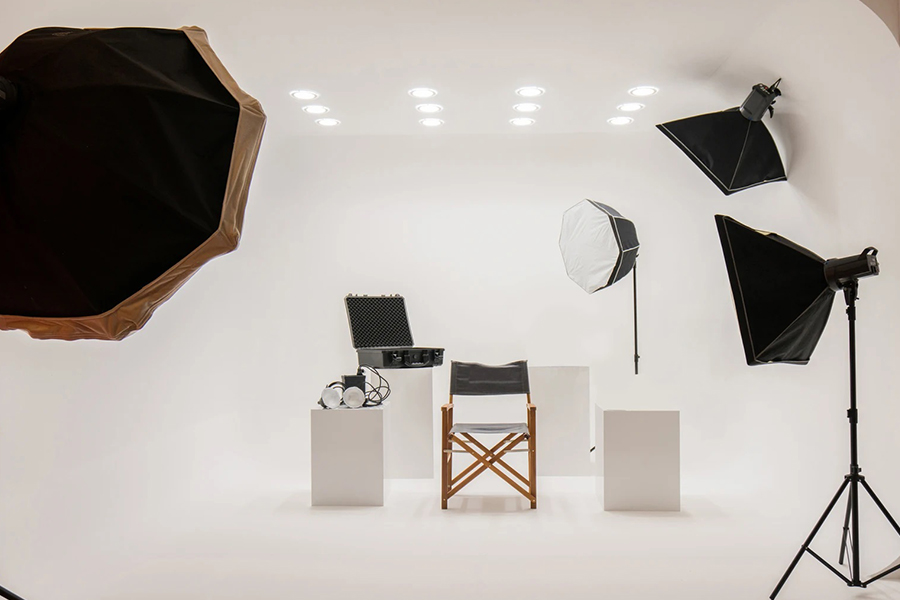
Best Indoor Photography Lighting Gear
Choosing the right tools matters, but only after you understand control, softness, and consistency. Below are three practical tiers you can scale through as your needs grow.
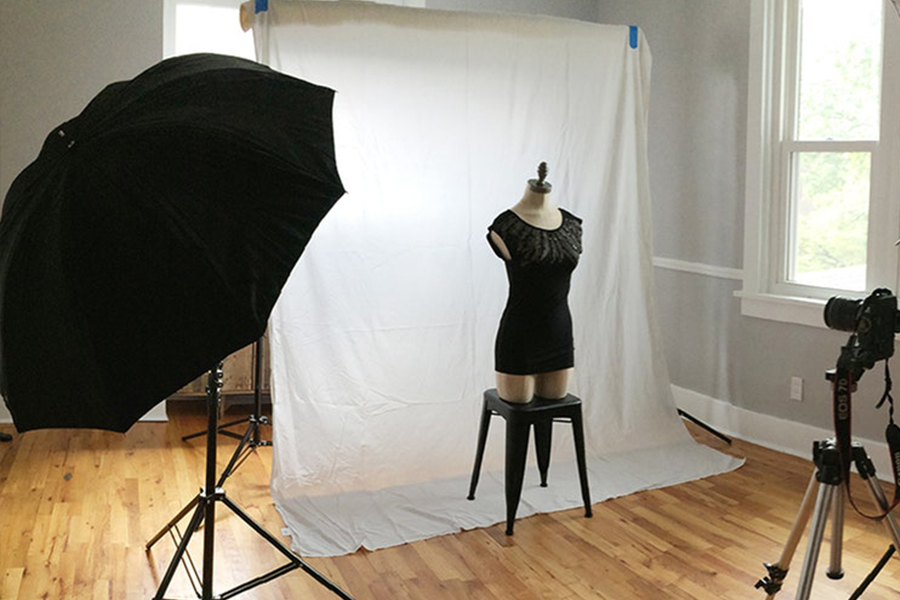
Tier 1: Minimal Setup (Clean, Simple, Effective)
This level is ideal if you want reliable results with the fewest moving parts.
You need:
- One main light source (continuous or flash)
- Diffusion to soften the light
- A light stand for stable positioning
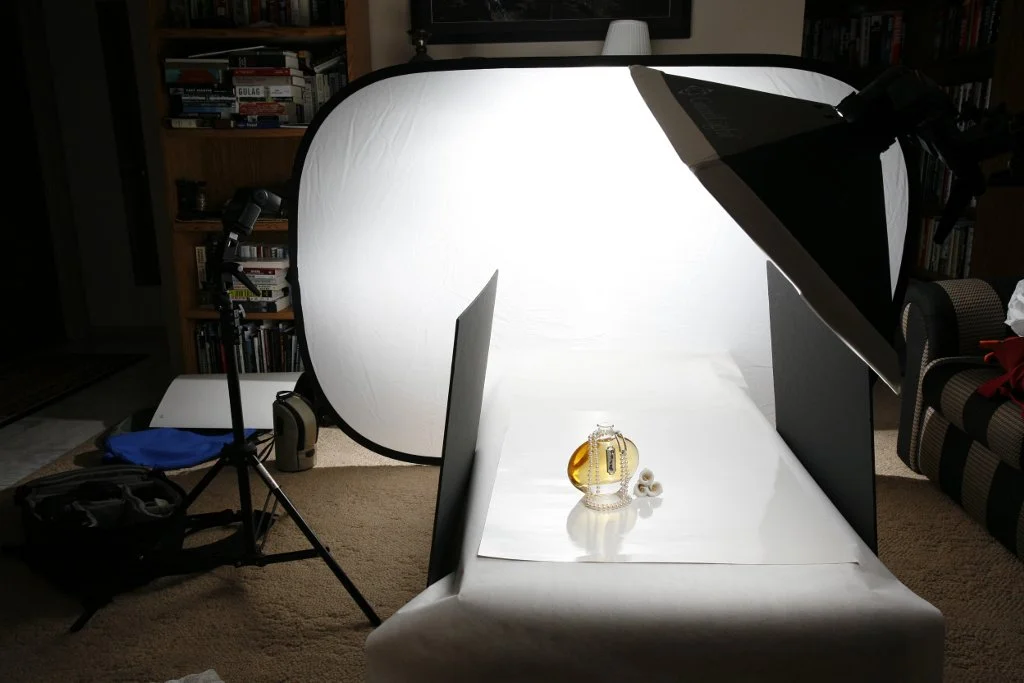
- A bounce surface (white wall, foam board, or reflector)
This setup gives you directional, soft light with controlled shadows, perfect for portraits, food, and small products. Diffusion is the key here: it increases the apparent size of the light, smoothing skin tones and textures. The bounce surface fills shadows gently without adding a second light source, keeping color and exposure simple.
At this tier, focus on placement rather than power. A well-positioned soft light always beats a brighter uncontrolled one.
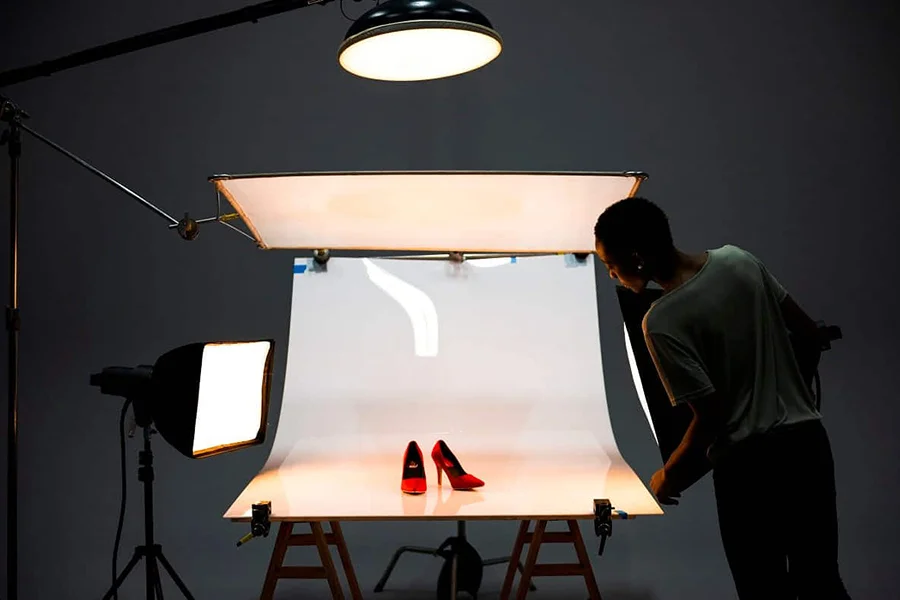
Tier 2: Mid-Level Control (Flexibility and Refinement)
When you need more consistency across sessions or more creative control, the next tier adds shaping tools.
You add:
- Stronger or adjustable-output light
- Multiple modifiers (softbox + grid, umbrella, or diffusion panel)
- Flags or negative fill to control spill and contrast
This setup allows you to sculpt light rather than just soften it. You can prevent light from hitting backgrounds, deepen shadows intentionally, and keep exposure stable even when the subject moves slightly.
At this stage, indoor photography lighting equipment becomes less about brightness and more about precision. You gain the ability to repeat the same look day after day, crucial for branding, content production, and product photography.
Tier 3: Total Control (Professional Consistency)
This level is about full independence from environment and time.
You add:
- A second light source (fill, rim, or background light)
- Independent control over each light
- A simple metering approach (camera histogram, test shots, or light meter)
The second light doesn’t need to be strong. Often it exists just to control contrast or separate the subject from the background. The key is balance: the main light defines the look, the second light refines it.
Metering, or at least consistent exposure checking, ensures that your lighting stays repeatable across sessions. This is where indoor photography stops being reactive and becomes systematic.
Best Lighting for Indoor Photography for Beginners
If you’re just starting out, mastering light indoors can feel overwhelming, but it doesn’t have to be. The best lighting for indoor photography at a beginner level is about avoiding common traps and following a few reliable rules that work in almost any space.
5 Simple Rules to Follow
- Use one main light source: Decide where your light is coming from and commit to it. One window or one lamp is better than several weak sources fighting each other.
- Bring the light from the side: Side lighting adds shape and depth. Light coming straight from the front often looks flat and lifeless.
- Soften before you brighten: Diffused light almost always looks better than stronger light. Softness improves skin tones and reduces harsh shadows.
- Keep your subject close to the light: Light loses power quickly with distance. Moving closer improves exposure and reduces noise without touching camera settings.
- Match color and white balance: Stick to one type of light color and set your camera’s white balance to match it. This keeps colors natural and clean.

How to Get Good Lighting for Indoor Photos at Night
As discussed earlier, strong indoor lighting is about control and consistency, not raw brightness. Night photography follows the same principles, but mistakes become more obvious once daylight is gone. The key is committing to one clear lighting decision and building everything around it.
First, decide on the intended look. A neutral setup feels clean and accurate, while a warm setup creates a cozy or cinematic mood. Problems usually appear when both are mixed in the same scene.
Just as with daytime interiors, eliminating mixed color temperatures is critical. Indoor spaces at night are filled with competing light sources. Turning off anything that does not support your chosen look will immediately improve skin tones and overall balance.
Instead of raising ISO, prioritize improving the light itself. Bringing the light closer, diffusing it, or increasing output preserves detail and color depth far better than pushing camera sensitivity.
Finally, lock your white balance and control light direction intentionally. A fixed white balance prevents color shifts between frames, and thoughtful light placement adds shape without harsh shadows. At night, discipline matters more than experimentation, and consistency always wins.
Troubleshooting (Fast Fixes)
When indoor photos don’t look right, the problem is usually lighting control—not the camera. Use these fast, one-line fixes to diagnose and correct the most common issues without overthinking.
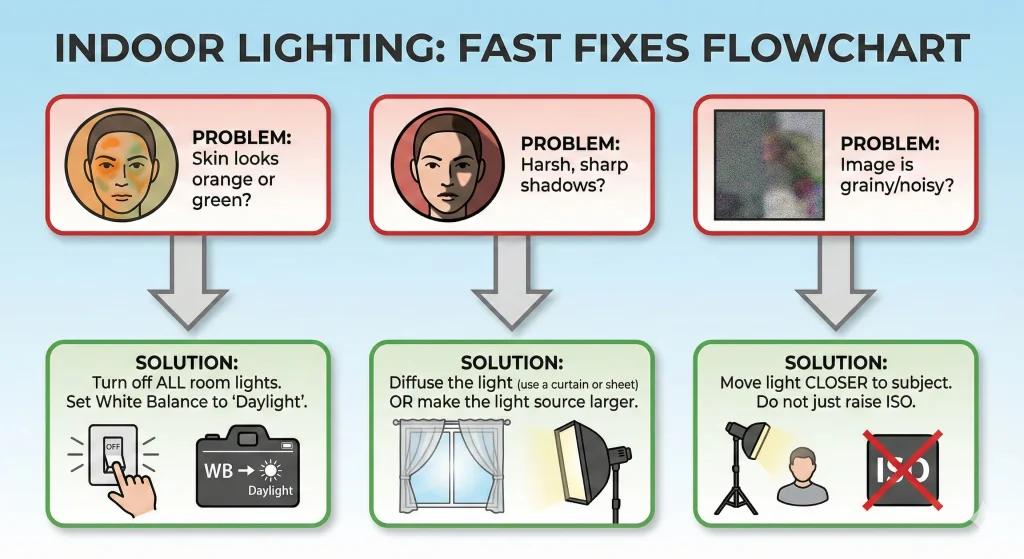
- Orange or green skin tones: Turn off mixed room lights and commit to one light color, then set white balance to match.
- Harsh shadows on face: Increase light size or add diffusion before increasing brightness.
- Flat, lifeless image: Move the light to the side to introduce direction and depth.
- Shiny hotspots on skin: Soften the light or move the subject slightly farther from the source.
- Dark eye sockets: Lower the light angle or add gentle bounce from below or the opposite side.
- Grainy or noisy image: Add light or move it closer instead of raising ISO.
- Background too bright: Increase distance between subject and background or flag the light spill.
- Inconsistent color between shots: Lock white balance and avoid auto settings.
- Results change day to day: Fix shooting time or switch to controlled light for repeatability.
Turning Light into Consistency
Helio is a creative agency that helps brands and creators solve lighting and visual challenges with clarity and strategy. By combining technical understanding with practical execution, Helio supports teams in achieving consistent, high-quality indoor visuals that are easy to repeat and aligned with their creative goals.
Final Mindset
The best indoor photography lighting isn’t about more gear or more brightness, it’s about one soft, consistent light, clear direction, and repeatable setups that keep skin tones clean and results reliable in any space or time of day.
FAQ
What is the best lighting for interior photography?
Soft, directional light from one clear source with consistent color and controlled shadows.
How do you set up lighting for photography at home?
To set up lighting for photography at home, start simple and focus on control and consistency. If you want a natural look, place your subject sideways to a window so the light shapes the face or object from one direction, then use a white wall or foam board on the opposite side to bounce light back and soften shadows. If you prefer more control, use a single soft light positioned at about a 45-degree angle to the subject and keep the background slightly darker to create depth. For a more balanced result, combine a main light to define shape with a gentle bounce or fill light to reduce harsh contrast. Once you find a setup that works, keep note of your angles and distances so you can easily recreate the same look every time.
Which light is best for indoor photography?
A soft, controllable light with stable color, used alone, not mixed with others.
What is the best lighting for indoor photography for beginners?
One soft side light, close to the subject, with all other lights turned off.
What light bulbs are best for indoor photography?
Daylight-balanced bulbs with consistent color temperature; avoid mixing warm and cool bulbs.
How to light for interior photography?
Choose one direction, soften the light, keep colors consistent, and avoid hotspots.
How to light an indoor photoshoot?
Place the main light to the side, diffuse it, control spill, and lock white balance.
Which lighting is best for photography?
Lighting that is soft, predictable, and repeatable, control matters more than power.