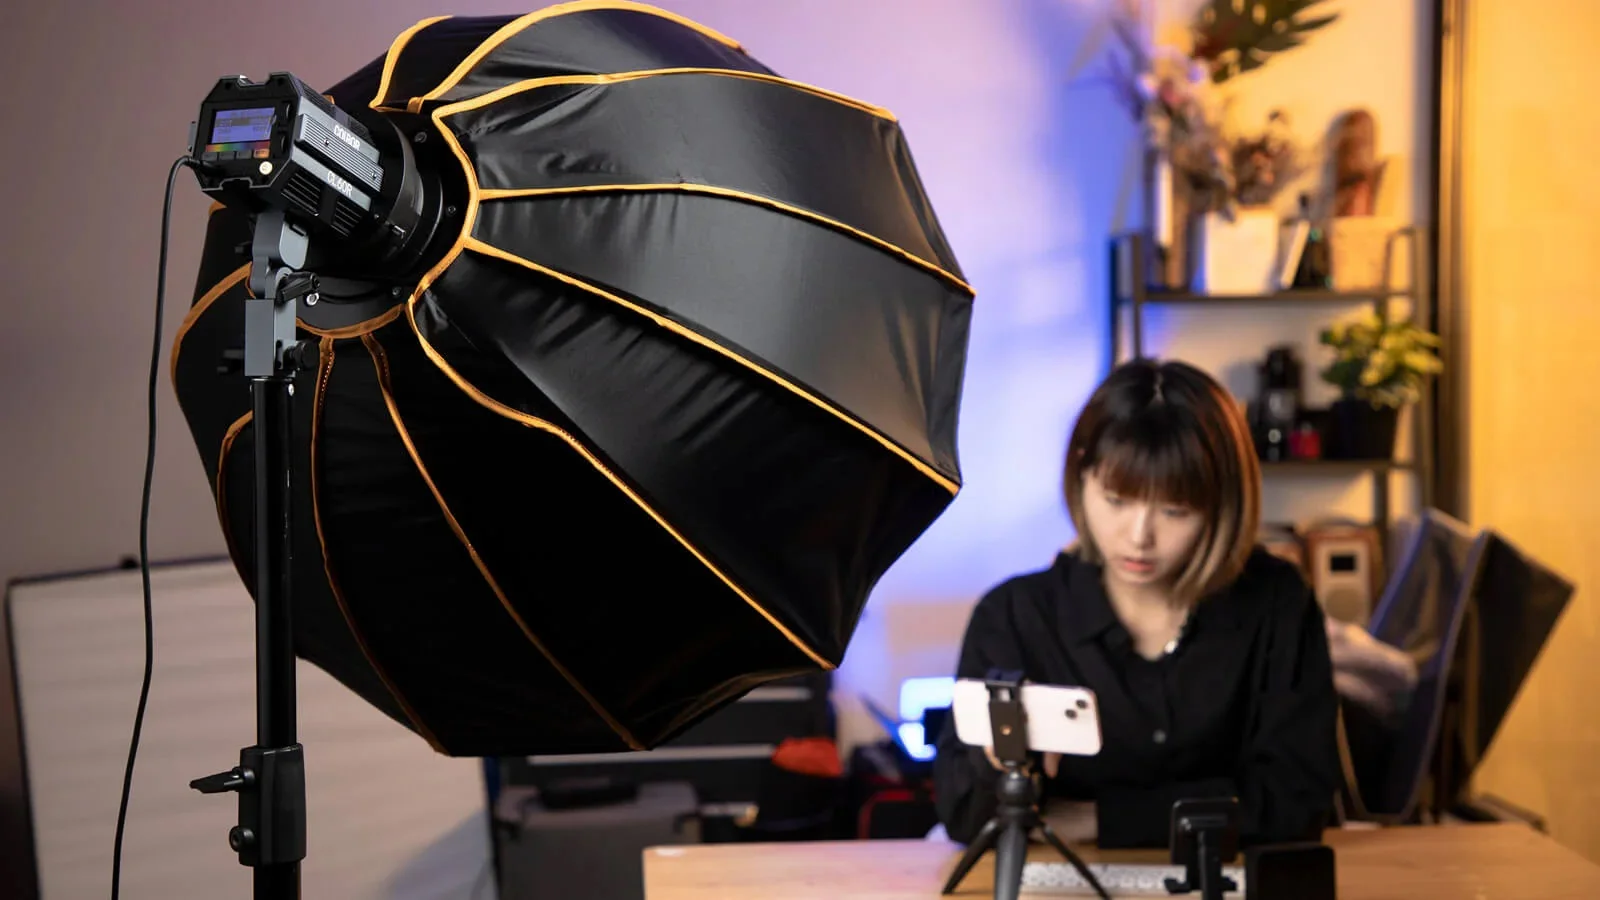
Great YouTube videos don’t start with expensive cameras, they start with light. The way your subject is lit affects how professional you look, how clearly your message is delivered, and whether viewers stay or scroll away. The good news? You don’t need a studio or a big budget to get it right.
With a simple, repeatable setup and a few smart choices, you can dramatically improve your video quality and create content that feels polished, confident, and consistent, no matter your space or experience level.
Why Good Lighting Matters for YouTube Videos
Good lighting is one of the fastest ways to level up your content, often faster than upgrading your camera. When your lighting is right, your videos instantly look more professional, polished, and trustworthy. This is why creators who focus on the best lighting for youtube videos stand out, even with simple gear.
First, lighting dramatically improves clarity. Whether you’re filming tutorials, product demos, or talking-head videos, proper light helps viewers clearly see your face, hands, and details, without harsh shadows or distracting glare. This makes your message easier to follow and more enjoyable to watch.
Lighting also gives you control over mood and tone. Soft, even light feels friendly and approachable, while stronger contrast can add drama or focus. With a smart light setup, you guide the viewer’s attention exactly where you want it.
Most importantly, bad lighting can ruin everything. Even the most expensive camera will look amateur if the lighting is flat, dark, or uneven. On the other hand, good lighting for YouTube videos can make a basic setup look clean, confident, and high-quality, without extra complexity or cost.
Best Lighting Setup for YouTube Videos
If you want a setup that works every time, at home or in a small studio, this is where to start. A solid best youtube lighting setup doesn’t need to be complicated or expensive; it just needs to be intentional and repeatable.
Quick Start: The Simple, No-Stress Setup
For beginners or fast workflows, start with one main light:
- Place a single light slightly above eye level
- Position it at a 30–45° angle from your face
- Keep it soft (using a softbox or diffuser)
This alone can dramatically improve video quality and is often enough for talking-head videos, online courses, or reels. Many creators chasing the best lighting for youtube videos begin here and stick with it for a long time.
The Standard: 3-Point Lighting (Reliable & Professional)
Once you want more control and consistency, the industry standard is 3-point lighting. This is the foundation of the best light setup for YouTube and works for almost any content type.
1. Key Light, Your main light
- Brightest source
- Placed 30–45° from the camera
- Defines your face and overall look
2. Fill Light, Softens shadows
- Placed opposite the key light
- Lower intensity
- Prevents harsh contrast
3. Back Light (Hair/Rim Light), Adds depth
- Placed behind you
- Separates you from the background
- Creates a clean, professional edge
This setup gives you depth, clarity, and full control over how your video feels, educational, cinematic, or casual. It’s the most reliable approach for creators who want consistent results and is widely considered the best lighting setup for youtube videos across niches.
The key takeaway: start simple, then scale. Mastering lighting isn’t about having more gear, it’s about placing the right lights in the right spots and repeating the setup every time.
Quick YouTube Lighting Checklist
Use this simple checklist every time you set up. It helps you lock in consistency fast, without overthinking.
- Remove mixed light sources: Turn off ceiling lights, lamps, or window light that clash with your main setup. Mixed lighting causes uneven skin tones and strange shadows.
- Place your key light at 45° and slightly above eye level: This is your main light. Angle it down gently toward your face to create natural shadows and a clean, flattering look.
- Add a softer fill light: Place it on the opposite side of the key light at lower intensity. Its job is not to shine, but to soften shadows.
- Add a backlight or background light: A small light behind you (or on the background) adds depth and separates you from the wall, instantly making your video feel more professional.
- Match color temperature: Make sure all lights are either daylight (around 5600K) or warm, never mixed. Consistent color keeps your skin tone natural.
- Record a 10-second test and adjust: Sit where you’ll record, film a quick clip, and tweak brightness or angles before hitting record.
Quick fix for glasses glare:
Raise your key light slightly higher and angle it down more, or move it a few degrees farther to the side. Small adjustments usually remove reflections instantly.
Best YouTube Lighting Setup Basics (Key, Fill, Backlight)
The best light setup for youtube is built around three simple roles, no complexity, just smart placement and balance. This is often called the Three-Point youtube lighting setup, and it works because each light has a clear job.
- Key light: Your main light. Place it 30–45° from your face, slightly above eye level. It should be the brightest light in the setup.
- Fill light: Goes on the opposite side of the key, at lower intensity. Its role is to soften shadows, not eliminate them.
- Backlight (or hair light): Placed behind you, aimed at your head or shoulders. It adds depth and separates you from the background.
2-light fallback (if you’re short on gear):
Use a key light + fill light. Skip the backlight, but move yourself farther from the background to keep some depth.
Quick fixes for common problems:
- Harsh overhead shadows: Turn off ceiling lights and raise your key light slightly higher, angled down.
- Mixed color temperatures: Set all lights to the same Kelvin (preferably daylight ~5600K).
- Blending into the background: Add a small backlight or light the background separately to create separation.
Keep it simple, repeatable, and consistent, that’s what makes a lighting setup actually work on YouTube.
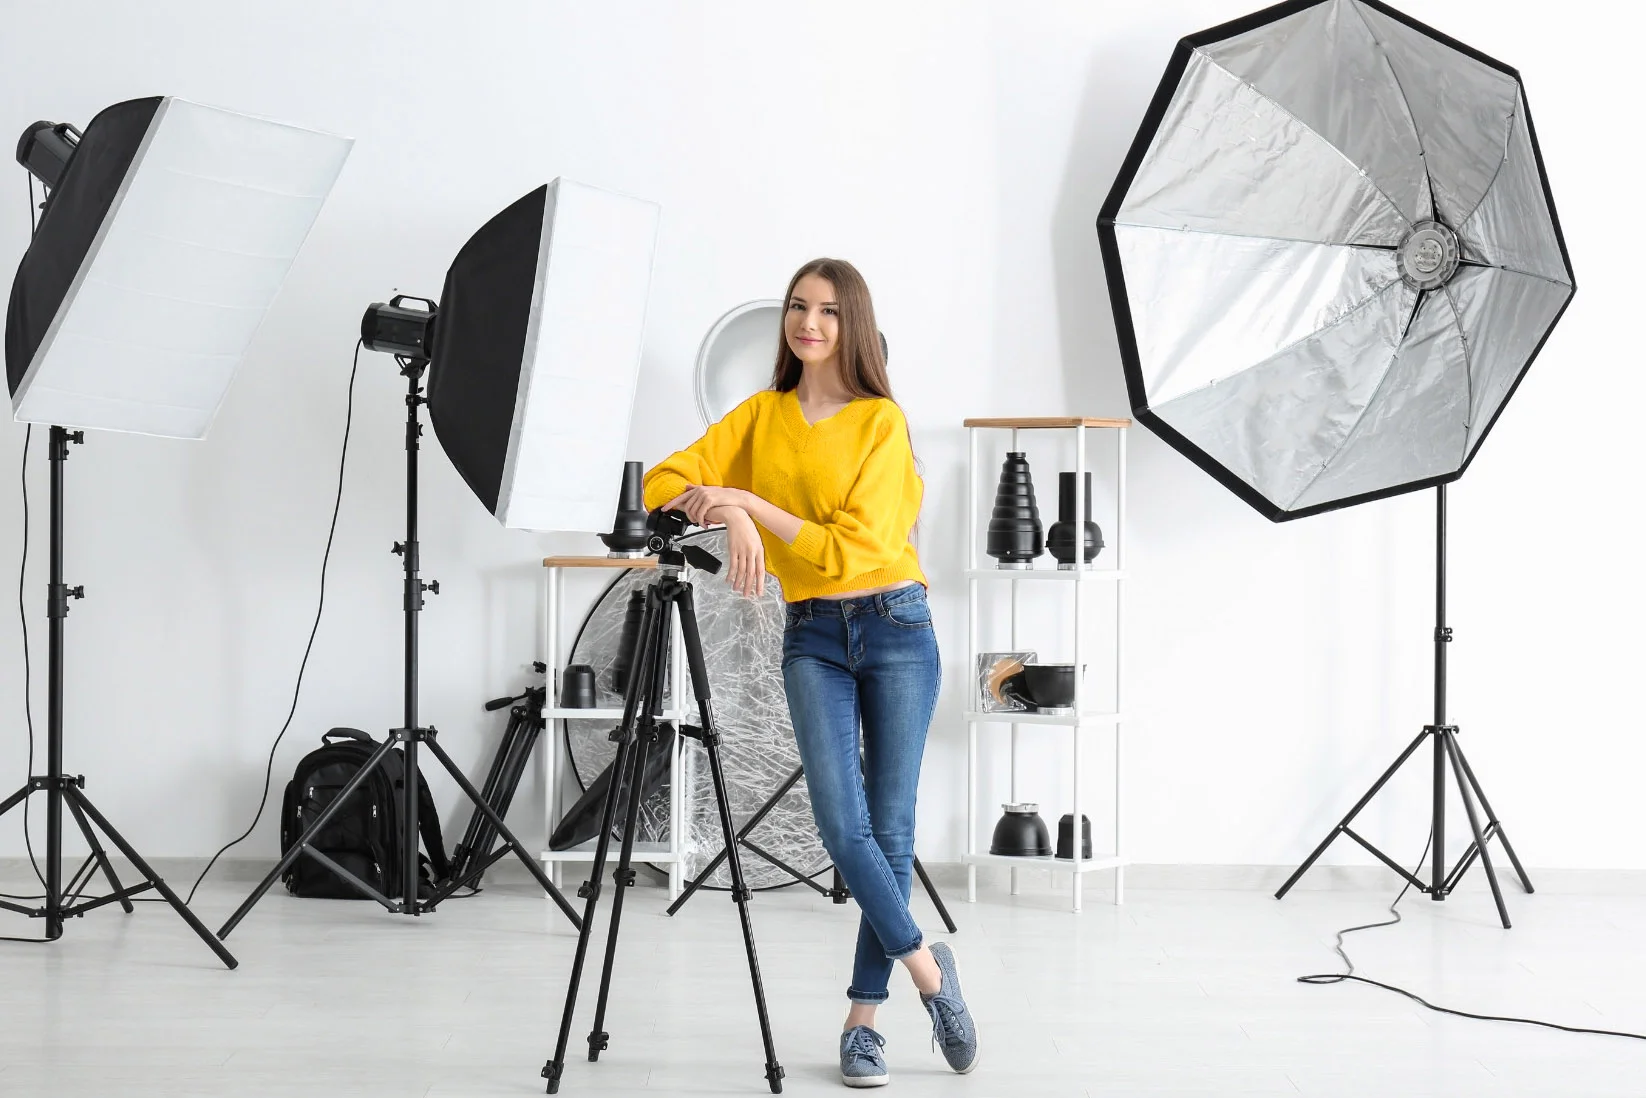
Types of Lights for YouTube Video Lighting
Choosing the right light isn’t about buying the most expensive gear, it’s about matching the light to your space, style, and budget. The best lighting for youtube videos is the one you can control consistently and use comfortably in your setup.
Here’s a quick comparison to help you decide what fits you best:
- Natural light
Free and flattering when it’s good, but hard to control. Weather, time of day, and window direction can change your look instantly. - Softbox lights
Produce soft, wide light that’s ideal for talking-head videos and tutorials. Great for home studios with enough space.
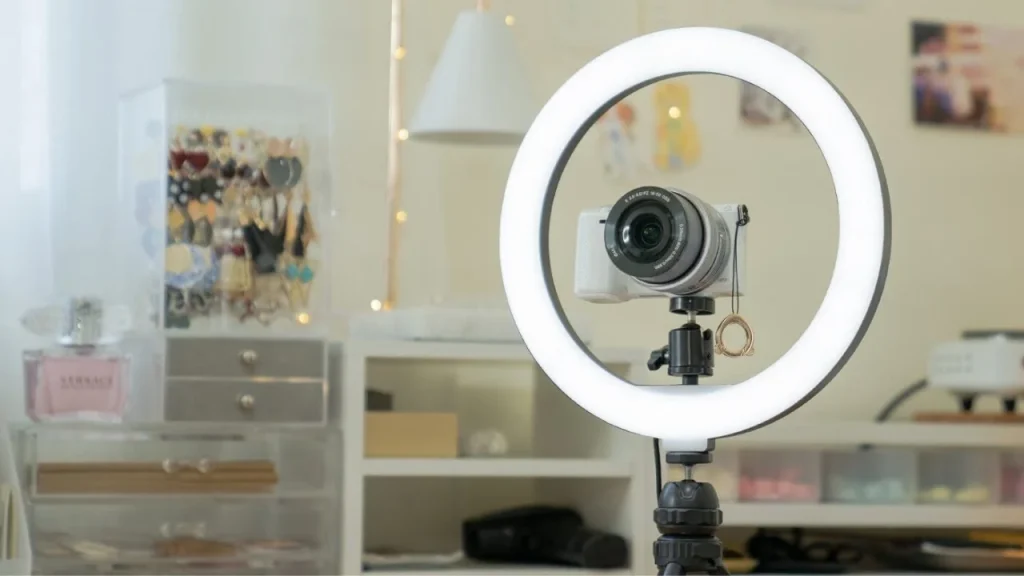
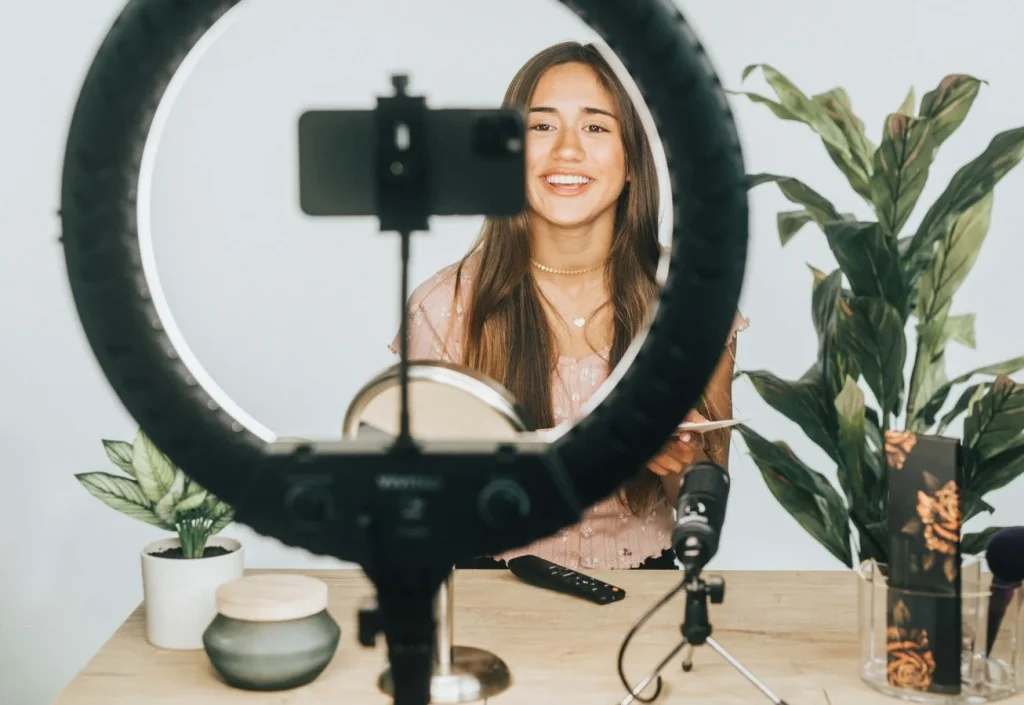
- Ring lights
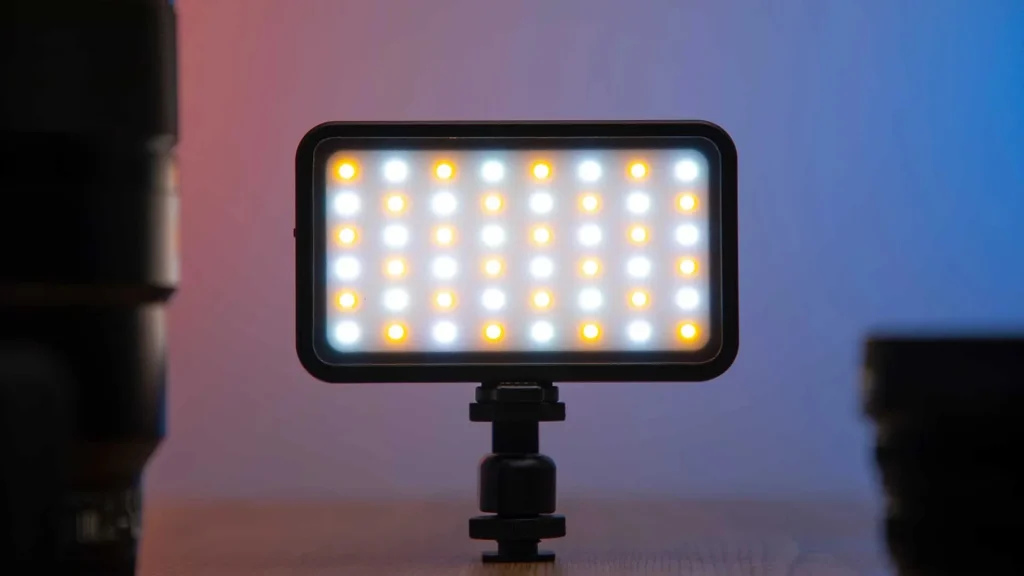
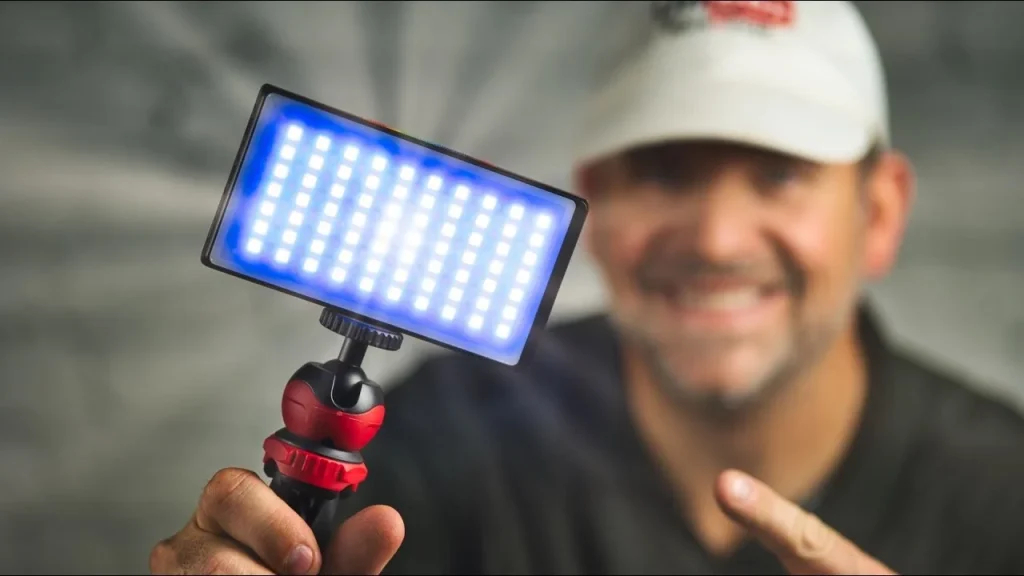
Create even, shadow-free lighting on the face. Easy to use and popular for beauty, coaching, and short-form content. - LED panels
Adjustable, portable, and space-efficient. Many offer brightness and color temperature control, making them one of the most flexible options for creators chasing the best lighting setup for youtube videos. - Umbrella lights
A budget-friendly way to get broad, diffused light. They work well but take up more space and offer less control. - RGB lights (optional)
Not for main lighting, but great for background color and mood. Use them subtly to add depth without distraction.
When choosing, think about portability, room size, and budget. A small room might favor LED panels or a ring light, while a fixed studio benefits from softboxes. The smartest creators build toward the best light setup for youtube by starting simple and upgrading only when needed.
What to Buy First on a Budget
Finding affordable lighting for youtube videos doesn’t mean settling for poor quality, it means knowing what to buy first, how to prioritize gear, and how each piece improves your look.
Here’s a simple order to follow so you invest smartly in the best lighting equipment for youtube videos without overspending.
Purchase Order (Start Simple, Upgrade Later)
- One good key light + stand
Start with a quality softbox or LED panel. This is your foundation, get it right and everything else becomes easier. - Diffusion or reflector as fill
Soften shadows without needing a second full light. Affordable and effective. - Second light (fill or secondary key)
Adds balance and reduces contrast, especially for talking-head content. - Backlight / background light
Gives separation and depth, making your videos look more professional. - Optional RGB or practical lights
For creative mood or background accents once your basics are solid.
3 Budget Tiers: What Changes
Entry Tier – Best for beginners
- One LED panel or softbox
- DIY diffusion/reflector
- Basic stand
In this tier you focus on controlling shadows and having at least one flattering light source.
Mid Tier – Balanced and flexible
- Two LED panels or a softbox + LED combo
- Dedicated diffusion accessories
- Better stands and adjustable color temperature
Here you get more control, softer light, and consistent results in varied spaces.
Pro Tier – Studio-level quality
- Multiple LED panels with strong output
- Dedicated backlight / hair light
- High-quality diffusers, grids, and modifiers
This tier is where you refine mood, separation, and cinematic feel, ideal if you’re producing frequently or for a bigger audience.
Start where you are, master each step, and upgrade with purpose. With this order, you build towards the best lighting for youtube videos without unnecessary expense.
Light Quality Boosters
These small accessories don’t replace lights, but they dramatically improve how your lighting looks on camera. Each one fixes a specific problem in a YouTube video lighting setup.
- Reflector
Acts as a cheap fill light. It bounces light back onto your face to soften shadows without adding another powered light. - Diffuser
Softens harsh or direct light. If your face looks shiny or shadows feel sharp, diffusion makes the light more natural and flattering. - Light stands
Give you control over height and angle. Proper positioning often matters more than light power when shaping a clean, professional look. - Modifiers (grids, flags, barn doors)
Reduce light spill and glare. They help keep light off walls, lenses, or glasses and direct it only where you need it.
Most of these tools are lightweight, foldable, and easy to store, ideal for small rooms, home studios, or creators who set up and pack away frequently.
Best YouTube Video Lighting for Different Content Types
There’s no single setup that works for everyone. The best video light for youtube depends on what you’re filming, where you’re filming it, and how much control you need. Below are practical, scenario-based setups that actually work in real conditions.
- Vlogging / Outdoor content
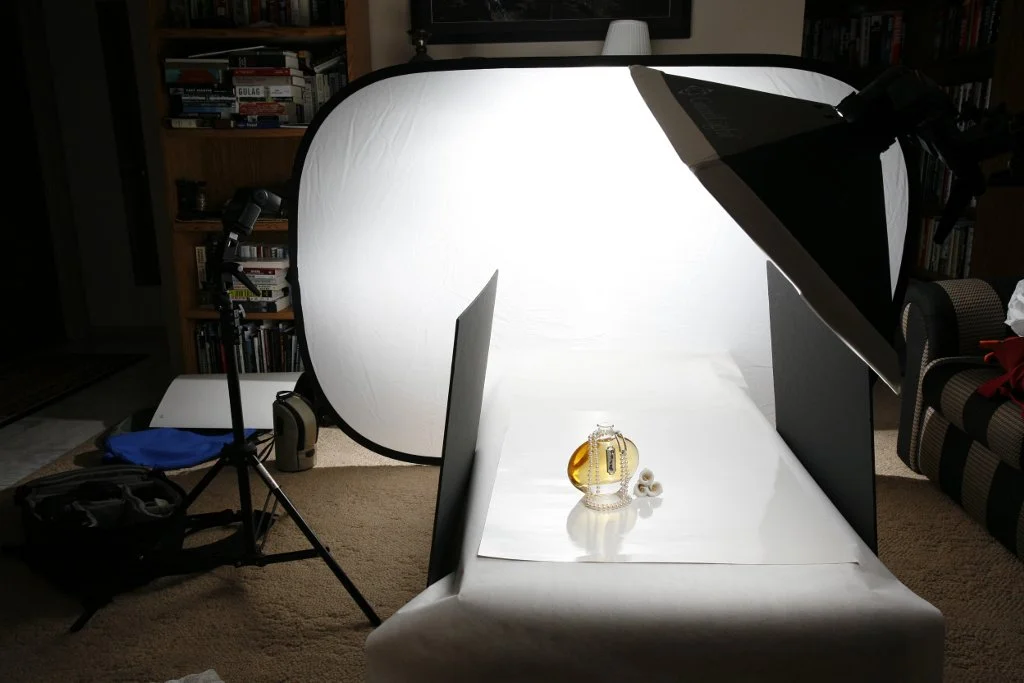
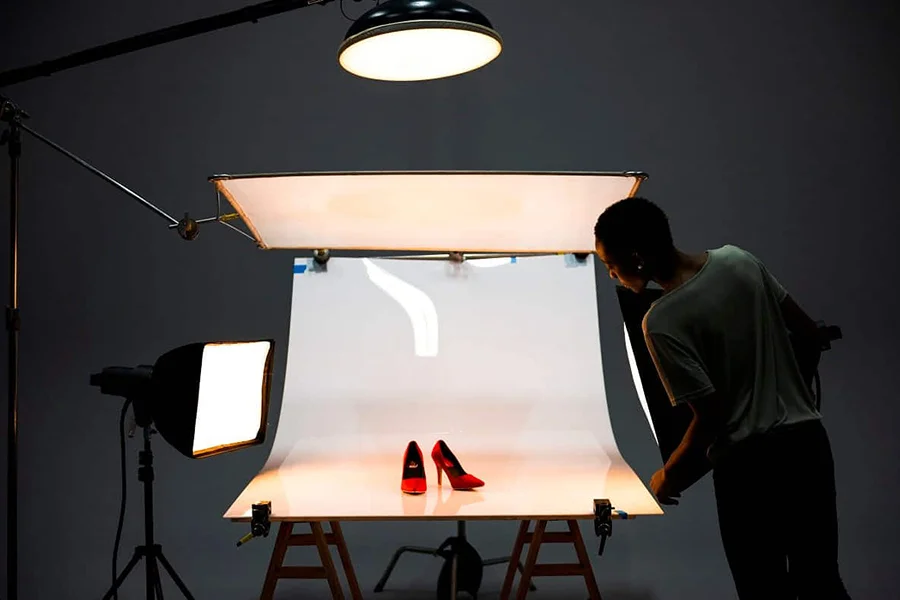
Natural light is your best friend, especially during golden hour (early morning or late afternoon). Avoid midday sun, which creates harsh shadows. Use a small, portable LED as a fill light when faces are too dark, and rely on reflectors or flags to control contrast and glare. - Cooking videos & product demos
You need wide, soft coverage so hands, surfaces, and textures are clearly visible. Softboxes work best here, placed higher and angled down to reduce reflections on oil, glass, or packaging. Consistent, soft light is more important than brightness. - Small rooms or tight setups
Space matters more than power. LED panels placed close to the subject with diffusion give clean, controlled results without flooding the room. This approach is ideal for creators looking for a reliable light for youtube video recording in bedrooms, offices, or compact studios.
The key is matching the light to the situation, not forcing one setup into every type of content. When lighting fits the scenario, your videos instantly feel clearer, calmer, and more professional.
YouTube Video Lighting: White Balance and Consistency Check
Once your lights are in place, take one extra minute to lock in consistency, this step is small, but it makes your videos feel clean and professional across all clips.
Start with white balance. Match it to your light source (daylight or warm) so skin tones look natural and colors don’t shift between shots. This is the most important correction. Next, fine-tune exposure and contrast. Make sure your face isn’t blown out and shadows aren’t crushing details.
Small tweaks are enough. Only then, adjust saturation if needed, and very lightly. The goal is realism, not stylization.
This is simple cleanup to help clips match each other. It’s not color grading and it’s not a fix for bad lighting. Good lighting comes first; these checks just make sure it stays consistent from take to take.
Your Creative Partner for Professional-Quality Video Content
Helio is a full-service advertising agency that helps creators and brands turn solid ideas into high-impact content. From strategy and creative direction to production and optimization, Helio supports everything you need to elevate your videos, whether that’s refining visual quality, building consistent lighting setups, or shaping content that performs across platforms.
With a practical, results-driven approach, Helio helps you look more professional, communicate more clearly, and grow with confidence.
Light Smart, Not Hard
YouTube lighting isn’t about chasing gear or trends. It’s about control, consistency, and intention. Start with one good light, place it well, keep your color temperature consistent, and build up only when needed. When lighting works, viewers don’t notice it, they just focus on you and your content. Master the basics once, repeat them every time, and let your ideas do the talking.
FAQ
How do YouTubers get good lighting?
By using a simple, repeatable setup, a soft key light, shadow control with a fill light, clear subject separation from the background, and consistent color temperature.
Which light is best for a YouTube video?
It depends on the scenario, but for most creators, an LED panel or softbox used as a key light is the best place to start because it’s controllable and easy to upgrade.
How to set light for a YouTube video?
Place the key light at a 45° angle and slightly above eye level, add a softer fill on the opposite side, use a back or background light for separation, then record a 10-second test and adjust.
What is the best lighting for YouTube?
Soft, even light with no harsh shadows and no mixed color temperatures, natural and professional-looking.
What is the best lighting setup for YouTube videos?
Three-point lighting (key + fill + backlight). If you only have two lights, use key and fill, and create separation by lighting the background.