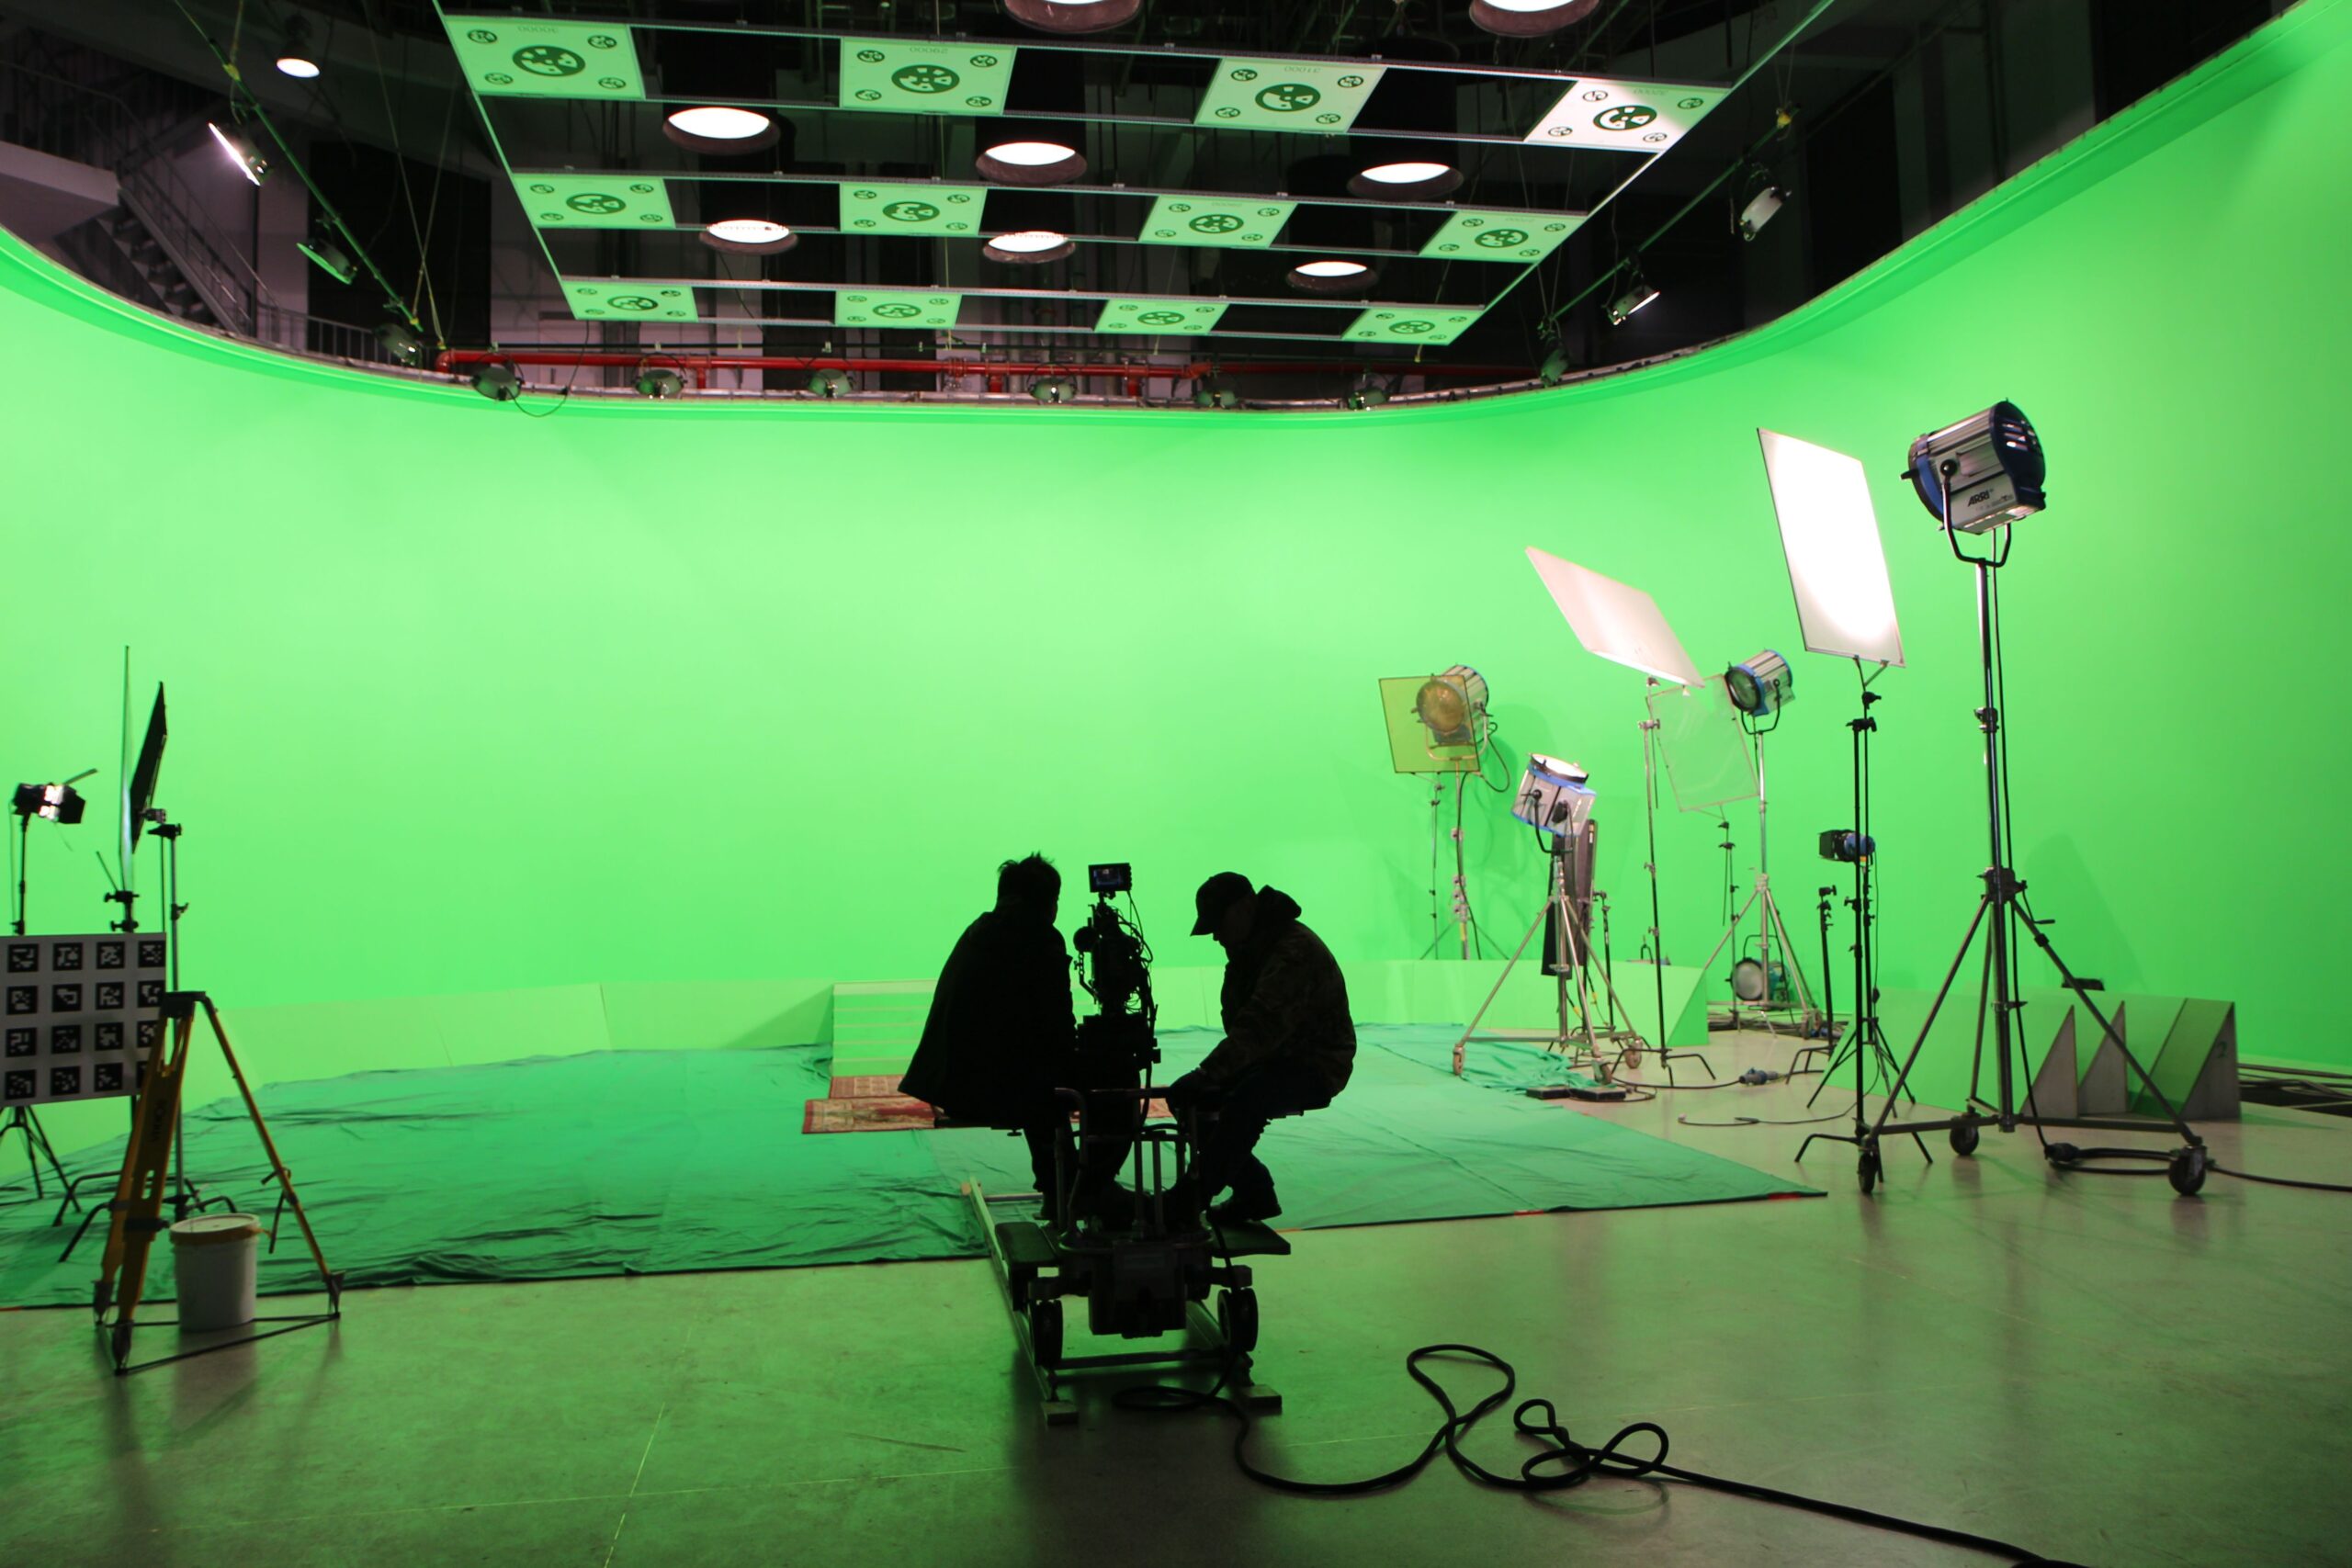
A strong green screen lighting setup starts on set, not in post. If the screen is uneven, too bright, or spilling onto your subject, the key will show it, noisy edges, weak hair detail, and unnecessary cleanup.
This guide breaks down a practical setup for both small rooms and full studio green lighting environments. You’ll see where to place lights, how much distance really matters, how to expose the screen properly, and how to verify everything in-camera before recording.
By separating screen and subject lighting and using simple tools like zebras, false color, or waveform, you can build a controlled, repeatable workflow, the foundation of achieving clean, consistent keys in green screen video production.

Green Screen Lighting Setup: Diagram + Distances
Think of your green screen setup as two systems sharing the same space:
- Screen lighting gives you a smooth, matte green background. It should be even and consistent, nothing fancy, just reliable.
- Subject lighting makes your talent look natural and cinematic. It should fit the scene and, as much as possible, stay off the green.
A practical layout that works in most rooms looks like this:
- Two mirrored lights washing the green screen from left and right.
- A main key light for shaping your subject.
- An optional fill light to soften shadows and maintain detail.
- A rim or hair light behind the subject to separate edges and reduce green spill.
Why does this matter? Keying software removes color based on consistency. A uniform green allows tighter tolerance, keeping hair and fine details clean. A rim light brightens edges, cutting down reflected green and giving you a more natural matte.
Think of the screen as a simple, reliable backdrop, and the subject as a real cinematic character. Keep these roles separate, and your workflow stays smooth, no surprises during the shoot.

The Minimum Gear You Need
You don’t need a fancy rig to get clean results, you need consistency. Here’s a lean setup that covers the essentials:
- Two screen lights: pick matching or similar lights so the output and color are even.
- One key light: soft enough to shape your subject without harsh shadows.
- Optional fill: a second soft source, a bounce, or reflector to keep shadows smooth.
- One rim or hair light: positioned to highlight the subject’s edges without spilling onto the screen.
Focus on these traits rather than brands or specs:
- Keep color temperature consistent. Mixed temperatures cause edge contamination and “dirty key” artifacts.
- Make sure the lights have enough output to expose at a low ISO without over-brightening the screen.
- Diffuse your lights to avoid hotspots and reduce fabric texture showing through.
Even on a budget, you can build a workable green screen lighting setup. Basic LED panels, clamp lights, or small softboxes work fine if you soften them with a diffusion cloth, a shower curtain liner, or a simple sheet. The key isn’t the fixture, it’s that your screen is evenly lit and your subject light stays under control.

Distances That Actually Work
Distance is one of your most powerful tools: it helps reduce two common headaches at once, green spill and unwanted shadows.
Here’s a practical guideline:
- Subject-to-screen distance: 2–3 meters (6–10 feet) when possible. More space means less green bouncing onto hair and shoulders, and fewer shadows falling on the screen.
- Light-to-screen distance: putting your lights farther back creates a wider, smoother wash. Too close can cause bright patches and hotspots.
If you have a small room, don’t panic. For example:
- Room depth: about 3 meters (10 feet)
- Screen on the back wall, subject only 4–5 feet away
In that case:
- Raise the screen lights and angle them down to wash the screen evenly while avoiding the subject blocking the beam.
- Boost your rim/hair light to separate edges and counteract green spill.
- Use negative fill, black fabric or foam board just outside the frame, to absorb bounce. In tight spaces, this often works better than adding more lights.
Distance isn’t just a preference, it’s a keying advantage. When you can’t get the ideal separation, you must actively control reflections and bounce to keep your green screen lighting setup clean.

Step-by-step Green Screen Studio Lighting Setup
A common mistake is lighting the screen first and letting it control everything else. This workflow flips that around, helping you avoid re-lighting and get consistent keys every time.
Follow this sequence:
Prep the screen → Light the talent → Light the screen → Lock camera → Verify → Record
At the end of each step, do a quick check to make sure everything looks right before moving on. This keeps your green screen lighting setup predictable and reliable from start to finish.
1. Prep the Screen (Fabric vs Painted Wall)
How your screen looks will decide how easy it is to get a clean, even key.
For fabric screens:
- Remove wrinkles by steaming or ironing.
- Stretch it tight with clamps, a frame, or a tension system.
- Avoid shiny or reflective fabric, it can create hotspots that are tricky to key.
- Make sure the screen fully covers your movement area, leaving some margin so hands and gestures stay inside the green field.
For painted walls:
- Check for chips, scuffs, stains, or uneven spots.
- Touch up areas so the color and finish are consistent.
- Matte finishes are best, reducing reflections and glare.
Quick check before moving on:
Look at your screen through the camera. If you see wrinkles, shiny spots, or uneven patches, fix them now, these won’t disappear later.
2. Light the Talent First
Treat your subject as if the green screen isn’t there, believable lighting makes your composite look natural.
Basic subject lights:
- Key light: shapes the face and sets the scene direction.
- Fill light (optional): softens shadows and keeps dark areas clean.
- Rim/hair light: highlights edges, separates the subject, and reduces green spill.
Keep the subject far enough from the screen to avoid spill. If your key is strong, use flags or grids to prevent shadows from hitting the background.
A practical contrast ratio like 2:1 or 3:1 keeps shadows detailed without creating noisy edges, which is especially important for hair and dark clothing.
Quick check: on camera, the subject should look natural with no green tint on skin or hair. Adjust lights now, it’s much easier than fixing it later.
3. Light the Screen Evenly with Mirrored Lights
Now it’s time to treat your screen as a technical surface, it needs an even wash.
Use two identical lights on the left and right. Mirror their angles and keep equal distance from the screen.
Aim to wash the surface evenly, not blast the center. Diffusion helps reduce texture and hotspots.
Practical tip: place each light slightly off to the side at ~45° and cross-aim, left light toward center-right, right light toward center-left. This overlap smooths exposure where your subject stands.
Hotspots? Don’t just dim one light. Usually it’s a placement or diffusion issue. Fix it by:
- Adding more diffusion
- Moving lights farther back
- Widening the spread angle
- Re-aiming to avoid shining the brightest part on the center
Quick check: through the camera, the screen should look uniform with no bright center or dark corners.

4. The “Spread” Rule: How Far Lights Should Be from the Screen
When your green screen looks uneven, don’t just crank the brightness, distance and spread are usually the better fix.
Simple rule:
- Farther lights → wider beam → smoother, even green
- Closer lights → narrower beam → hotspots and patches
If your screen isn’t uniform, try these steps:
- Move lights back to widen the spread
- Add diffusion to soften edges
- Adjust angles and aim toward edges, not the center
- Add subtle edge fill only if two lights don’t overlap fully
Quick check: pan slightly in your frame, the green should stay consistent. If it shifts, tweak placement until it’s even.
5. Expose and Lock Your Camera Settings
A clean key starts with stable exposure and consistent color.
Follow these guidelines:
- Avoid clipping the green channel, too bright and it can turn pale or white, which is hard to key.
- Keep ISO low (base/native ISO) to reduce noise and “fizzing” on edges.
- Lock white balance, auto WB can drift between takes and shift the green.
- Lock exposure so the screen stays consistent when your subject moves.
Pro tips:
- Aim for the screen about 1–1.5 stops under the subject exposure, the subject pops, and spill stays controlled.
- If your camera allows, use higher-quality recording modes or better chroma subsampling to preserve color detail.
Quick check: the green should look flat and consistent, with no tint on the subject’s edges. Lock your settings before you start recording to avoid surprises later.

How to Check If Your Screen Is Evenly Lit
Your eyes alone can’t judge uniform exposure, use objective tools or simple tricks to confirm.
If you have camera tools:
Zebras: set them to your target brightness. Uneven patterns = hotspots.
False color: the screen should show one consistent color band. Any shift = uneven exposure.
Waveform monitor: look for a flat, tight line across the screen. Tilt or bow = uneven lighting.
If you have a light meter: measure corners and center, small variance is ideal.
No pro tools? Use a phone/app:
- Film the screen from the shooting position
- Look for bright patches, dark corners, or gradients
- Lock exposure to compare consistently
Fix uneven lighting in order:
- Move screen lights back to increase spread
- Add diffusion to soften edges
- Re-aim toward edges, not the center
- Reduce spill with subject separation and negative fill
Goal: a smooth, even green across your frame so your keyer works cleanly and easily.
Best Lighting Setup for Green Screen
“Best” doesn’t mean expensive, it means repeatable, controllable, and even lighting.
A top-notch setup focuses on:
- Large, soft, even illumination across the screen
- Minimal hotspots and texture
- Controlled subject lighting that stays off the screen
- Quick verification before recording
Pro tips for professional rigs:
- Use broad soft sources to smooth transitions and cover tall surfaces
- Tube-style banks or overhead soft lights work well in larger setups
- Dimmers, grids, and flags give precise control
- Negative fill absorbs unwanted green bounce
Verification matters:
- Check screen uniformity with zebras, false color, or waveform
- Record a short test clip and check hair edges, semi-transparent fabrics, and reflective surfaces
- Fix issues now, a five-minute test saves hours of post work
Key takeaway: clean, broad screen lighting combined with controlled subject separation and measurement-driven checks produces the easiest, most reliable keying.

Common Green Screen Lighting Issues (How to Fix Them)
Spot a problem on camera? Here’s how to fix it fast:
- Green spill on shoulders, hair, or glasses: move the subject farther from the screen, boost rim/hair light, add negative fill, or slightly lower screen brightness.
- Hotspots: back up lights, add diffusion, aim toward edges, and avoid blasting the center.
- Shadows on the screen: increase subject–screen distance, angle screen lights from sides, use flags, or adjust framing.
- Noisy/fizzy edges: lower ISO, maintain proper exposure, lock white balance, or use higher-quality recording.
- Reflective props causing “holes”: switch to matte materials, reposition items, or control bounce with flags/negative fill.
- Monitor bounce exaggerating spill: check in black-and-white or desaturated view to judge evenness, then return to color.
- Tip: quick fixes now save hours in post. A few minutes adjusting lights or angles keeps your key clean and predictable.
Professional Green Screen Results Start With the Right Setup
A clean green screen result doesn’t come from post-production tricks alone. It starts with proper lighting, controlled exposure, balanced distances, and a setup designed to keep spill and uneven keys under control from the beginning.
Whether you’re filming content, interviews, commercials, or branded productions, working in a properly equipped environment makes the entire process smoother and more reliable. At Helio Studios, we provide professional studio spaces with production-ready lighting setups and equipment designed to support high-quality green screen shoots. If you need a controlled studio environment for cleaner keys and more polished results, our studios are built to help you achieve a more professional final output.