In photography, the terms background and backdrop are often used interchangeably, but they are not the same. A background is whatever naturally exists behind your subject, such as a wall, room, or location. A backdrop is a controlled surface you intentionally place to manage color, mood, and visual focus.
This article focuses specifically on photography backdrop setup, not general backgrounds. The reason is simple: a well-set backdrop is the most reliable way to gain control over your images. Whether you’re shooting in a home studio, a rented space, or a commercial environment, a proper backdrop setup creates consistency, reduces distractions, and gives you far more creative freedom without depending on the surrounding space.
How To Set Up a Photography Backdrop
A professional photography backdrop setup doesn’t require expensive equipment or a large studio, but it does require clear intention. When each step is handled deliberately, your backdrop stops being a passive background and becomes an active part of the image.
1. Define the purpose of your shoot
Before setting up any gear, be clear about what the images need to communicate. Portraits, commercial visuals, fashion shoots, and content creation all require different visual tones. Neutral backdrops suit branding and commercial work, while textured or colored surfaces add personality and mood. A clear purpose prevents mismatched choices later.
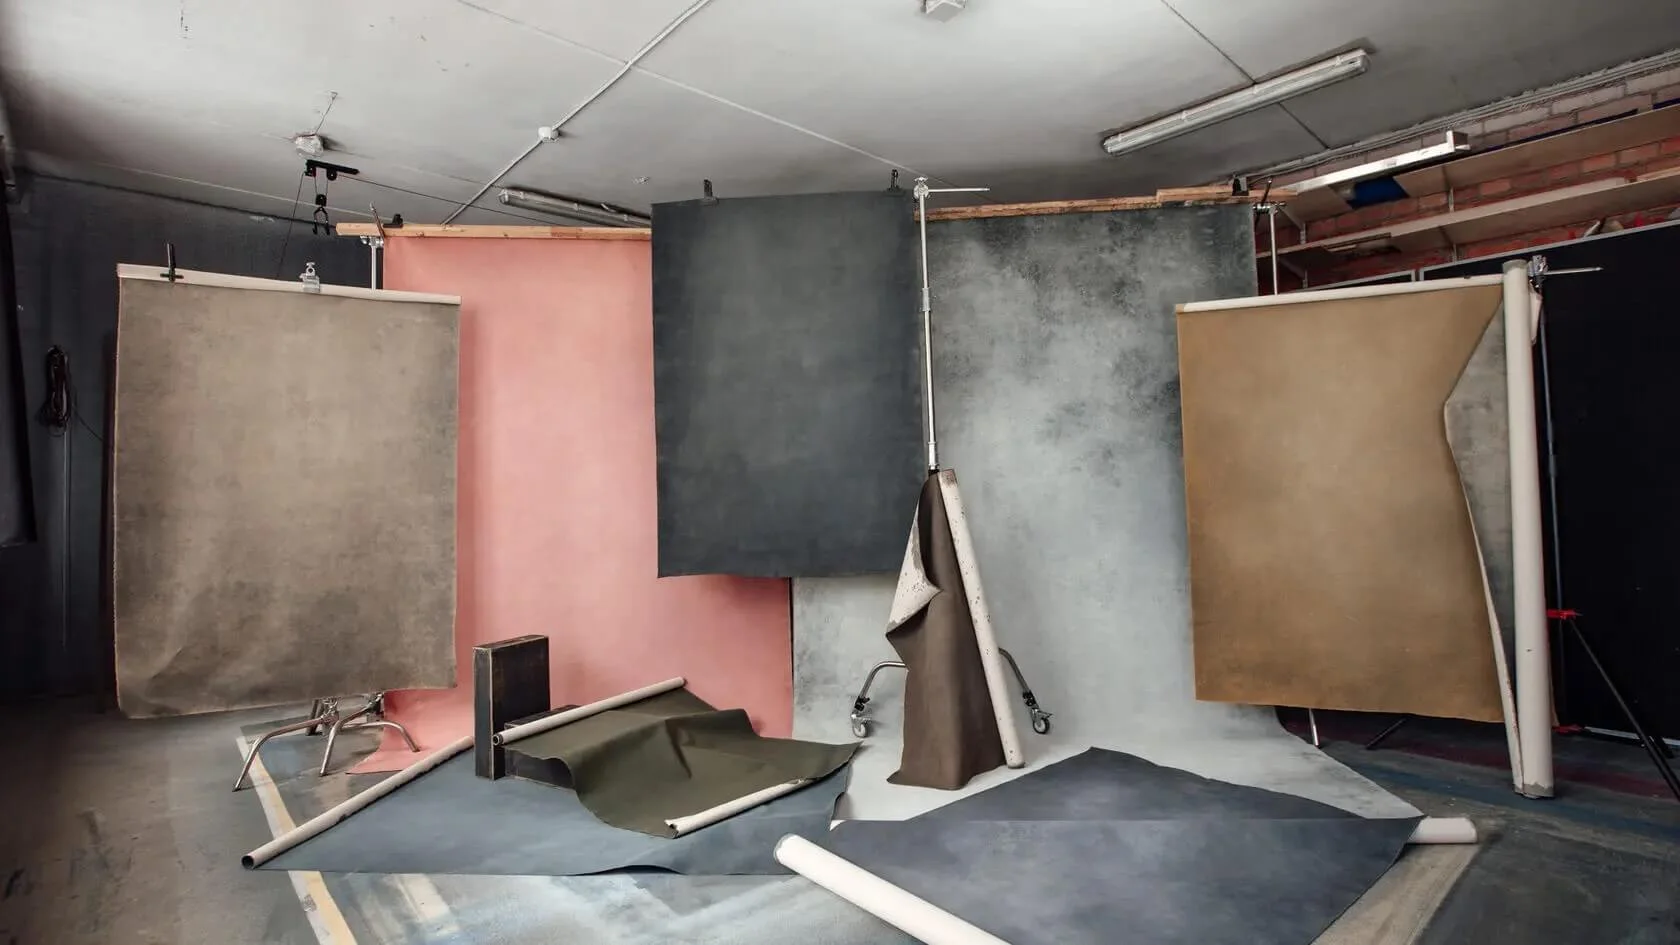
2. Choose the right backdrop material
Paper, fabric, vinyl, and canvas are the most common options. Paper delivers a clean, minimal look. Fabric is flexible and cost-effective. Vinyl is durable and easy to clean. Canvas adds depth and texture. Material choice directly affects light behavior and post-production time, making it a key part of any studio backdrop setup.
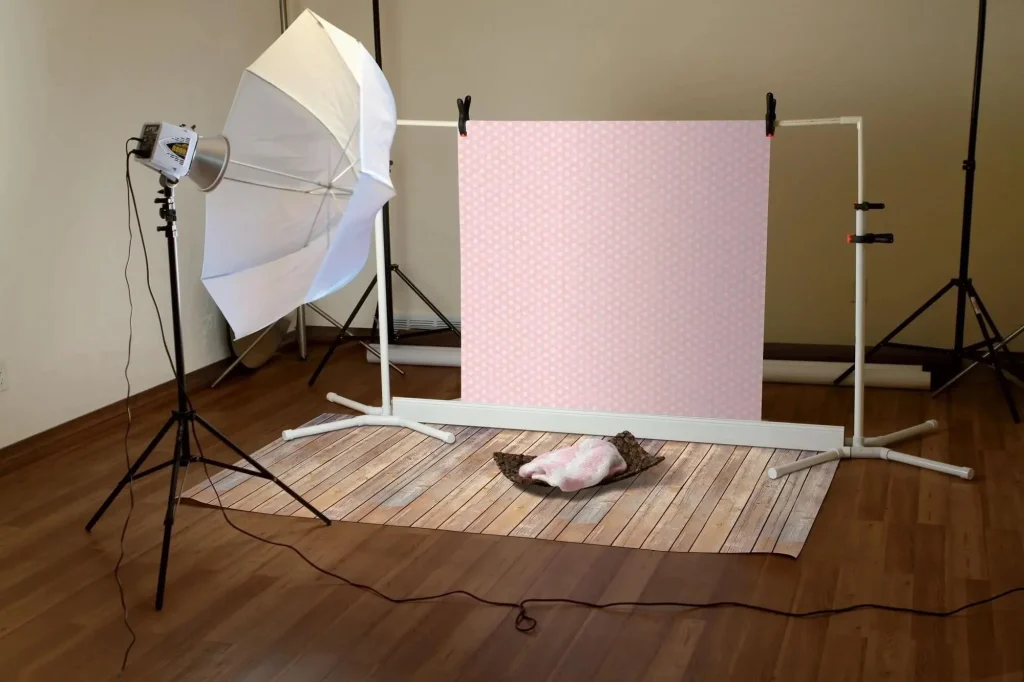
3. Set up the support system securely
Backdrop stands or wall-mounted systems must be stable and level. Lock all joints, extend the crossbar fully, and add weights if needed. An unstable setup risks damaged equipment and interrupted shoots. This step forms the foundation of a reliable photography backdrop setup.
4. Position the backdrop correctly
Create distance between the subject and the backdrop. A spacing of about 1 to 1.5 meters helps reduce harsh shadows and adds depth. Proper positioning also improves light falloff and keeps the background visually clean.
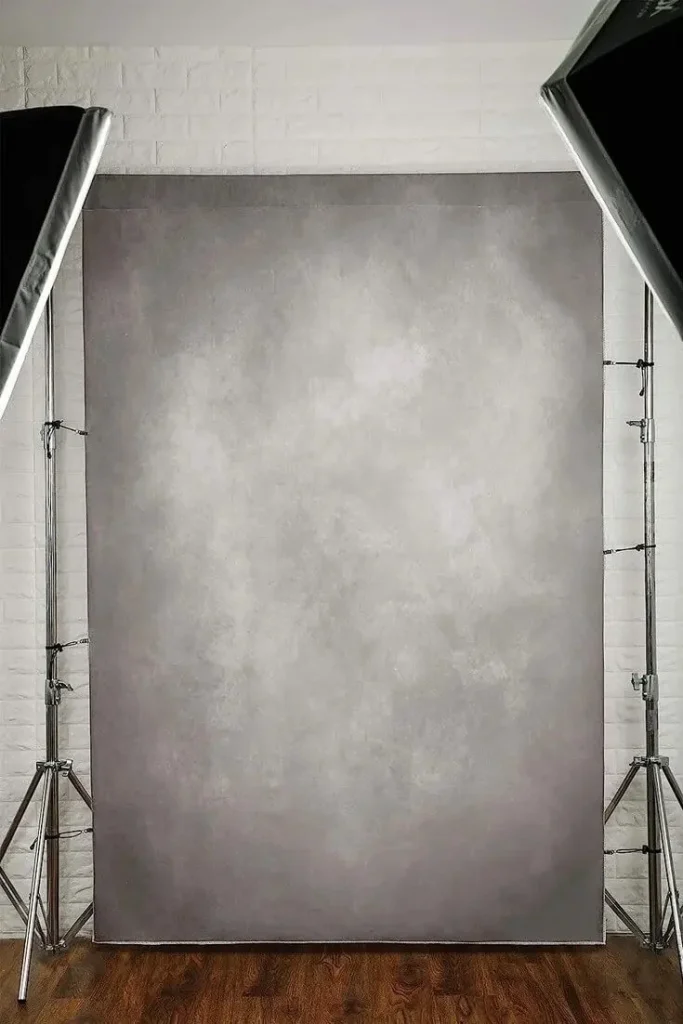
5. Control wrinkles, curves, and edges
For seamless results, allow paper backdrops to curve gently onto the floor instead of folding sharply. Fabric backdrops should be steamed or pulled tight from the sides. Small imperfections become highly visible on camera, so careful alignment makes a noticeable difference.
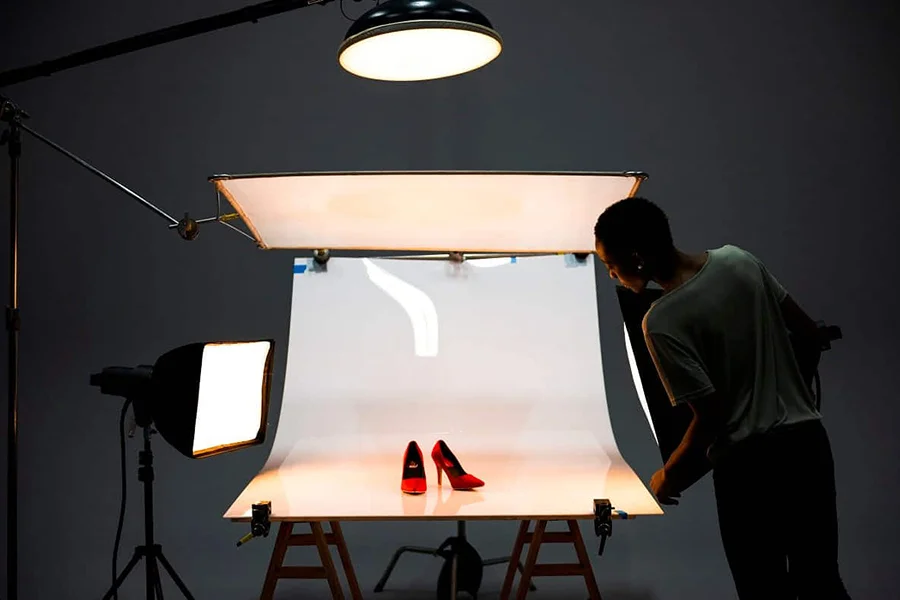
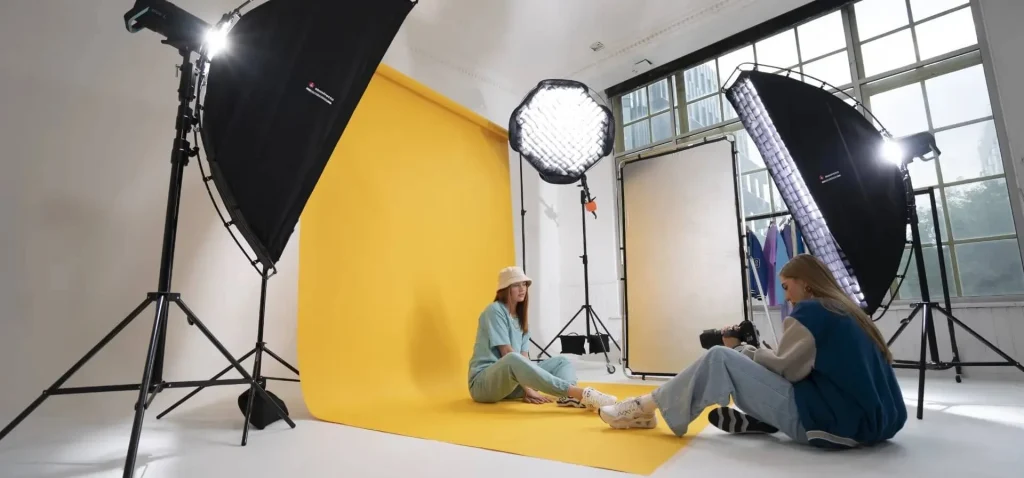
6. Light the backdrop intentionally
Decide how the backdrop should appear in the final image. It can be evenly lit, slightly darker than the subject, or selectively highlighted. Treat the backdrop as a separate visual element rather than relying on spill light alone.
7. Test, adjust, and lock the setup
Take test shots before shooting. Check for shadows, color shifts, reflections, and unwanted texture. Make small adjustments, then lock the setup to maintain consistency throughout the session.
Quick Backdrop Setup Checklist
Use this checklist right before shooting to catch common setup issues and avoid fixing problems later in post-production.
- Stabilize the backdrop stand and lock all joints securely
- Clip the backdrop from the top first, then tension the sides evenly
- Create a smooth floor sweep with no sharp folds or creases
- Position the subject forward to prevent backdrop shadows
- Set the key light at roughly a 45° angle and control spill
- Take a test shot and check for wrinkles, shadow lines, glare, and white balance.
Full Step-by-Step Setup
1. Build the backdrop frame correctly
Start by adjusting the backdrop frame to match your subject and framing needs. Head-and-shoulders shots require less height, while full-body or lifestyle setups need extra vertical space and floor coverage.
Lock all joints firmly and add weights to both sides of the stand. A stable frame is the foundation of a professional setup; without it, everything else becomes unreliable.
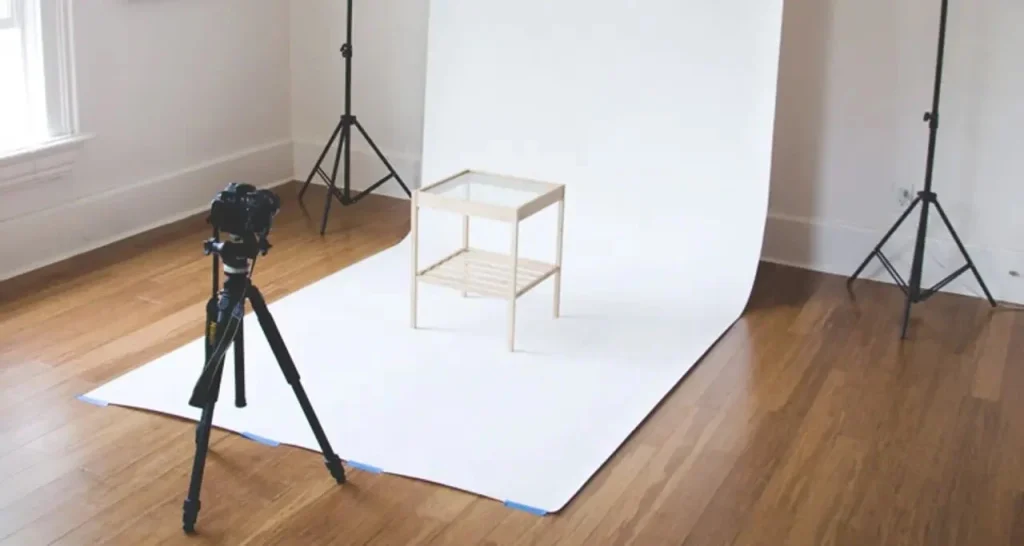
2. Create a seamless sweep (no hard folds)
Allow the backdrop to flow smoothly from vertical to horizontal, forming a gentle curve instead of a sharp corner. This sweep eliminates visible lines and prevents harsh shadow breaks. For product photography, a shorter sweep usually works.
For full-body shots, extend the sweep farther forward so movement never reaches the fold point. A clean sweep is one of the clearest signs of a controlled backdrop setup.
3. Set proper subject-to-backdrop spacing
Move the subject forward and increase distance until backdrop shadows soften or disappear. The closer the subject is to the backdrop, the harsher the shadows become.
Proper spacing adds depth, improves subject separation, and gives you greater control over background brightness, especially in small studios.
4. Confirm camera position before adjusting lights
Before touching your lights, finalize camera height, angle, and framing. Check that the backdrop edges are out of frame and the sweep appears seamless in-camera.
Locking the camera position first prevents unnecessary lighting changes later and keeps the setup process efficient.
Following these steps ensures your backdrop looks intentional, clean, and repeatable, regardless of studio size or shooting style.
Case-by-Case Adjustments: What Changes in the Setup
Once your base setup is locked, adjustments should be targeted and minimal. The goal is not to rebuild your backdrop, but to adapt it to the subject, material, and shooting style while keeping the same core setup intact.
1) Sweep vs. no sweep
Use a sweep when the floor is part of the frame, such as full-body portraits, footwear, lifestyle scenes, or most product photography. Skip the sweep for headshots, tight crops, or tabletop shots where the floor is not visible.
Avoid sharp folds at all times. If the backdrop curls or shifts, secure the floor edge with tape or weights. For full-body work, extend the sweep farther forward so natural movement never reaches the fold line. This adjustment is especially important in compact studios.
2) Material-based adjustments
Different materials react differently to gravity, light, and handling, so small changes matter.
Paper backdrops should be clipped from the top first, kept clean by trimming used sections, and protected from shoes. Fabric backdrops benefit from steaming and even side tension to remove waves. Vinyl backdrops should always be stored rolled, wiped clean between shoots, and weighted at the bottom to prevent curling. Collapsible backdrops require extra attention to edge shadows and uneven curves, particularly with side lighting.
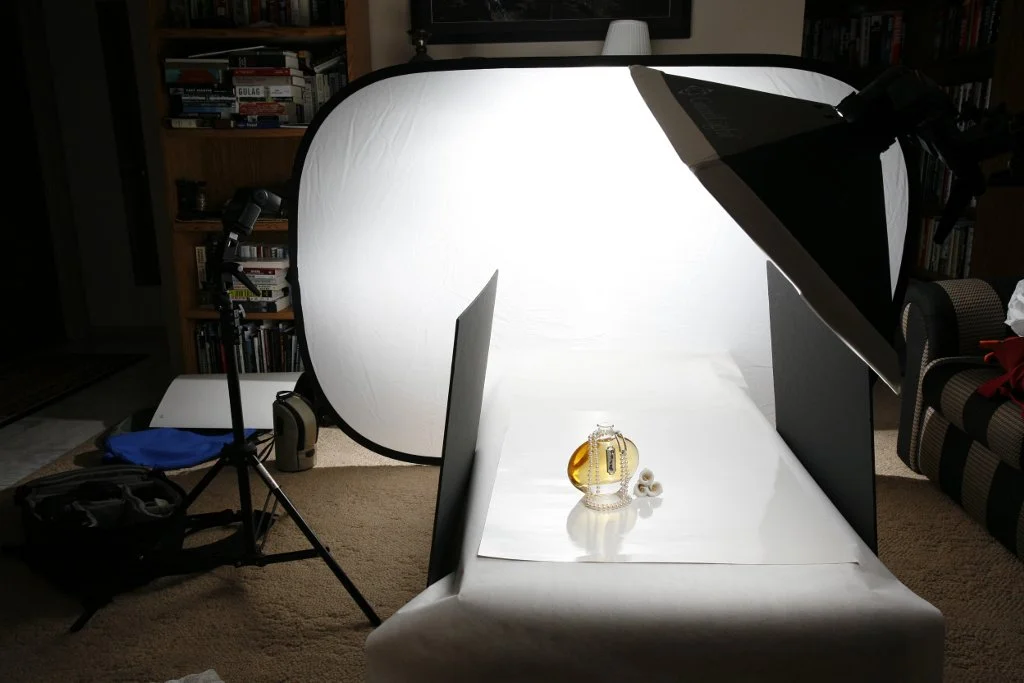
3) Product style: clean vs. moody
For clean, high-key looks, light the backdrop evenly and separately, while controlling spill so subject edges remain defined. For darker or moodier setups, underexpose the backdrop slightly and use flags to preserve contrast and depth.
With reflective products like glass, metal, or glossy packaging, small changes in camera or product angle often solve reflection issues faster than moving lights. These refinements elevate the final result without complicating the setup.
After Your Backdrop Setup: Common Problems & Fixes
Even a well-built backdrop setup can reveal issues once the camera is on. These quick checks help you fix common problems without tearing everything down or restarting the setup.
- Harsh shadows on the backdrop: Move the subject farther forward, soften or raise the key light, and use a reflector to reduce shadow edges. In most cases, distance—not more light, is the fastest solution.
- White backdrop looks gray: Slightly increase background brightness or adjust exposure and white balance. Make sure the subject light is not overpowering the backdrop light and pulling exposure down.
- Glare on vinyl backdrops: Add diffusion, change the camera or light angle, and block reflections using flags or black foam board. Reflection issues are usually angle-related, not power-related.
- Dirty or marked sweep: Rotate or trim the used section, or clean the surface immediately. Prevent repeat issues by limiting foot traffic and keeping shoes off the sweep area.
- Wrinkles or visible texture: Increase light diffusion, add side tension with clips, or steam the backdrop before shooting. Minor fabric imperfections often disappear once the light is softened and evenly spread.
A Creative Partner Built on Clarity and Craft
Helio Agency works as a creative partner, supporting brands through clear and intentional visual direction. The focus is on helping teams translate ideas into structured, usable visuals that serve real business and communication goals.
With experience across branding, content, and visual production, Helio approaches each project with an emphasis on clarity, consistency, and problem-solving rather than trends. Decisions around lighting, composition, and setup are made to support long-term usability, not just single campaigns.
From concept planning to execution, Helio prioritizes thoughtful workflows and practical creative choices, ensuring visual outputs remain adaptable, cohesive, and aligned with how brands actually use their imagery.
Where Control Meets Creativity
A thoughtful backdrop setup removes uncertainty from your shoot and replaces it with control, consistency, and creative freedom. By managing spacing, sweep, and light with intention, you’re no longer reacting to your environment, you’re shaping it, allowing every frame to feel cleaner, more deliberate, and professionally crafted.
FAQ
How to set up a backdrop for photography?
Assemble the stand securely, attach the backdrop with clips, create a smooth sweep if needed, place the subject forward, and test the lighting.
How to put up a backdrop stand?
Extend the stands, lock the crossbar in place, level everything, and add weights for safety.
How to set up a backdrop stand?
Build the frame to the required height and width, tighten all joints, and stabilize the base before hanging the backdrop.
How to set up paper backdrop?
Hang the paper from the top, let it roll down naturally to form a curve, and trim dirty sections as needed.
How to set up photo backdrop?
Secure the backdrop to a stable support, remove wrinkles or folds, control spacing from the subject, and confirm the look with a test shot.