A proper product photography setup is one of the most important foundations for selling products online. In Dubai, where customers are exposed to polished international brands every day, product images are not just decorative. They are a signal of credibility, quality, and professionalism.
Whether you are selling through an ecommerce website, marketplaces, or social media, your visuals often speak before your copy does. This guide explains how to build a reliable product photography setup from scratch, starting with simple home solutions and moving toward more structured studio planning. Everything is explained in a clear and practical way, without complicated jargon or unnecessary theory.
What Is Product Photography Setup
In ecommerce photography, a setup is not about expensive equipment. It is simply the system you use to control a few key elements consistently: light, background, stability, and overall visual consistency.
The goal is to produce clean, repeatable images that look uniform across your website, online stores, and marketing channels. In markets like Dubai, where customers are used to polished visuals, inconsistency is easy to notice. When one image looks warm, another appears gray, and a third feels overly dark, trust drops quickly.
A well-built setup allows you to photograph different products while maintaining the same visual language. Once everything is dialed in, shooting becomes faster, editing becomes easier, and your brand presentation feels more professional by default.
What You Actually Need to Start (Minimum Setup)
This budget product photography setup guide can help you create the basic product photography setup that works for most beginners and small businesses.
Camera: Phone or Entry-Level Camera
- A modern smartphone is enough when lighting is controlled.
- An entry-level camera adds flexibility, but only helps if your setup is stable.
The camera itself is rarely the limiting factor at the beginning.
Tripod as the First Upgrade
A tripod is the most important piece of equipment in any product photography setup.
- Keeps framing consistent
- Allows slower shutter speeds
- Reduces editing time
Background and Sweep Options
- White paper roll
- Poster board
- Vinyl background
The background should curve smoothly so there is no visible corner.
Table, Tape, and Clamps
- Any sturdy table works
- Tape or clamps keep the background in place
Foam Boards
- White foam board reflects light
- Black foam board adds contrast and depth
These tools are inexpensive but extremely effective.
Diffusion
- Softbox
- Diffusion fabric
- Frosted plastic sheet
Diffusion softens light and reduces harsh reflections.
Lenses (if applicable)
- For cameras with interchangeable lenses, standard focal lengths work best, and wide-angle lenses should generally be avoided for product shots.
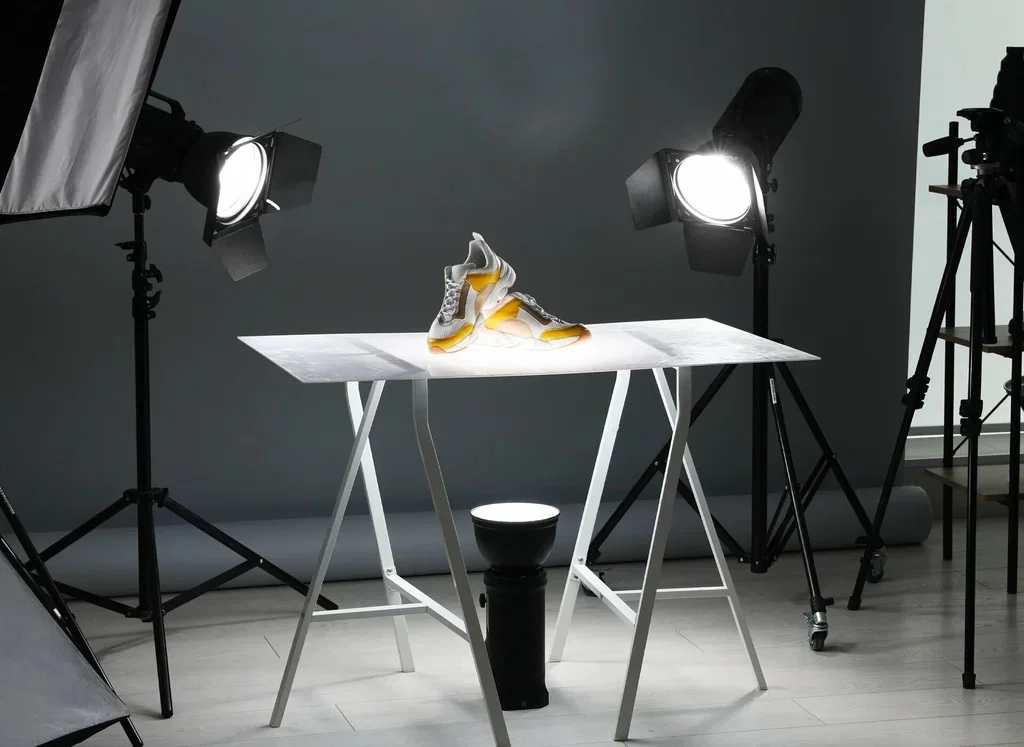
Best Product Photography Setup: Step by Step
This section explains the best product photography setup from a physical arrangement point of view only.
Step-by-Step Physical Setup
- Place the table near a wall or open area
- Secure the seamless background so it curves gently
- Position the product at least 30 to 60 cm from the background
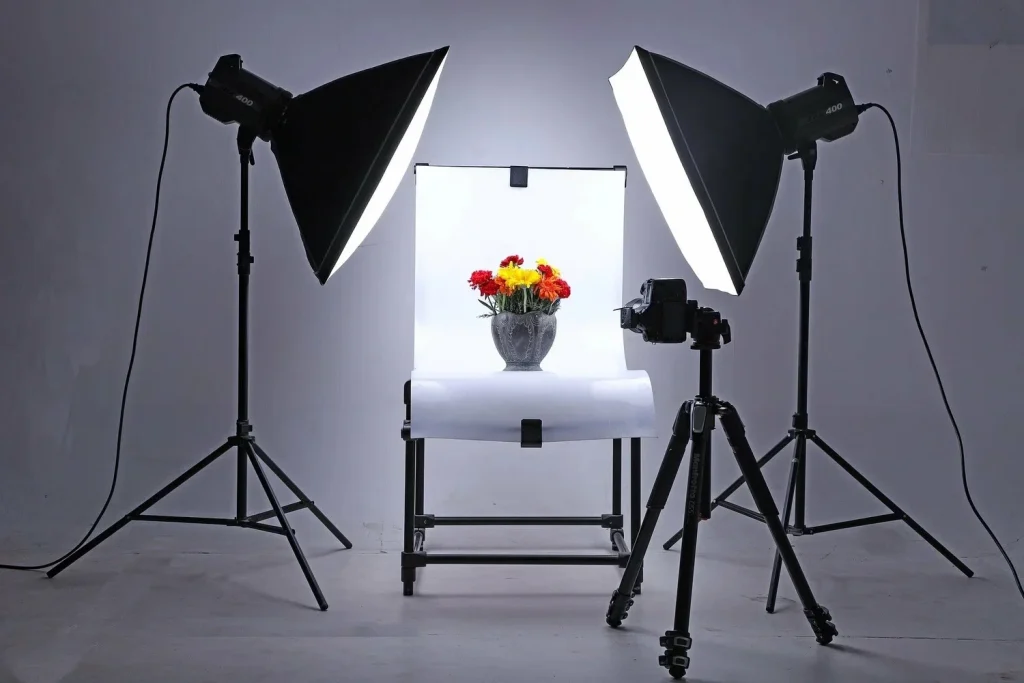
- Place the main light to one side of the product
- Add diffusion between the light and the product
- Position a white foam board opposite the light
- Add a black foam board if the image looks flat
- Take one test shot and check for clean whites and accurate colors
Once this setup works, avoid moving anything unless necessary.
Beginner Setup for Product Photo
This section focuses on a basic product photography setup designed for beginners.
Beginner Checklist
A budget product photography setup should include:
- A smartphone or camera
- Tripod
- White background
- One light source
- White foam board
- Use only one main light
- Always diffuse it
- Keep the light position consistent
Minimum Angles
- Front hero shot
- 45 degree angle
- Close-up detail
Consistency Tips
- Mark tripod placement
- Mark product position
- Keep light distance the same
What Beginners Should Ignore
- Multiple lights
- Decorative props
- Colored backgrounds
- Complex reflections
As you grow, understanding camera exposure becomes important. A separate Camera Settings article explains those basics and builds naturally on this setup.
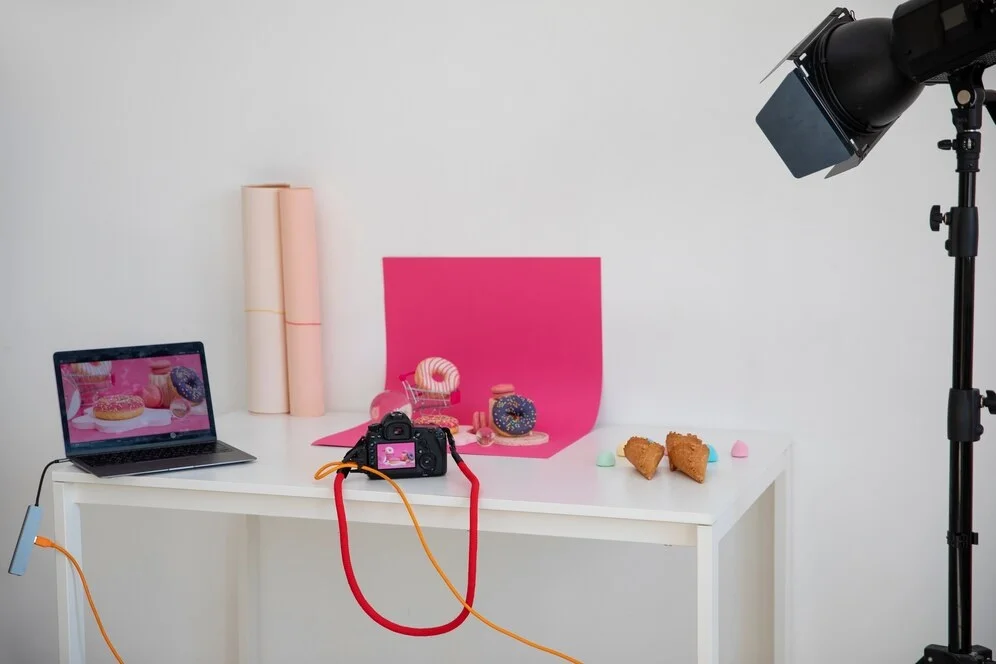
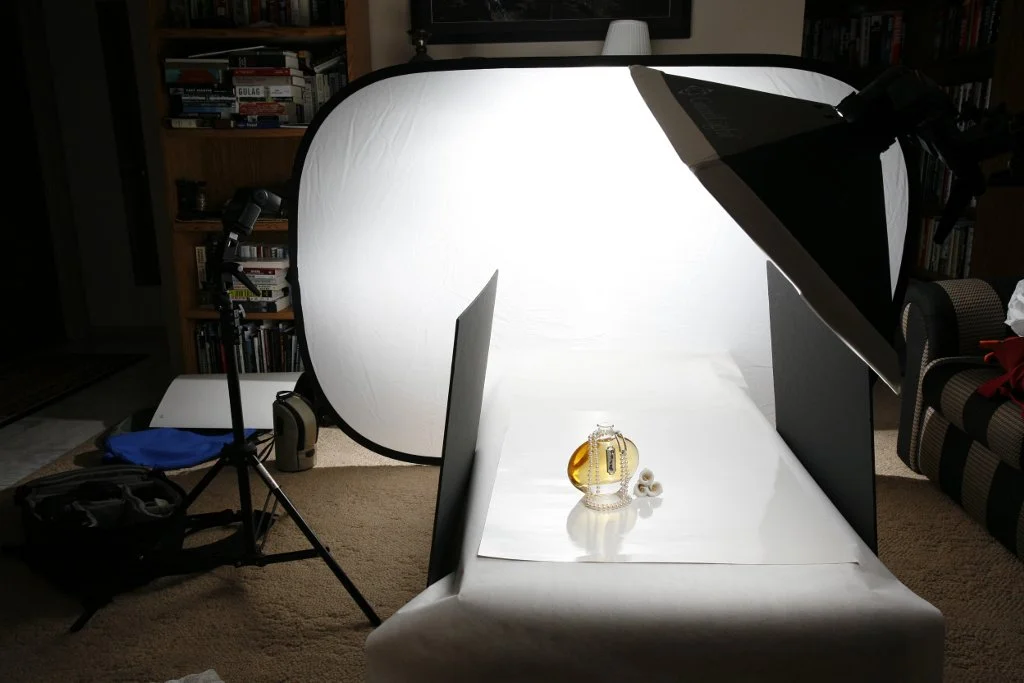
Product Photography Setup at Home
Creating a product photography setup at home is all about adapting your established workflow to a limited space. Unlike a full studio, home environments often have smaller tables, walls nearby, and mixed lighting from windows and ceiling lamps. The key is to control these factors without overcomplicating the setup.
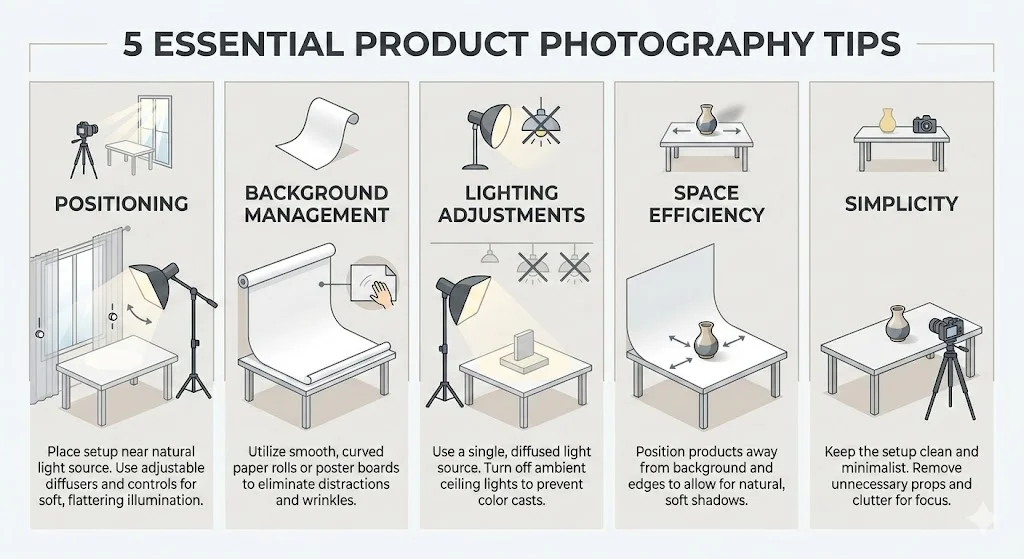
Quick Home Setup Tips
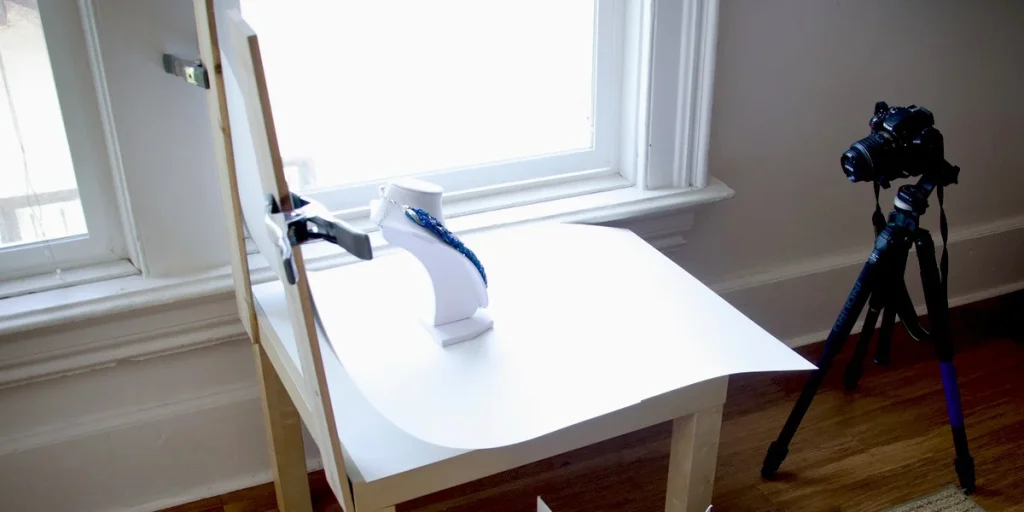
- Positioning: Place your table near a clean wall or window, but ensure you can control natural light to avoid color shifts.
- Background management: Use a curved paper roll, poster board, or vinyl sheet, making sure it stays smooth and wrinkle-free.
- Lighting adjustments: Turn off ceiling lights and any sources of mixed lighting. Use one lamp or light source with diffusion to keep shadows soft.
- Space efficiency: Keep products away from walls and background edges, allowing some distance for softer shadows.
- Simplicity: Limit props and unnecessary objects. A clean area speeds up shooting and reduces post-production work.
This home setup allows you to create consistent, clean product images without investing in a full studio. With careful placement of background, light, and product, even a compact space can yield professional results suitable for ecommerce, social media, and catalogs.
Budget Setup for Shooting Products
A budget product photography setup is about spending wisely, not spending more.
Spending Priority Order
- Tripod
- Background sweep
- Foam boards and diffusion
- Light if needed
Budget Product Photography Setup Tiers
| Tier | Budget Level | Result |
| Minimum | Very low | Clean basic ecommerce photos |
| Mid-range | Moderate | Consistent brand-ready images |
| Advanced | Higher | Faster workflow and fewer retakes |
How Shooting Larger Products Changes Your Setup
A large product photography setup is very different from photographing small items on a tabletop. As product size increases, small setup mistakes become more visible, and space, light control, and consistency all need extra attention.
Key Changes for Large Products
Large products demand more room, softer light, and careful planning. When your setup is adjusted correctly, the images feel balanced, clean, and professional, even with complex or oversized items.
Background and Support Requirements
Large products cannot rely on small paper sweeps or narrow backdrops. You need wider and taller background support so the product fits comfortably within the frame.
For large items:
- Use wide rolls of paper, fabric backdrops, or vinyl sheets
- Secure the background firmly to avoid sagging or wrinkles
- Make sure the background extends far enough on the floor so it stays clean in every angle
If the background is too small, you will spend unnecessary time fixing edges in editing.
Distance Between Product and Background
Larger products must sit farther away from the background compared to smaller items.
When the product is too close:
- Shadows become heavy and distracting
- The background picks up unwanted texture
- Edges look uneven
A good rule is to increase background distance as product size increases. This creates softer shadows and keeps the background clean and consistent.
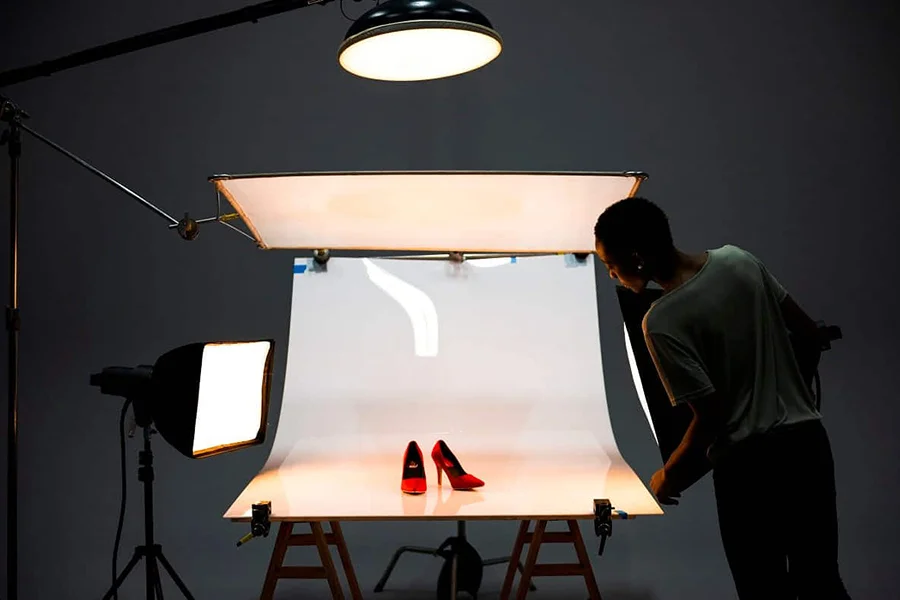
Lighting Size and Softness
Small lights work for small objects but rarely for large products. Bigger items need larger light sources so the light wraps evenly around the product.
Practical lighting adjustments include:
- Using larger softboxes or umbrellas
- Bouncing light off walls or large reflectors
- Adding diffusion panels to spread light evenly
In a large product photography setup, the size of the light source matters more than the number of lights.
Floor Markings and Repeatability
With larger products, repositioning becomes harder and mistakes are easier to make.
To stay consistent:
- Mark product placement on the floor with tape
- Mark light stand positions
- Keep camera distance fixed for each product type
This helps maintain visual consistency across a full catalog.
Choosing Angles That Show Scale
Large products often need angles that explain size and use, not just shape.
Setup considerations include:
- Allowing space around the product for context
- Using angles that show proportions clearly
- Avoiding extreme close-ups unless necessary
The goal is to make the product feel accurate and believable, not overwhelming.
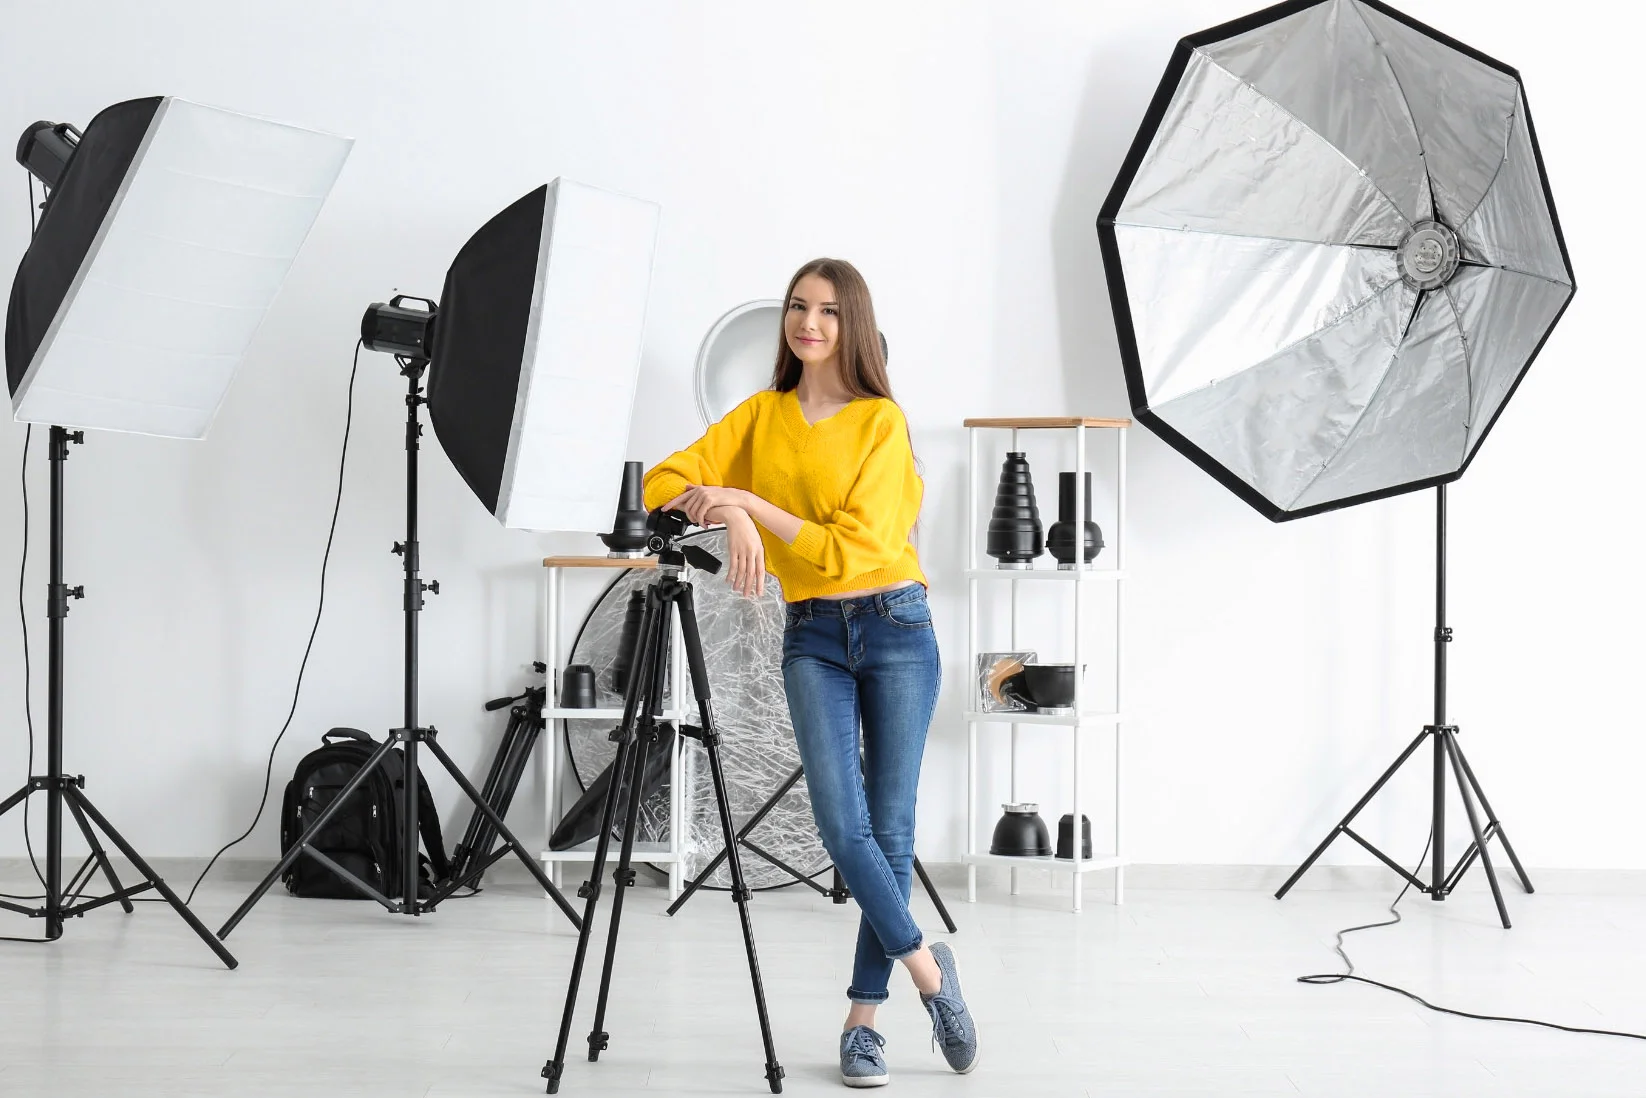
Product Photo Studio Setup Plan (Layout and Organization)
A professional product photography setup guide must include studio planning.
Studio Layout Essentials
A large product photography setup demands certain scale-ups:
Staging Area
- Fixed table height
- Marked product position
Lighting Area
- Dedicated light stands
- Safe cable management
Background Storage
- Separate backgrounds for ecommerce and marketing
Optional Tools
- Boom arm for top-down shots
- Turntable for consistent angles
Workflow Organization
- Labeled storage for props
- Cleaning tools within reach
- Printed shooting checklist
An organized studio saves time and keeps your brand visuals consistent.
Fix Common Setup Problems for Product Photos
Even a well-planned product photography setup can run into problems, especially when lighting, spacing, or background control is slightly off. The good news is that most issues are easy to fix once you know what causes them. Below are the most common setup problems and practical ways to correct them.
Background Looks Gray Instead of White
Cause:
The product is placed too close to the background, or the main light is aimed directly at the product without enough separation.
Fix:
Move the product further away from the background, ideally 30 to 60 cm. Adjust the light so it falls on the product first, not the background. This allows the background to stay clean and evenly lit without turning gray.
Product Looks Flat and Lacks Depth
Cause:
Light is hitting the product too evenly from both sides, which removes natural shadows and shape.
Fix:
Remove one source of fill light and introduce a black foam board on one side of the product. This creates gentle shadow and adds depth without making the image look dark.
Harsh Reflections on Shiny Products
Cause:
The light source is too small or not diffused enough, which creates sharp reflections on glossy surfaces.
Fix:
Increase the size of the diffusion material and move it closer to the product. In many setups, making the light source larger and softer matters more than changing its position.
Colors Look Inaccurate or Inconsistent
Cause:
Mixed lighting from ceiling lights, windows, and lamps causes color shifts.
Fix:
Turn off all room lights and rely on a single light source. Keep the lighting consistent for every product so colors remain accurate across your entire shoot.
Visible Creases or Edges in the Background
Cause:
The background sweep is bent sharply or not secured properly.
Fix:
Re-tape the background so it curves smoothly from vertical to horizontal. Check the edges in your test shot before shooting the full set to avoid unnecessary editing later.
Shadows Look Too Dark or Too Hard
Cause:
The main light is placed too far away or lacks proper fill.
Fix:
Move the light slightly closer and add a white foam board on the opposite side to soften the shadow while keeping shape and contrast.
Most problems in product photos come from small setup issues rather than camera settings. Taking a few minutes to adjust your product photography setup before shooting saves time, reduces editing work, and leads to more consistent results.
When DIY Becomes a Bottleneck for Quality and Speed
A DIY product photography setup and shooting products at home can work very well at the beginning. Many brands start this way and achieve acceptable results. However, there comes a point where doing everything yourself stops being efficient and starts slowing growth.
Clear signs that a do it at home setup is holding you back:
A DIY approach is a good starting point. Knowing when it becomes a bottleneck is what allows a brand to move forward with confidence rather than frustration.
High volume with tight deadlines
Photographing many products quickly becomes difficult when lighting and backgrounds must be reset repeatedly.
Reflective or complex products at scale
Glass, metal, and glossy surfaces are hard to control in home environments and often lead to inconsistent results.
Premium brand standards
Higher-end brands require refined lighting, clean reflections, and consistent color that most DIY setups struggle to maintain.
Time becoming too expensive
Hours spent fixing lighting issues and editing images reduce the time available for growing the business.
Get Professional Product Photography Support in Dubai
If you are looking to elevate your product photography without dealing with setup limitations, working with a professional team can save time and protect your brand image.
Helio provides professional product photography services in Dubai, handling everything from lighting and design of the best product photography setup to offer brand consistency and final delivery. Our experience with ecommerce and commercial photography allows businesses to focus on growth while maintaining high visual standards.
A Clear Path to Better Product Images
A well-built product photography setup is not about complexity. It is about clarity, control, and consistency. Whether you start with a basic product photography setup at home or transition to a full studio environment, the same principles apply. With the right setup, your products look trustworthy, professional, and ready to compete in the Dubai market.
FAQs
What is the best setup for product photography?
The best product photography setup is one that controls lighting, background, and positioning consistently. A simple setup with one diffused light, a white background, and a tripod works for most products.
What is the minimum product photography setup?
The minimum setup includes a camera or phone, tripod, white background, one light source, and basic diffusion.
Can I build a product photography setup at home in Dubai?
Yes. Many Dubai apartments have enough space for a home setup as long as lighting and background are controlled properly.