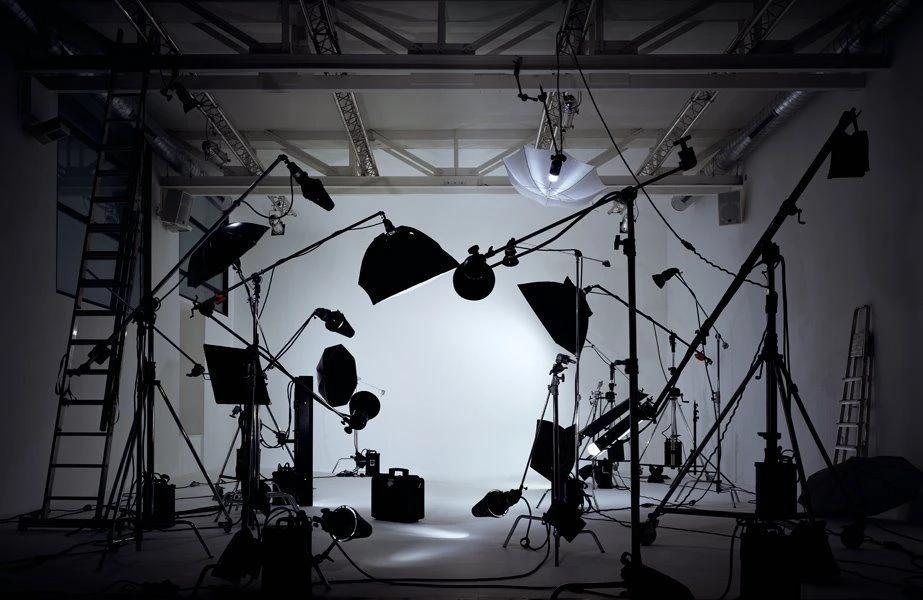
Studio lighting is what separates a clean, professional image from one that feels flat or noisy. It improves clarity, preserves accurate color, and gives you control over mood and subject separation.
The right light defines depth, highlights texture, and guides the viewer’s eye exactly where you want it. Types of studio lights refer to the actual tools you use, while types of studio lighting describe the role those tools play in shaping the scene.
In this article, we cover both concepts together and finish with a clear, practical guide to choosing the best lighting setup for your studio.
Types of Studio Lights: A Practical Breakdown by Light Source
When we talk about types of studio lights, “types” simply means categories based on the light source itself. Each category behaves differently in terms of output, color accuracy, heat, and control, so understanding these differences helps you choose the right tool for the job, not just the most powerful one.
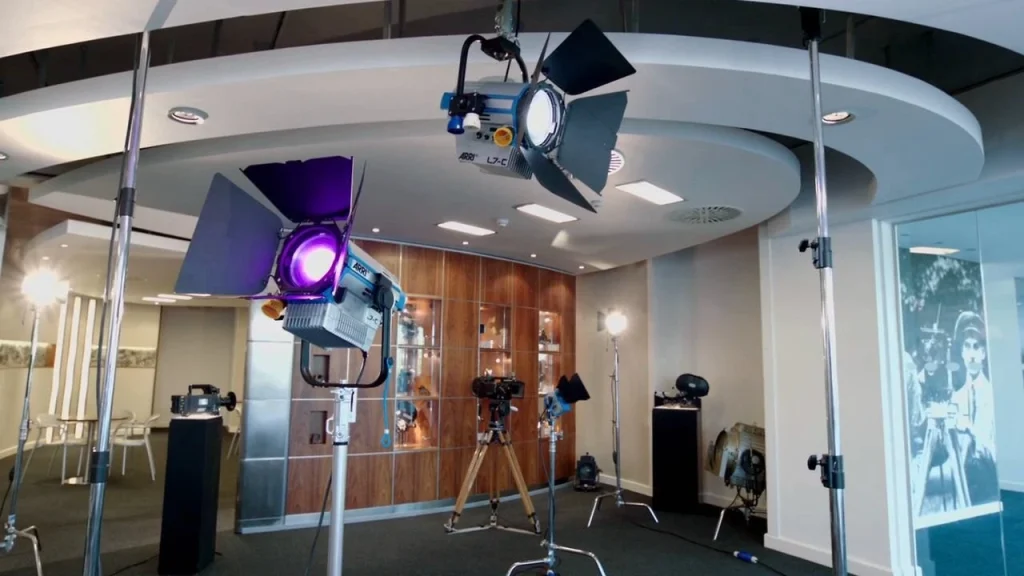
Continuous lights stay on all the time, letting you see shadows, highlights, and contrast in real time. They’re especially useful for beginners, video production, and content creators who need a what-you-see-is-what-you-get workflow. Their biggest advantage is ease of use; however, they are usually less powerful than flashes, which can limit subject separation or require higher ISO.
Color temperature consistency and CRI (Color Rendering Index) vary widely depending on quality.
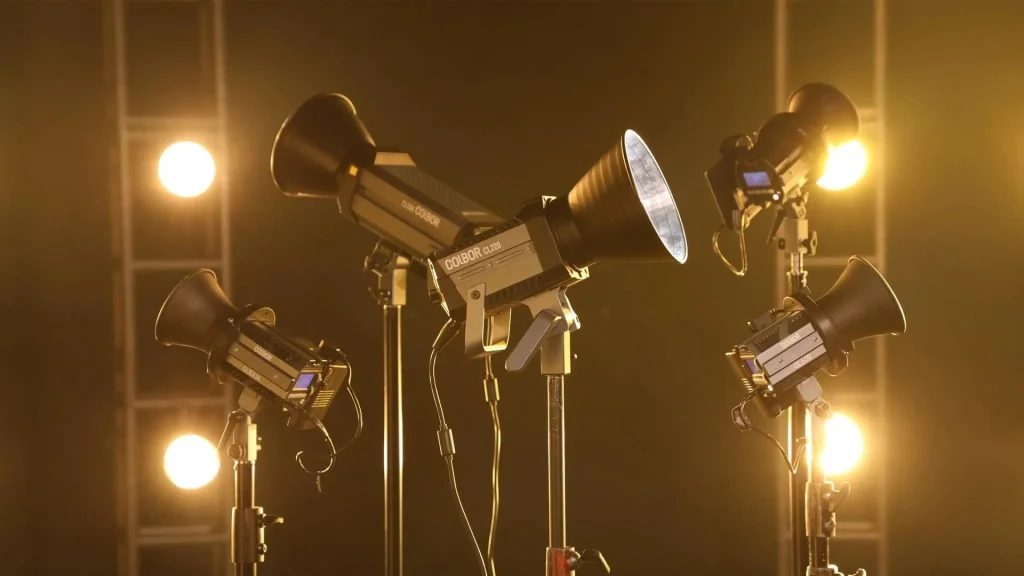
Strobes (flashlights) produce a short, powerful burst of light at the moment of exposure. They are the go-to choice for professional photography because they freeze motion, offer high output, and provide excellent control over contrast and depth. Strobes typically deliver very stable color temperature and high CRI.
The main drawback is that you can’t see the final lighting effect until you take a test shot, which can slow down beginners.
Tungsten lights are traditional continuous lights with a warm color temperature (around 3200K).
They are often used in cinema-style setups or when a warm, dramatic look is desired. Tungsten light has smooth spectral output and predictable color, but it generates a lot of heat and consumes more power, making it uncomfortable for long sessions and small studios.
Fluorescent lights were once popular for interviews and soft lighting setups. They produce relatively soft, even light and generate far less heat than tungsten.
Their main weakness is color accuracy; lower-quality tubes can cause green or magenta color shifts, resulting in lower CRI and more correction in post-production.
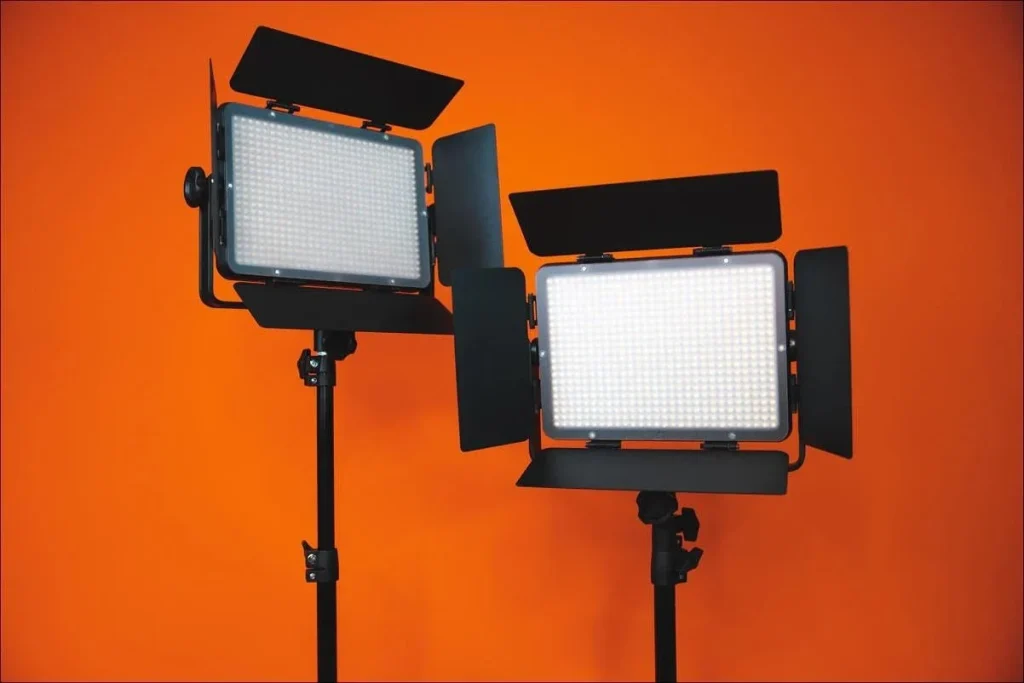
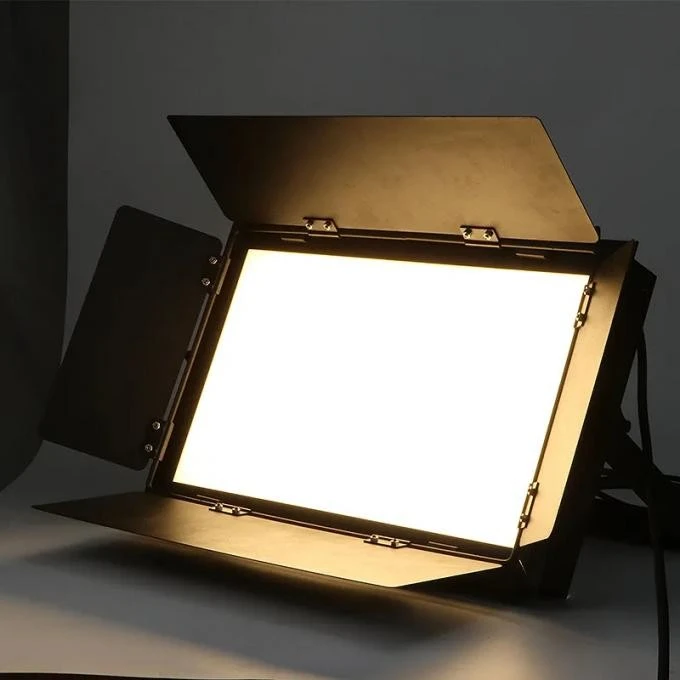
LED lights are the most versatile and widely used option today. They’re energy-efficient, cool-running, and available in daylight, bi-color, or full RGB versions.
High-quality LEDs offer excellent CRI and adjustable color temperature, making them suitable for both photography and video. The main drawback is that cheaper LEDs may flicker or deliver inconsistent color at different brightness levels.
Understanding these light-source categories is the foundation of choosing the right setup, and the smartest type of studio lights is always the one that matches your creative goal, space, and workflow.
What Are the Different Types of Studio Lighting Roles?
When photographers and filmmakers talk about different types of studio lighting, they’re usually referring to roles, not fixtures. A role describes what the light does in the scene, not whether it’s an LED, strobe, or tungsten unit. The same lamp can perform multiple roles depending on placement, angle, and intensity. Understanding these roles is essential for building intentional, professional-looking images.
Key light
The key light is the main source of illumination and defines the overall look of the subject. It establishes direction, contrast, and mood. Typically placed 30–45 degrees to one side of the camera and slightly above eye level, it’s the strongest light in the setup.
Fill light
Fill light controls contrast by softening the shadows created by the key. It doesn’t create its own direction; instead, it supports the key light. Usually positioned near the camera axis or opposite the key at lower intensity, it keeps details visible without flattening the image.
Back light / Hair light
This light separates the subject from the background by creating a subtle rim of light on the shoulders or hair. Placed behind and slightly above the subject, it adds depth and polish. Too strong, it looks artificial; too weak, it disappears.
Background light
A background light illuminates the backdrop rather than the subject. It can create gradients, texture, or clean separation, especially in portraits or product shots. Positioned low or behind the subject and aimed at the background, it helps control visual hierarchy.
Top light
Common in broadcast and commercial setups, top light comes from directly above the subject. It adds structure and realism, especially when mimicking overhead ambient light. Used alone it can be harsh, but combined with fill it adds dimensionality.
Side light
Side lighting emphasizes texture and form by lighting the subject from a strong lateral angle. It’s often used for dramatic portraits, fashion, or product photography. Placement is typically 90 degrees from the camera, creating deep shadows and strong contrast.
Eye light (catch light)
This small but critical light creates reflections in the eyes, making subjects look alive and engaged. Often placed close to the lens or slightly above it, eye lights are subtle and low-powered—but visually powerful.
These roles can be achieved using any light source, continuous, flash, or LED. What matters is how the light is used, not what it is. Next, we’ll look at quick, practical mappings between lighting roles and common studio setups to help you choose faster and smarter.
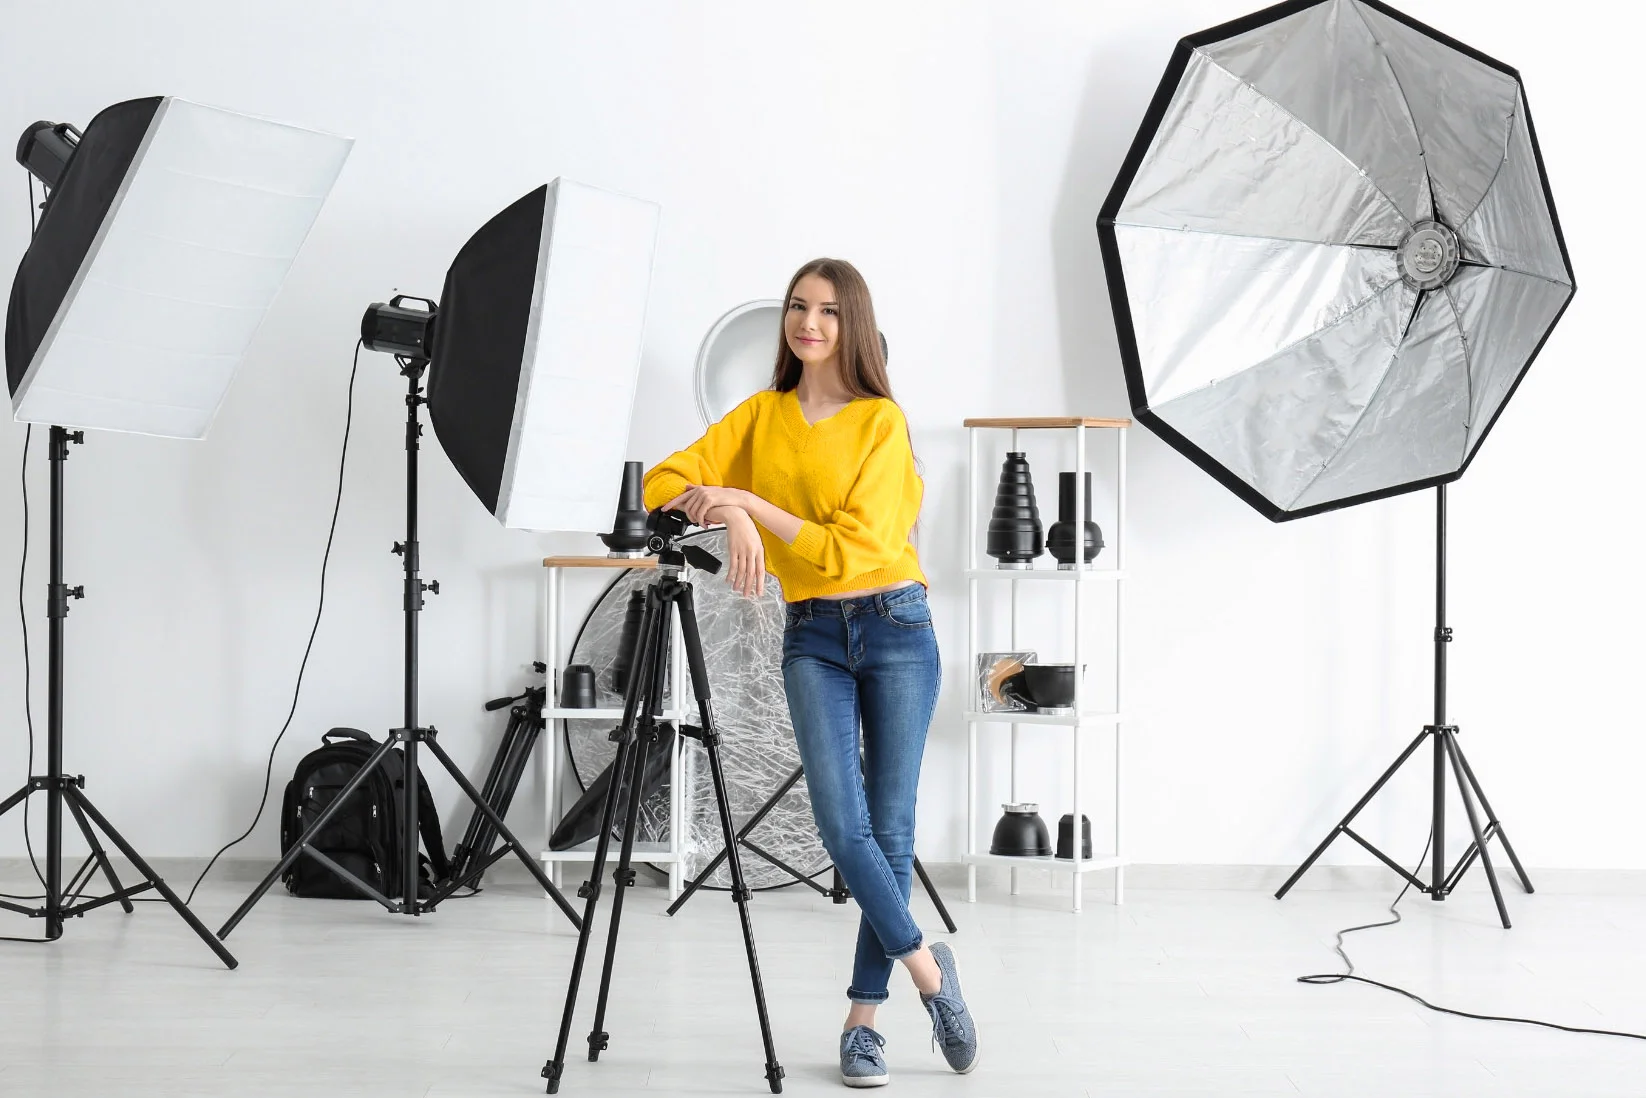
How Light Types Fit Common Setups (Quick Mappings)
Choosing among Types of studio lights becomes much easier when you stop thinking in terms of “perfect setups” and instead focus on simple compatibility.
One-light setup: Continuous LED or strobe
A single-light setup benefits from simplicity and control. Continuous LEDs work well because you can see the result instantly, making them ideal for small studios, solo creators, or hybrid photo–video use.
Strobes are equally effective when you want maximum power, clean files, and strong subject separation with minimal gear.
Three-point setup: LED panels or LED spotlights
Three-point lighting favors flexibility and consistency across multiple sources. LED panels and compact LED spots are well suited because they offer matched color temperature, adjustable output, and low heat, important when running several lights at once.
This makes them a practical choice for interviews, branded content, and long studio sessions where balance matters more than raw power.
Rembrandt-style look: Single key (strobe or continuous) + optional reflector
This classic, contrast-driven look relies on one dominant key light with controlled falloff.
A strobe delivers crisp shadows and precise contrast control, while a continuous light offers easier visual feedback for fine-tuning mood. An optional reflector helps manage shadow density without introducing another active light source, keeping the setup clean and intentional.
The key takeaway is that lighting roles and aesthetics don’t lock you into one technology. The same visual outcome can often be achieved with different tools; the difference lies in workflow, space, and how much control you need.
Once you understand these quick mappings, choosing the right light source becomes faster, more confident, and far less overwhelming.
What Type of Lighting Is Best for a Studio? (Decision Tree)
There isn’t a single “best” lighting option for every studio, but there is a best choice for your purpose. The fastest way to decide is to stop comparing specs and instead follow a simple decision framework based on how you shoot, what you shoot, and how much control you need.
Think of studio lighting as a toolset, not a ranking.
If you want the best all-round solution: LED lighting
Modern LED lights are the most versatile option for most studios. They work equally well for photography, video, and hybrid content, offer adjustable color temperature, and deliver high CRI for accurate skin tones and product colors. LEDs are energy-efficient, run cool, and scale easily from small home studios to professional commercial spaces. For most users, this is the safest long-term investment.
If you want the easiest preview and fastest learning curve: Continuous LED
When seeing the final result in real time matters, continuous LED lighting is hard to beat. What you see is what you get; shadows, highlights, and mood are immediately visible. This makes continuous LEDs ideal for beginners, content creators, educators, and anyone working solo.
The trade-off is lower peak power compared to flash, which can limit dramatic contrast or require higher ISO in photography.
If you need to freeze motion and maximize image quality: Strobes
For fast-moving subjects, crisp detail, and maximum control over contrast, strobes are the top choice.
Their short burst of light freezes motion cleanly and allows shooting at low ISO for the highest image quality. Strobes are widely used in portrait, fashion, and commercial photography. The downside is a steeper learning curve and slower setup adjustments since you can’t preview the light continuously.
If you want a warm, cinematic look and don’t mind heat: Tungsten
Tungsten lighting delivers a naturally warm color temperature that’s often associated with cinematic and theatrical visuals.
It produces consistent, predictable color and blends well with traditional film-style environments. However, tungsten lights consume more power and generate significant heat, making them less practical for small studios or long sessions.
If you’re on a budget and want soft light with limitations: Fluorescent
Fluorescent lighting can still be useful for basic setups, interviews, or background lighting.
It produces soft, even illumination and runs cooler than tungsten. The limitations are lower output and inconsistent color accuracy, especially with cheaper tubes, which can increase color correction work in post-production.
The final decision rule:
Choose lighting based on use case, not hype.
If you shoot video or mixed content: LED.
If you value simplicity and speed: continuous LED.
If you shoot high-end photography or action: strobes.
If mood outweighs comfort: tungsten.
If cost matters most: fluorescent.
Once your lighting choice aligns with how you actually work, your studio becomes easier to manage, and your results improve naturally.
Where Strategy Meets Creative Clarity
Choosing the right studio light is less about chasing the latest gear and more about understanding how you work. When light types, roles, and workflow align, your studio becomes easier to manage and your results become more consistent. Whether you’re building a small home setup or refining a dedicated studio space, clarity in lighting choices saves time, reduces complexity, and keeps the creative process focused.
For creators working in Dubai, having access to flexible spaces and up-to-date equipment can make that process even smoother. Helio operates as a Dubai-based marketing agency that also offers fully equipped studio rental, along with modern photography and video gear designed to support real production needs. Instead of overbuilding setups, creators can work with reliable, current tools that fit their project and scale as needed.
In the end, good studio lighting should support your ideas, not compete with them. When your space, tools, and workflow work together, lighting stops being a challenge and becomes part of the creative rhythm.
Choosing Light with Intention, Not Complexity
Studio lighting is less about owning more gear and more about making intentional creative choices. The most effective setups are built around purpose, not long equipment lists. When you understand what you shoot and how you work, choosing the right light becomes simple.
The light source defines power and workflow, while its role shapes mood and depth. Studios grow best by starting small and expanding only when a real need appears, keeping setups efficient and results consistent.
FAQ
What are the different types of studio lighting roles?
Lighting roles define function, not gear. The core roles include key (main light), fill (contrast control), back or hair (subject separation), and background (depth). Some setups also use top, side, or eye light for added structure.
What types of lights are used for photography vs video studio?
Photography studios usually use strobes for high output and motion freeze. Video studios rely on continuous lights, mainly LEDs, for constant illumination and real-time preview.
What are the main types of studio lights?
Studio lights are commonly grouped as continuous lights, strobes (flash), tungsten, fluorescent, and LED, each differing in output, heat, color accuracy, and workflow.
What types of studio lights are best for a small studio space?
LED lights work best in small studios because they stay cool, save energy, and fit compact setups. Small strobes can also be effective with proper heat and power control.
What types of studio lights are used in a home studio?
Home studios typically use LED lights or compact strobes. LEDs are favored for their ease of use, low heat, and suitability for both photo and video work.